Canopy Installation
Fast. Simple. Quality
Architectural Aluminum Canopy Installation
How To Install a Vestis Aluminum Canopy
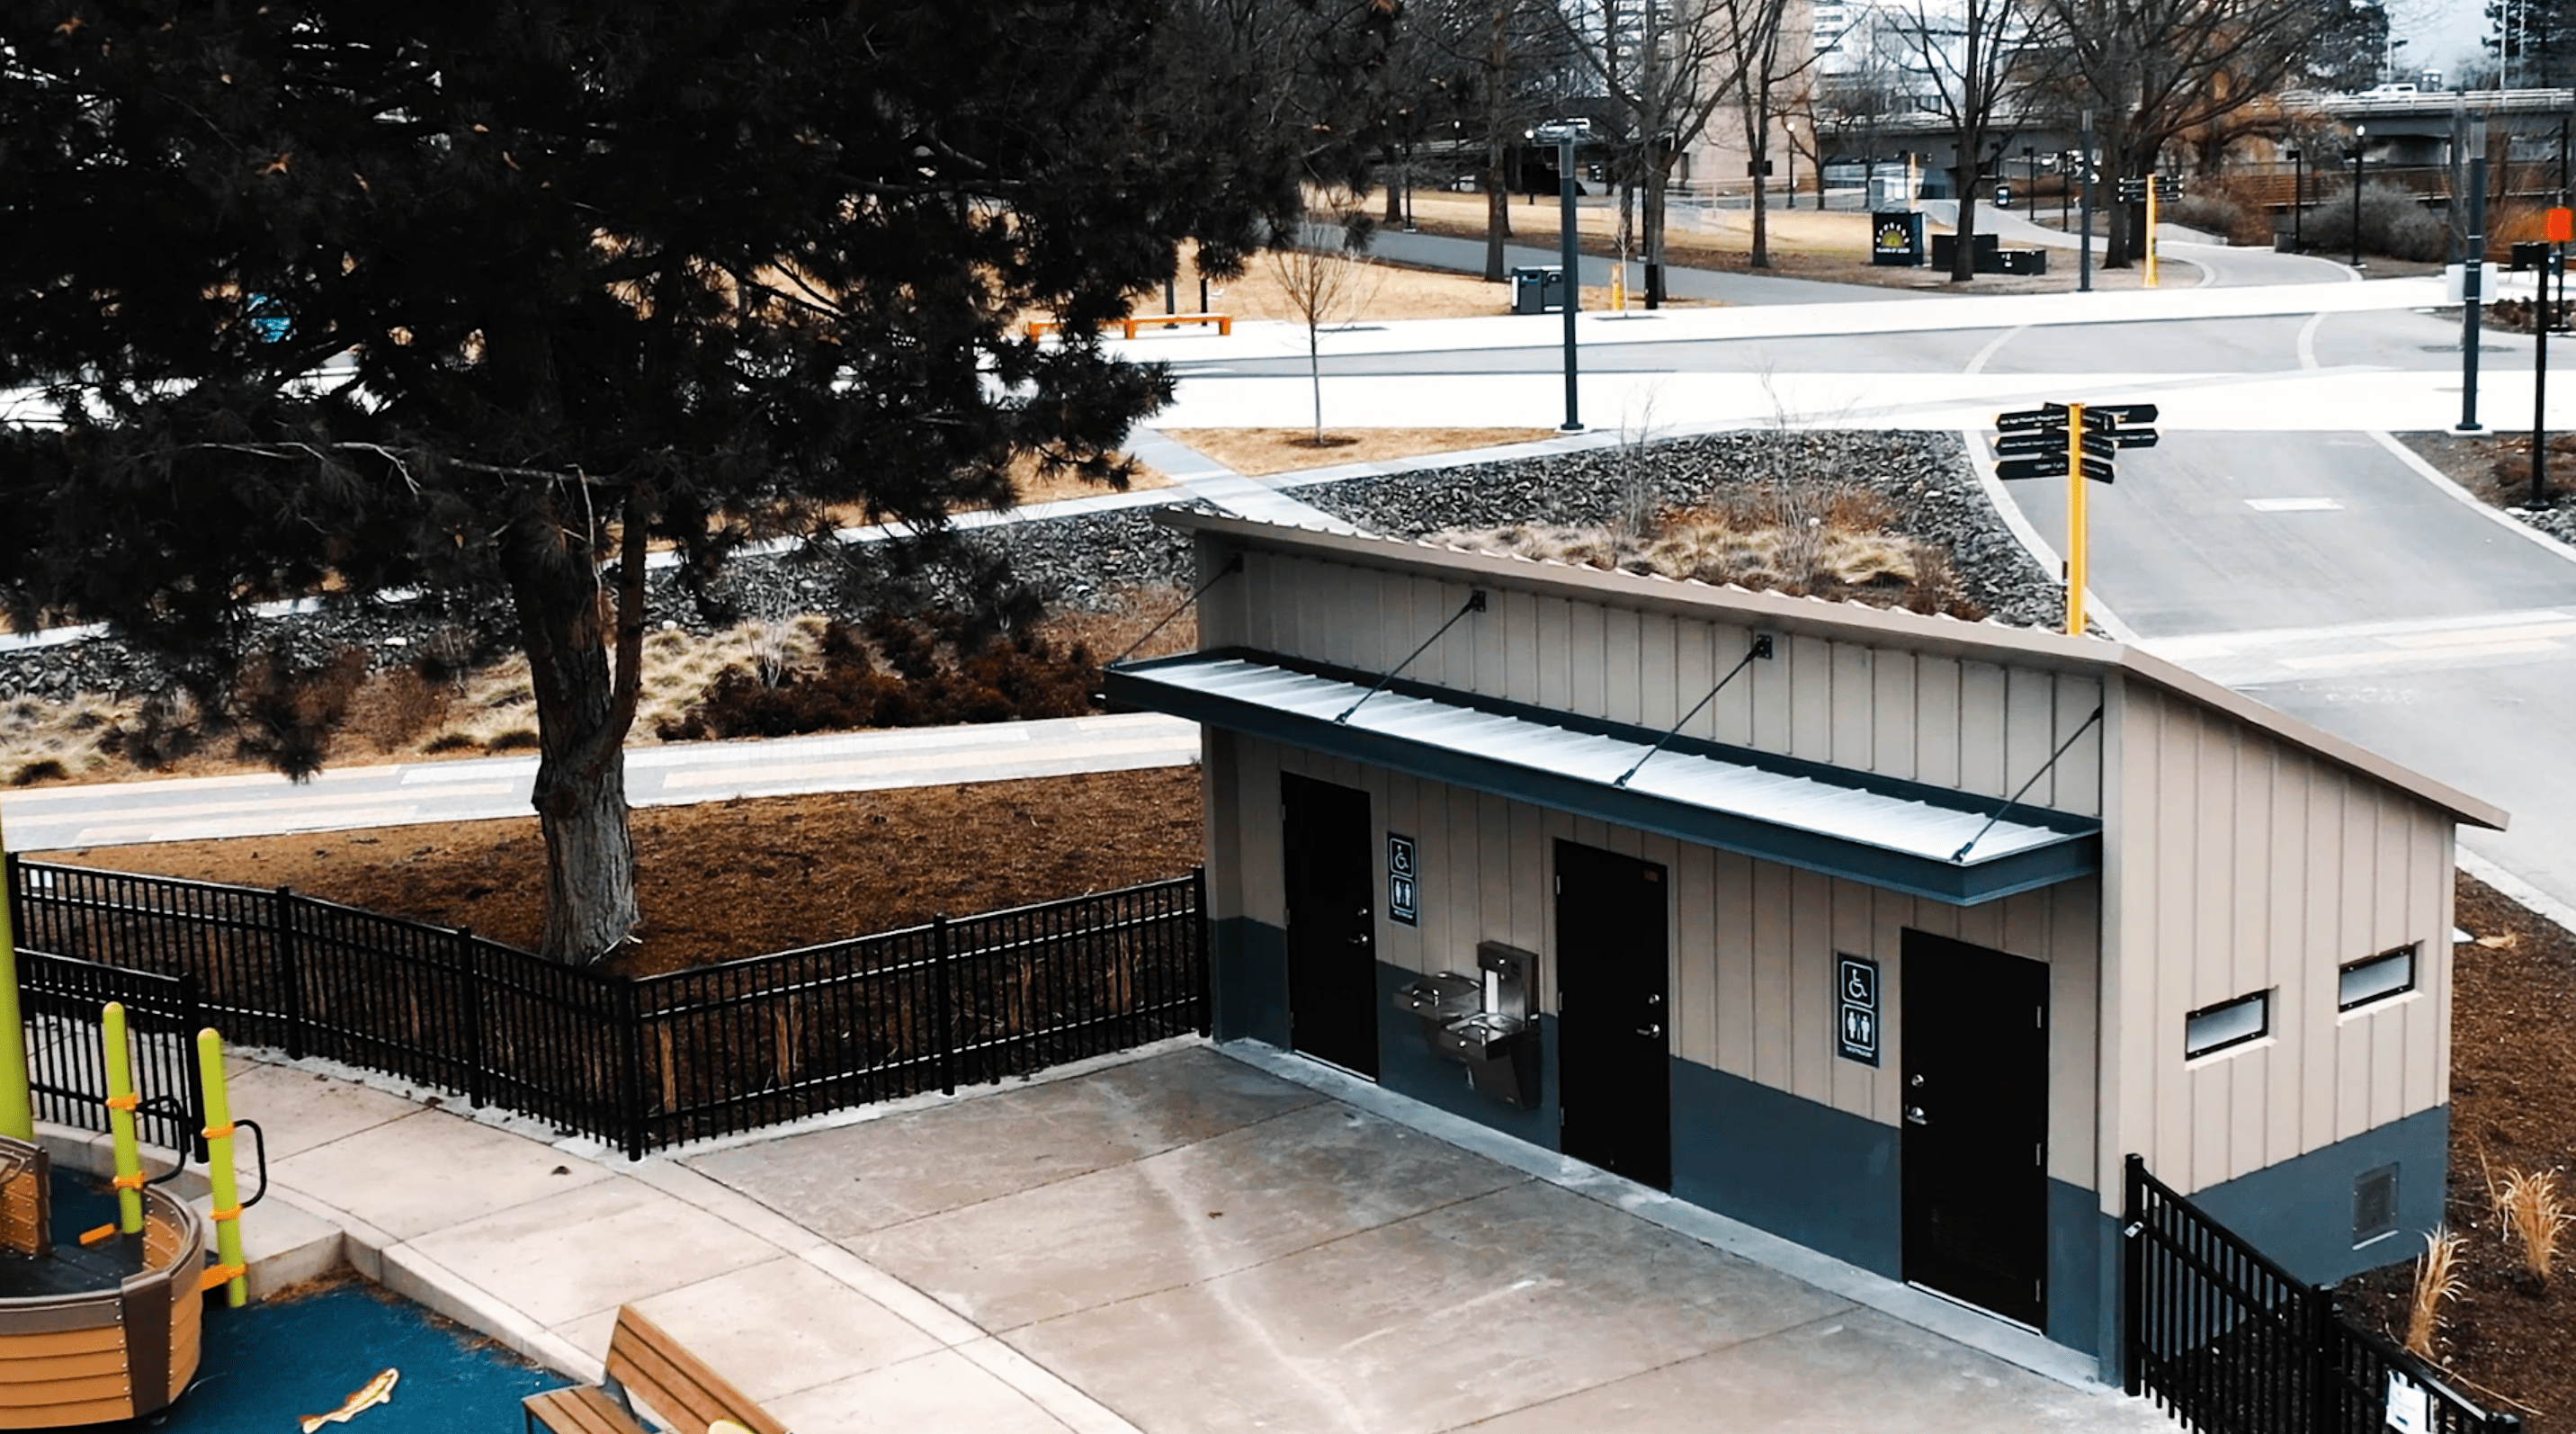
In this video, we show you how you can simply install your Vestis Architectural Canopy with only a two-person crew.
Simple Installation
Allows you to take advantage of a modular architectural aluminum canopy system that requires no field assembly and only two people.
Step By Step
Step 1: Measure & Pre-Drill
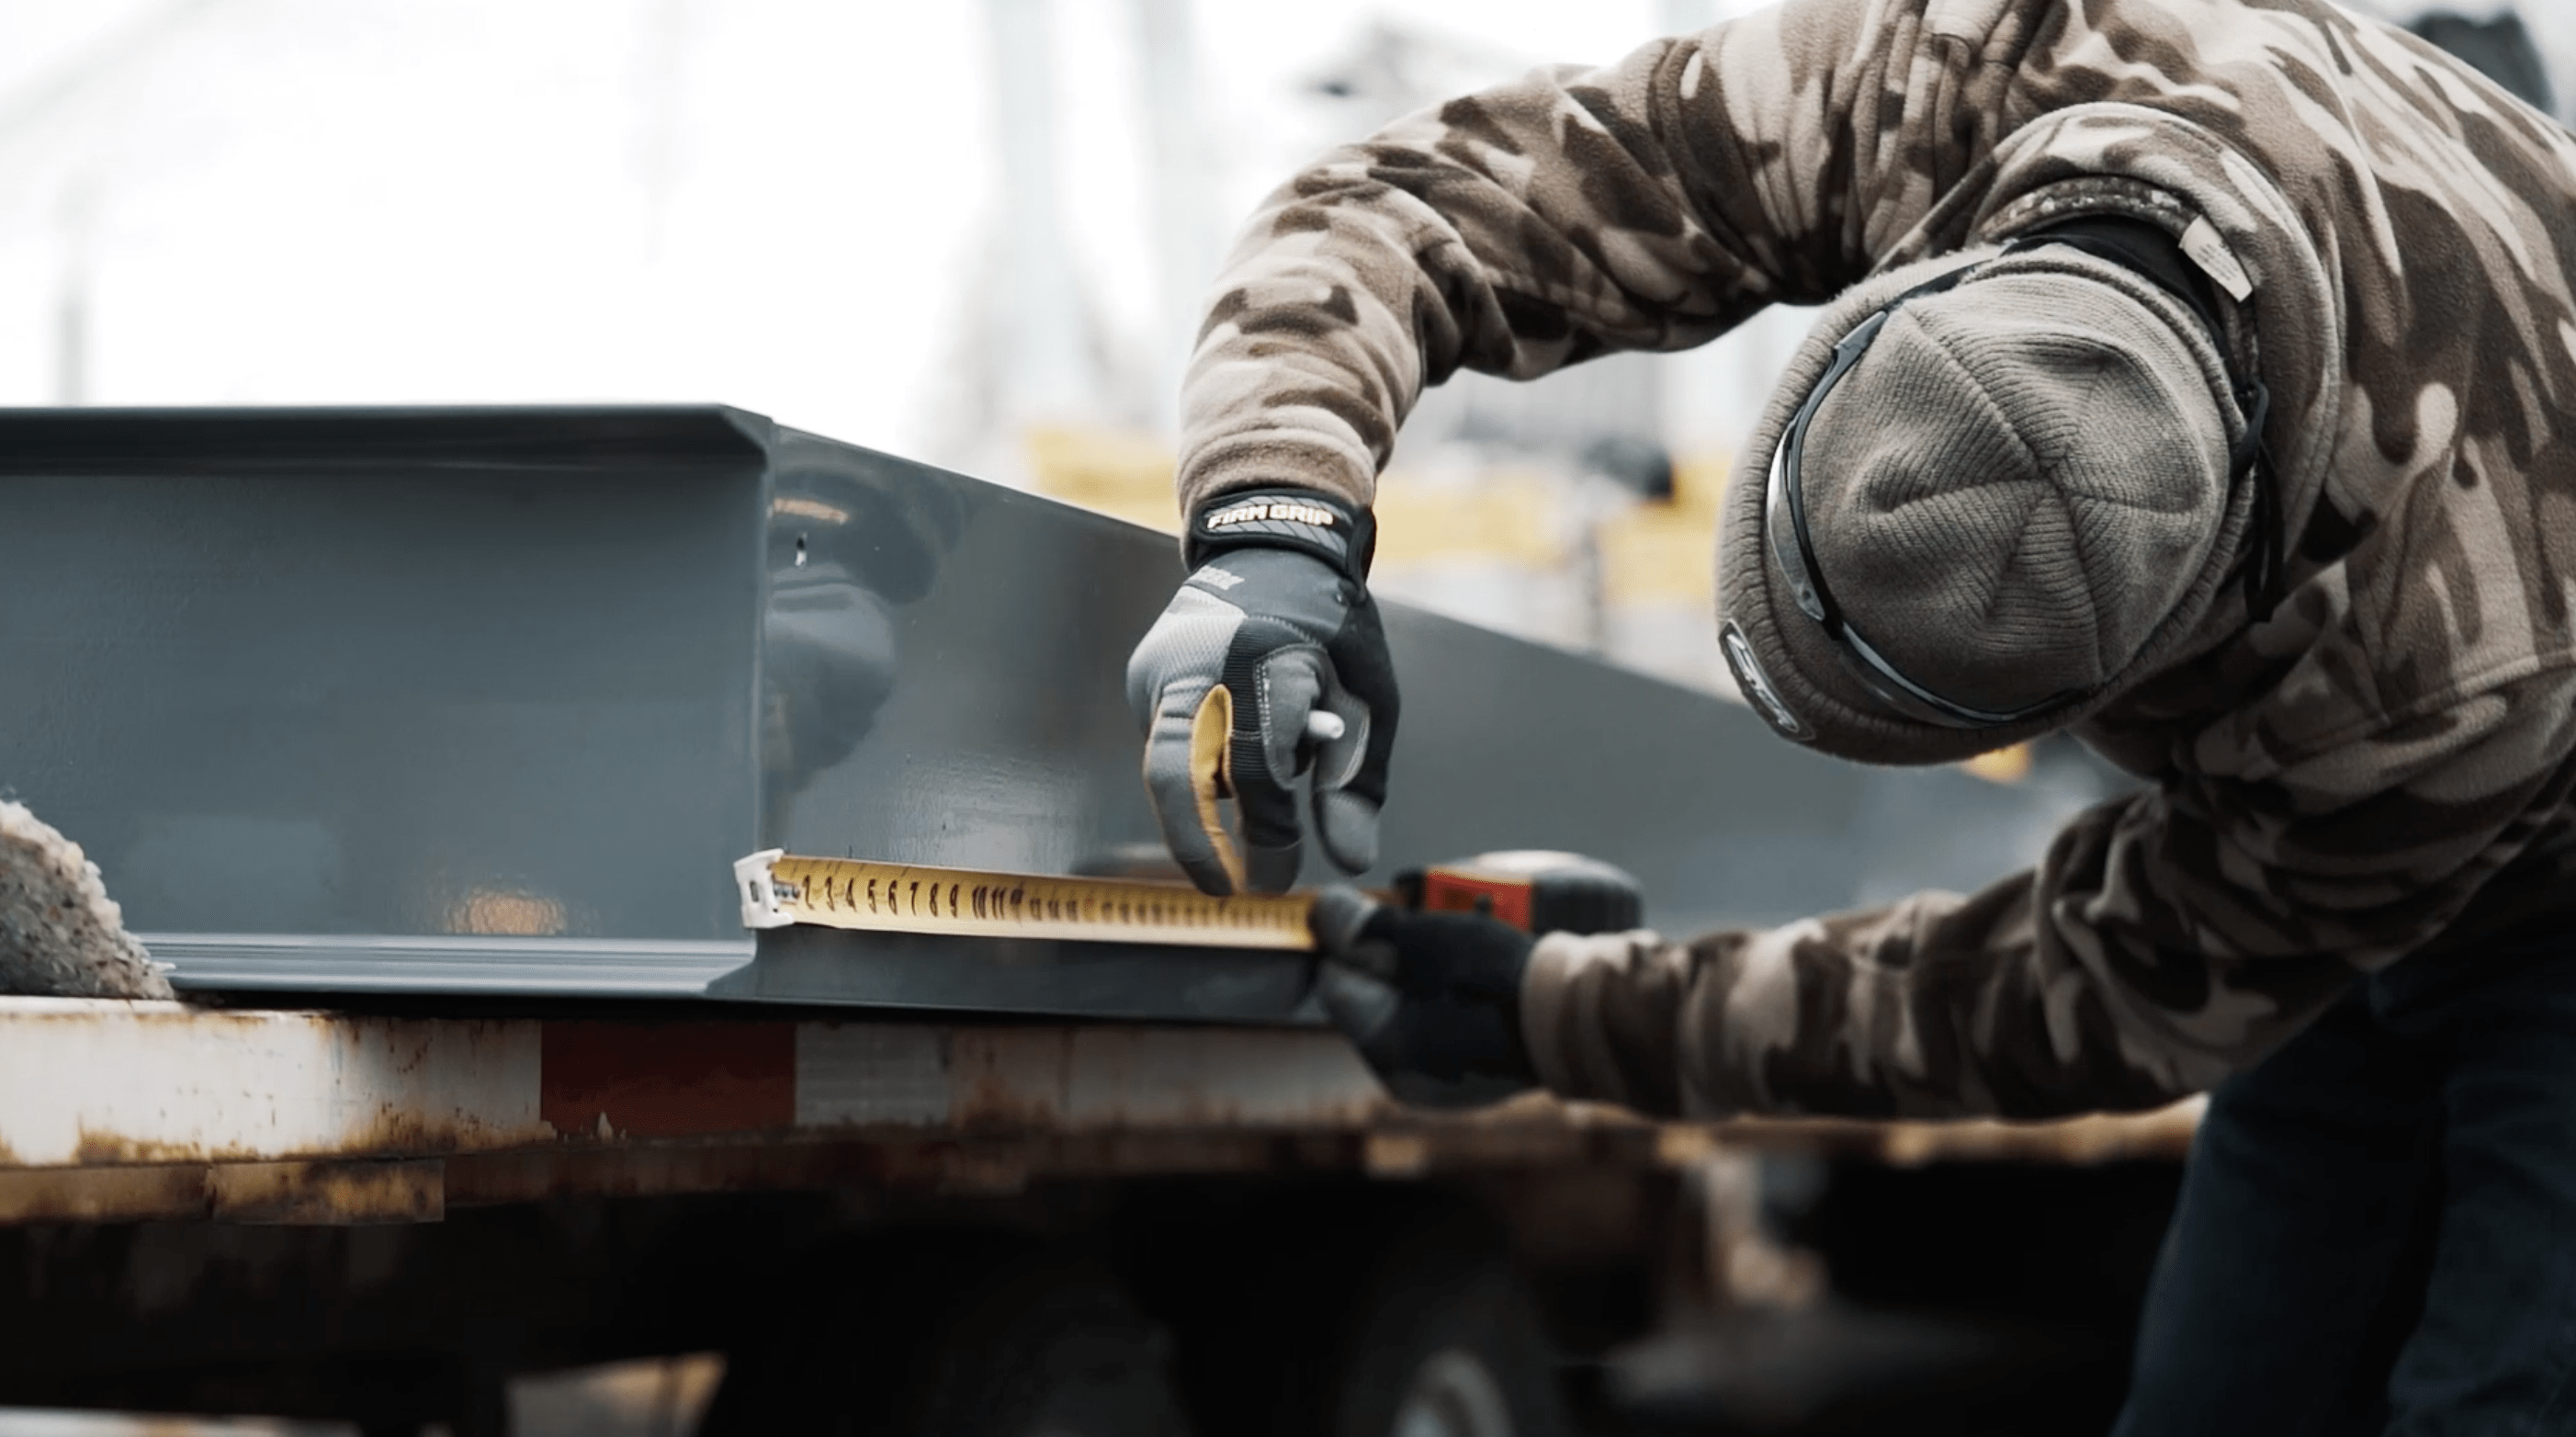
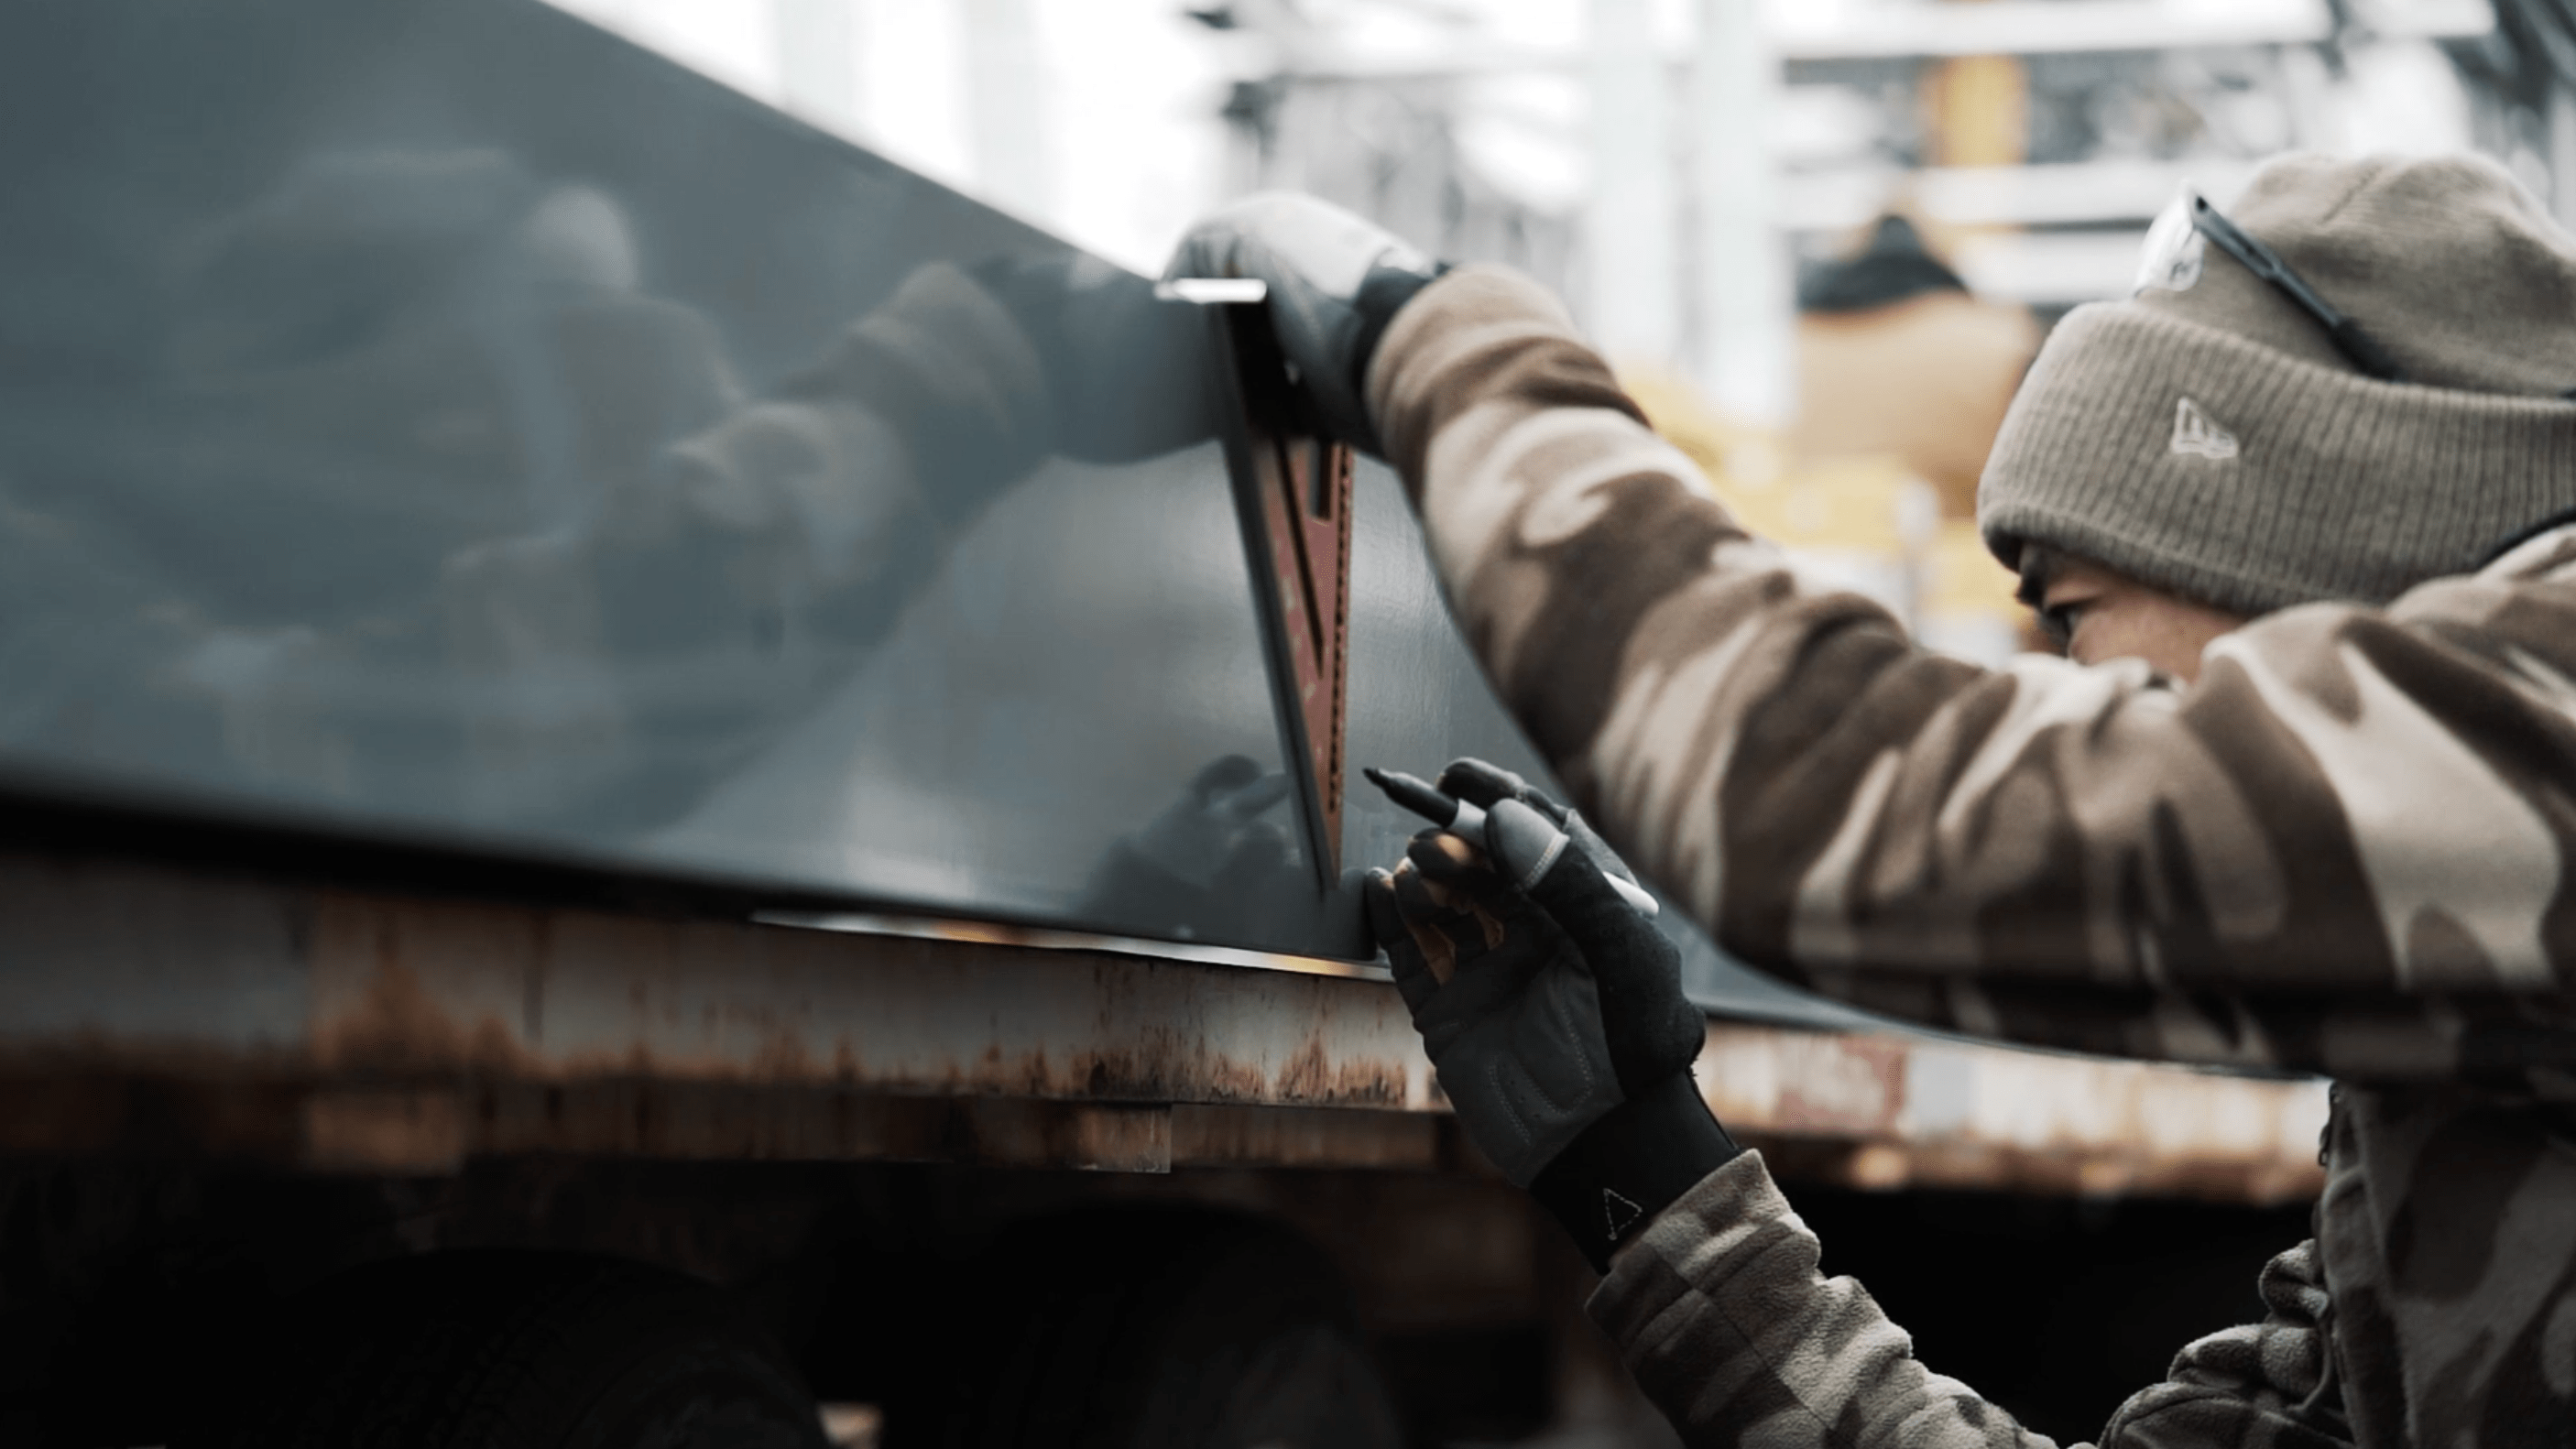
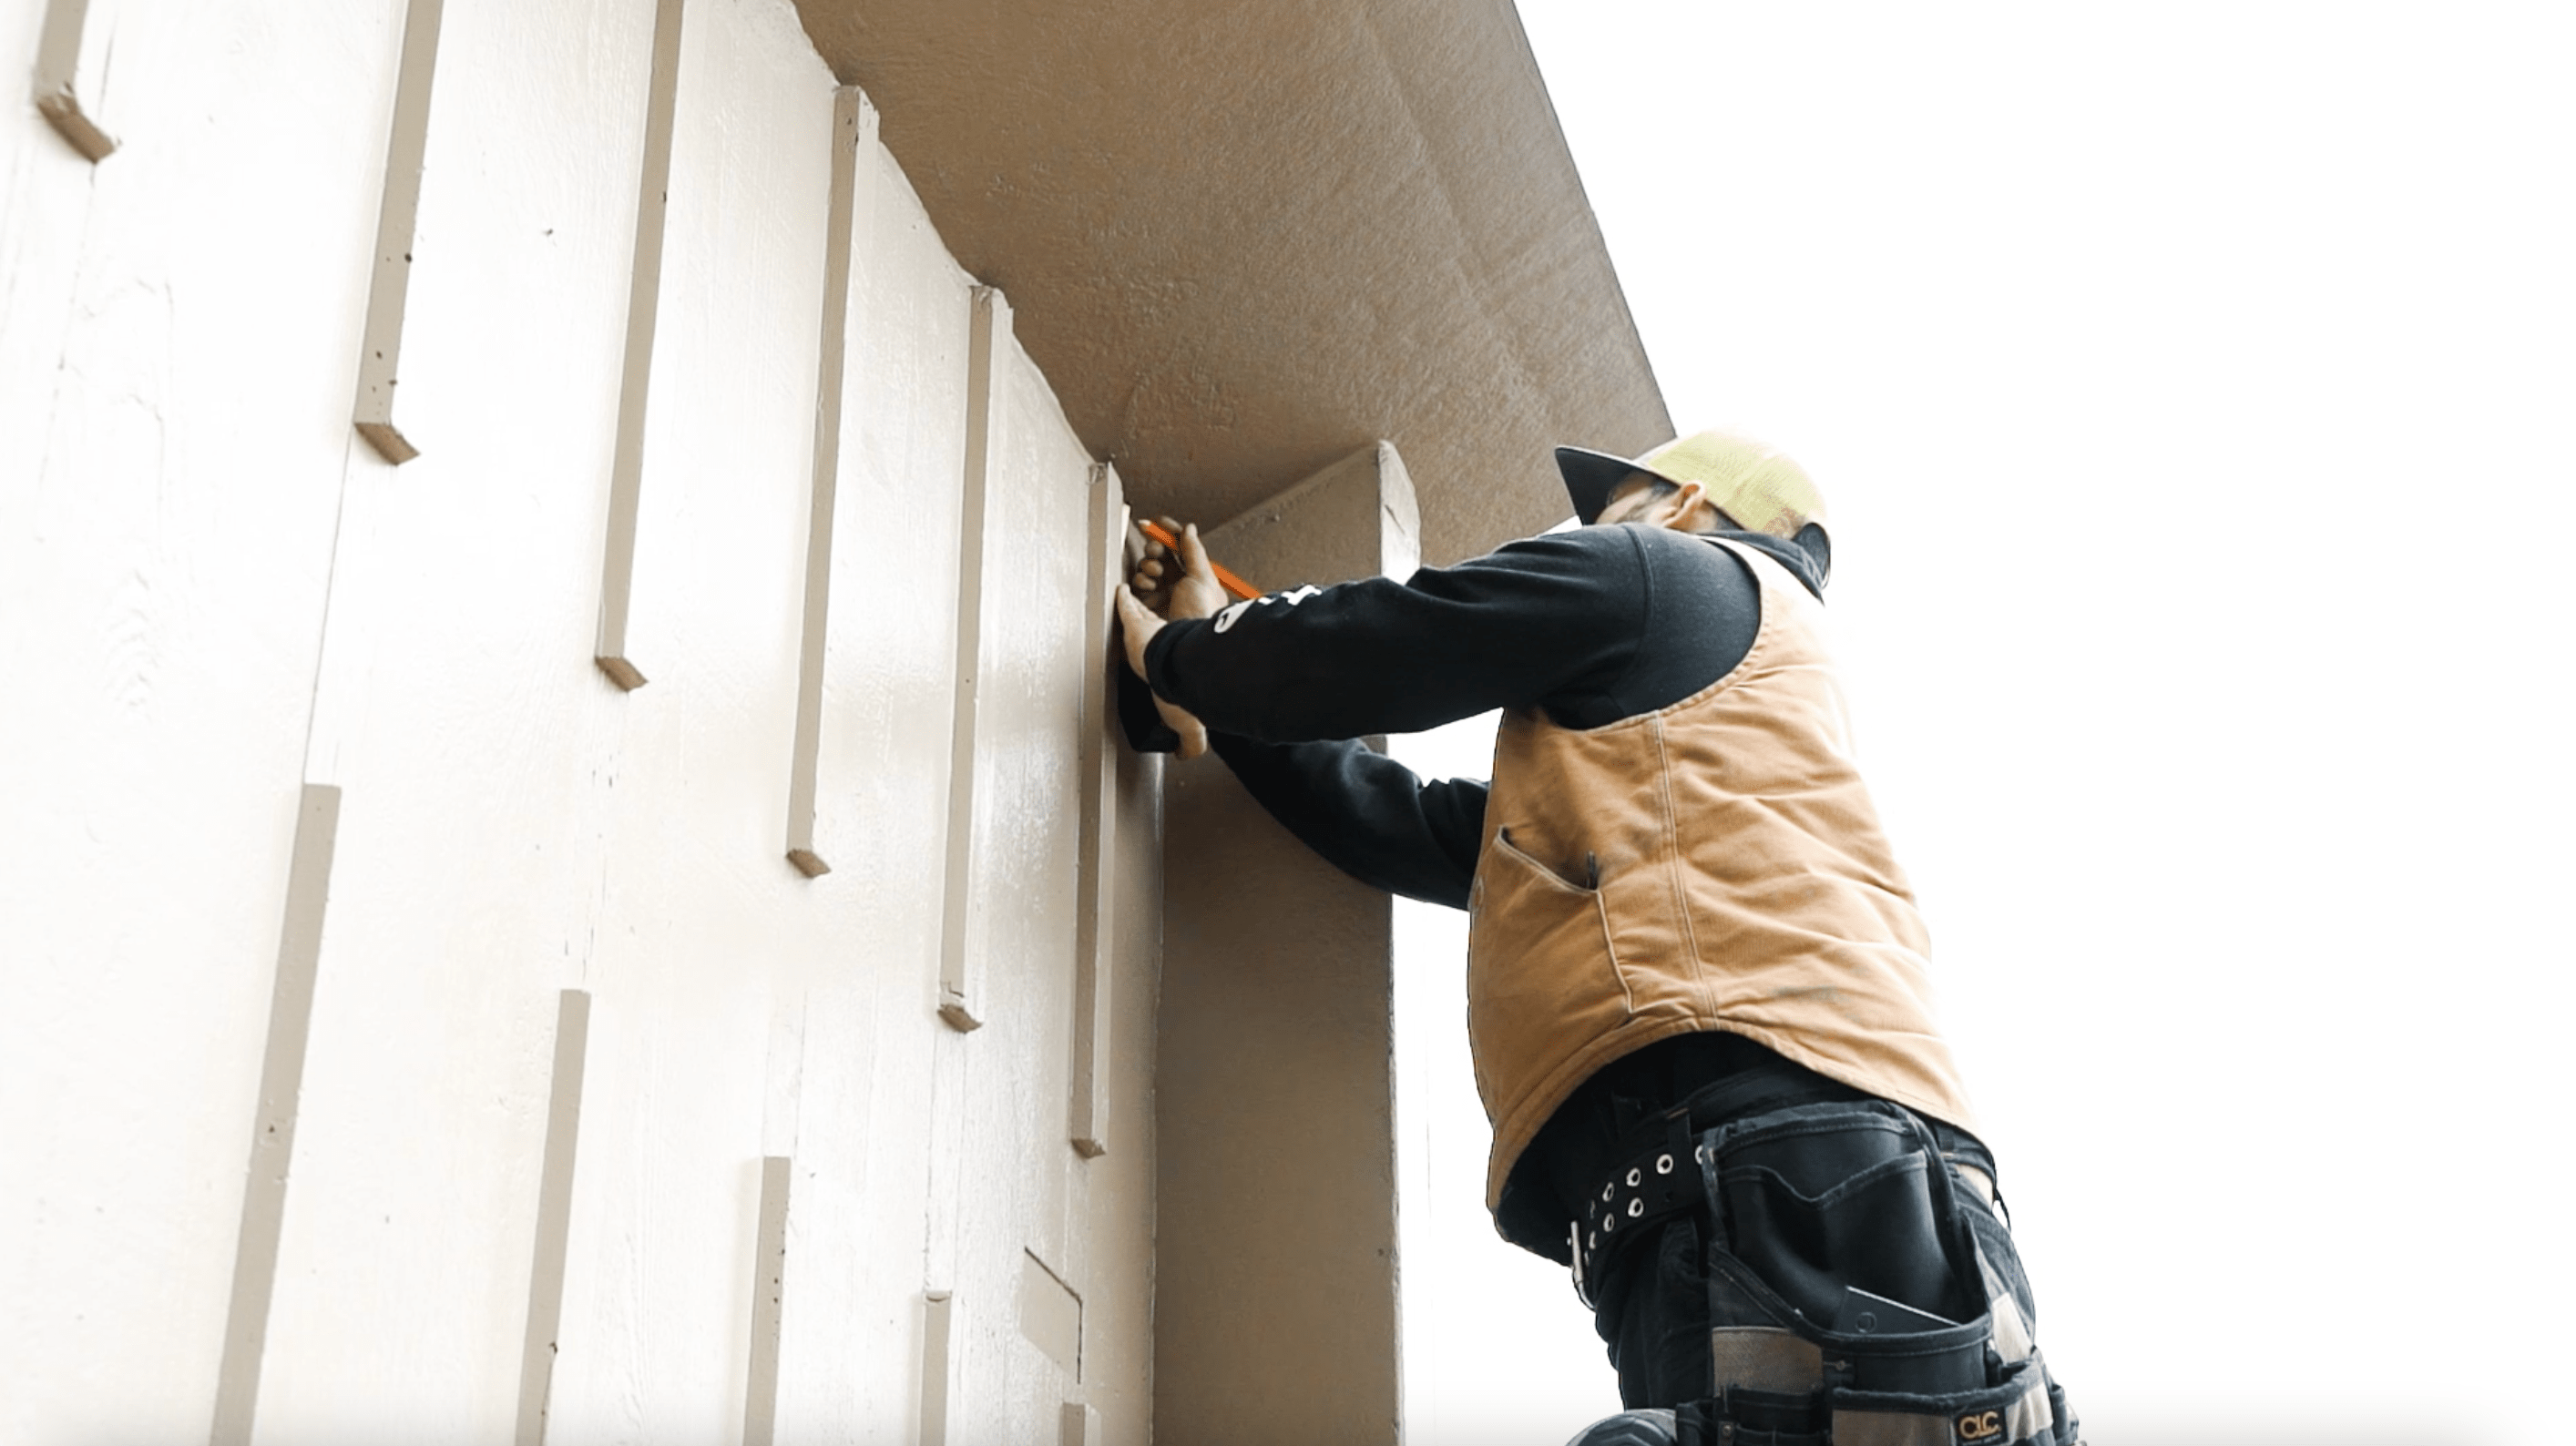
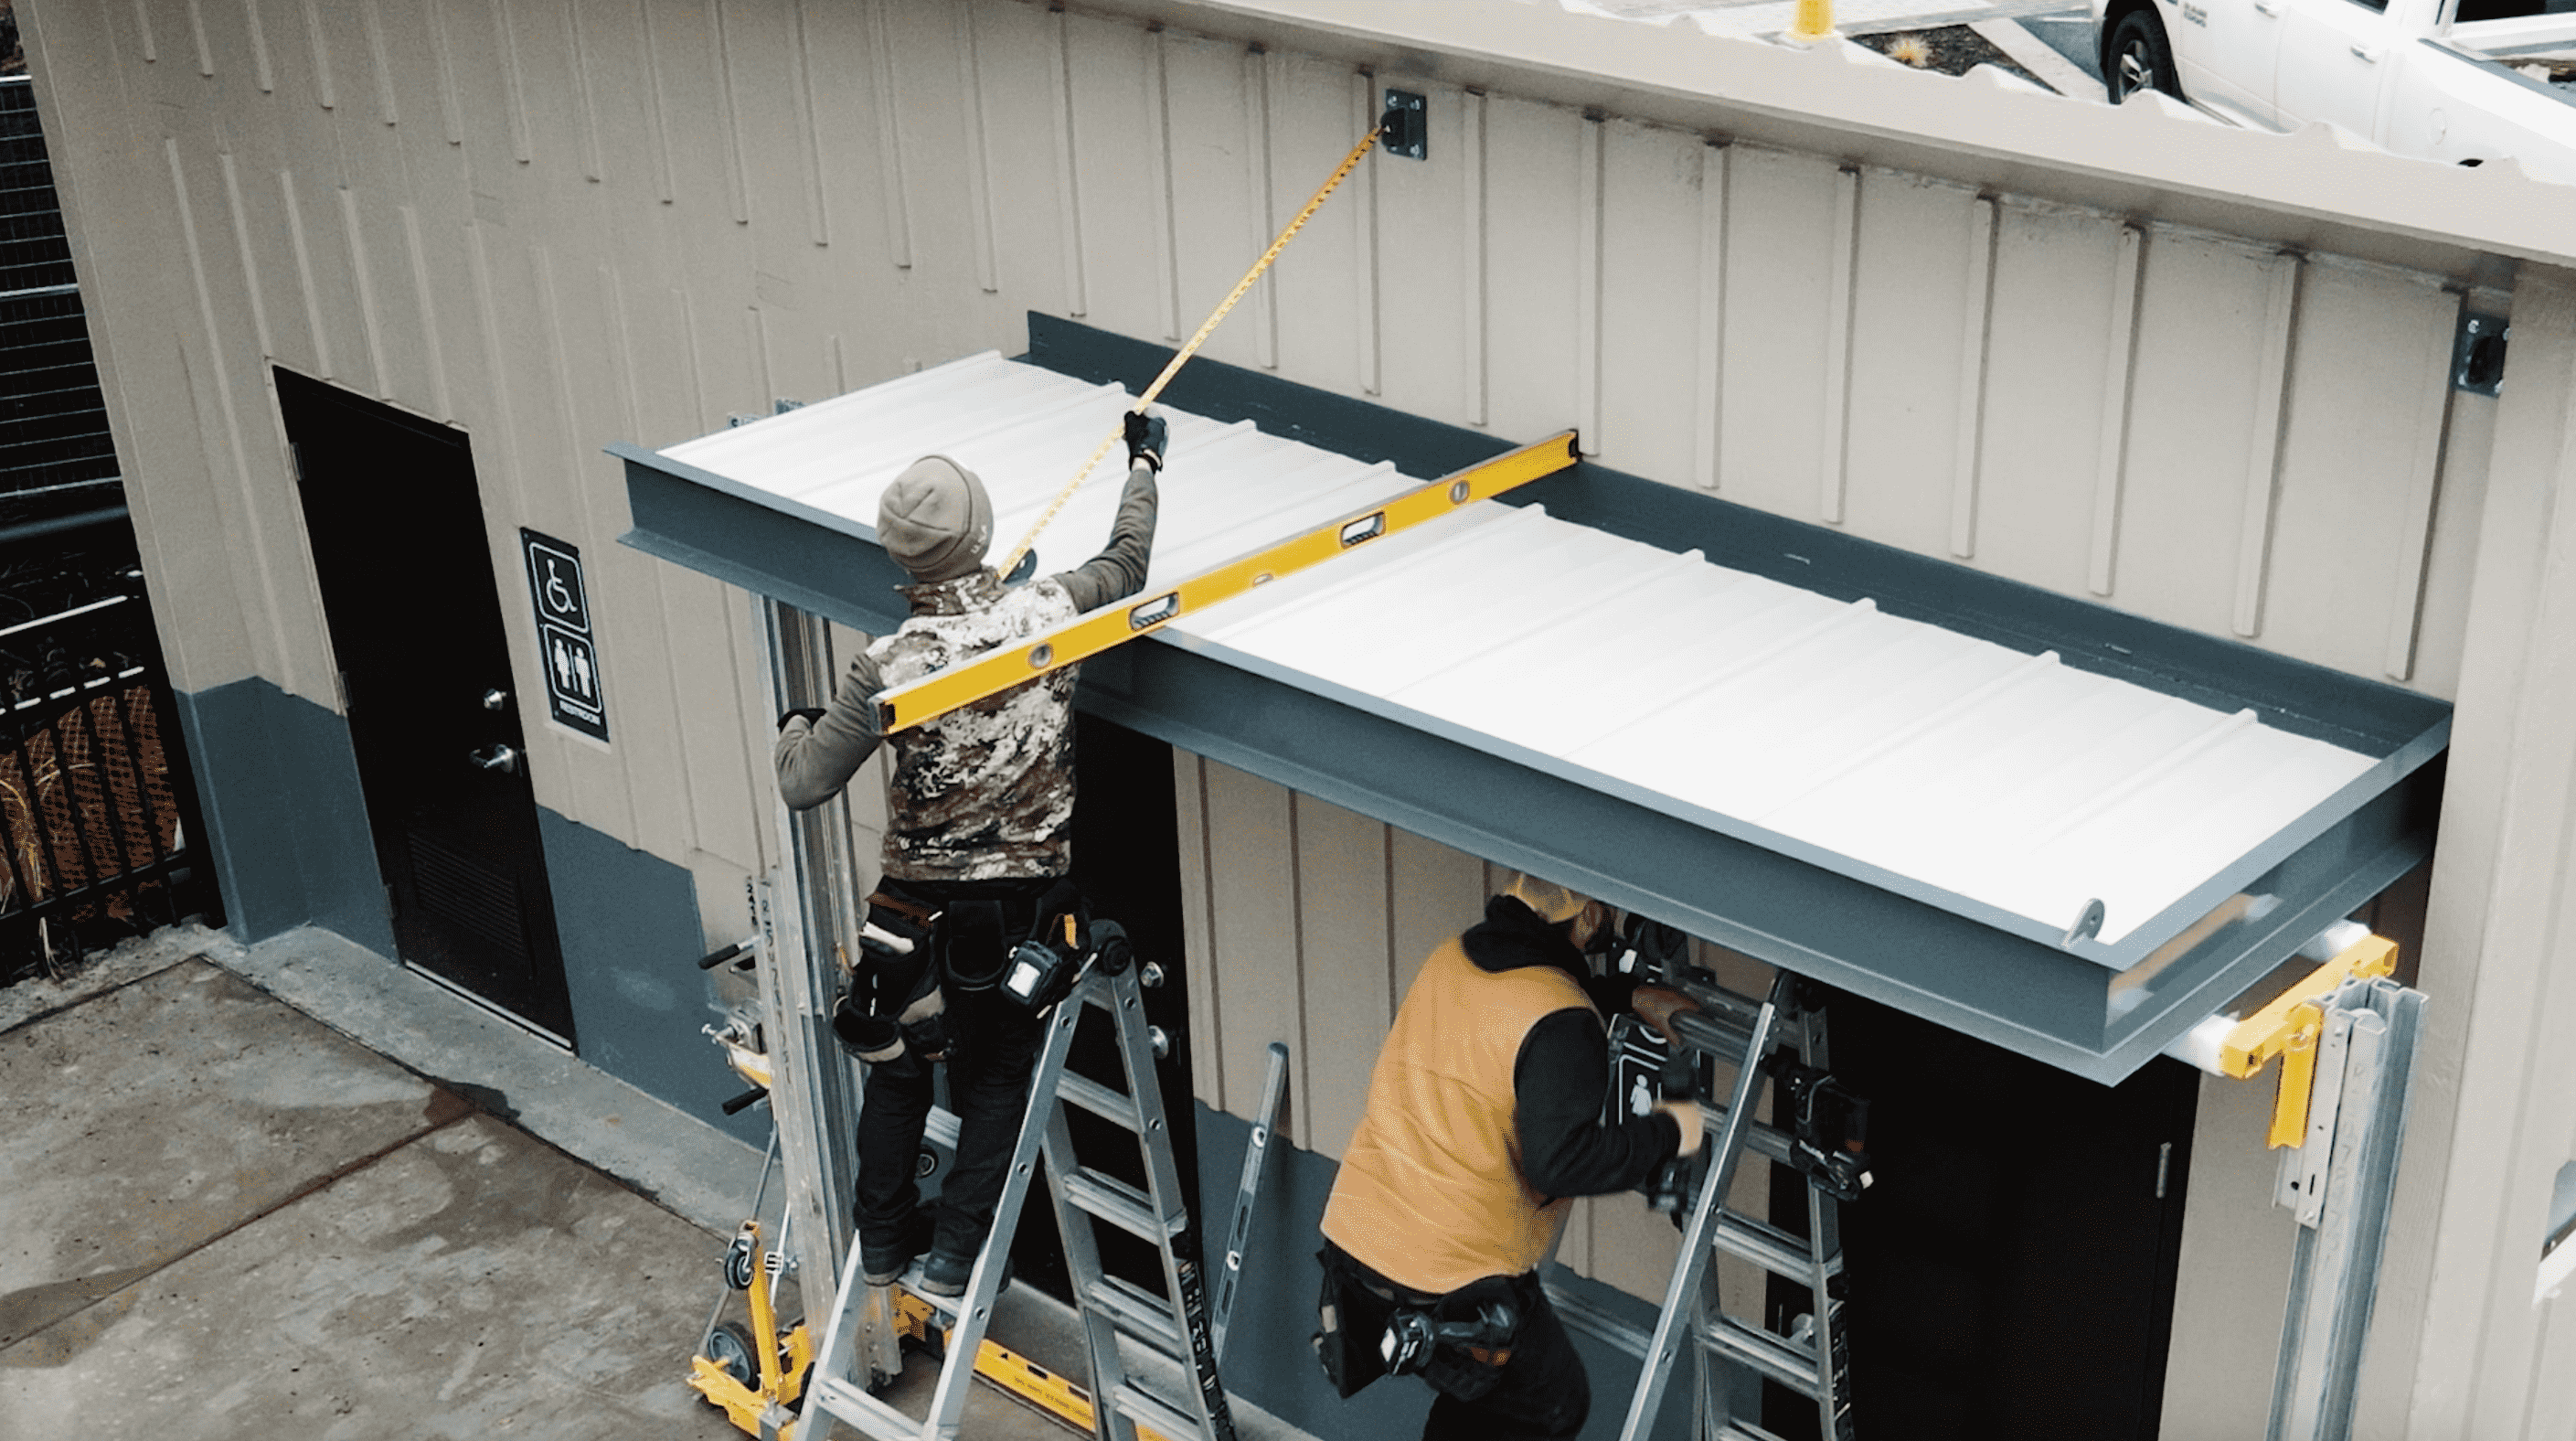
- First, we will measure the backplate layout for your canopy. You will mark every anchor point to be drilled. In this example, we marked seven anchor points to be drilled. Your Content Goes Here
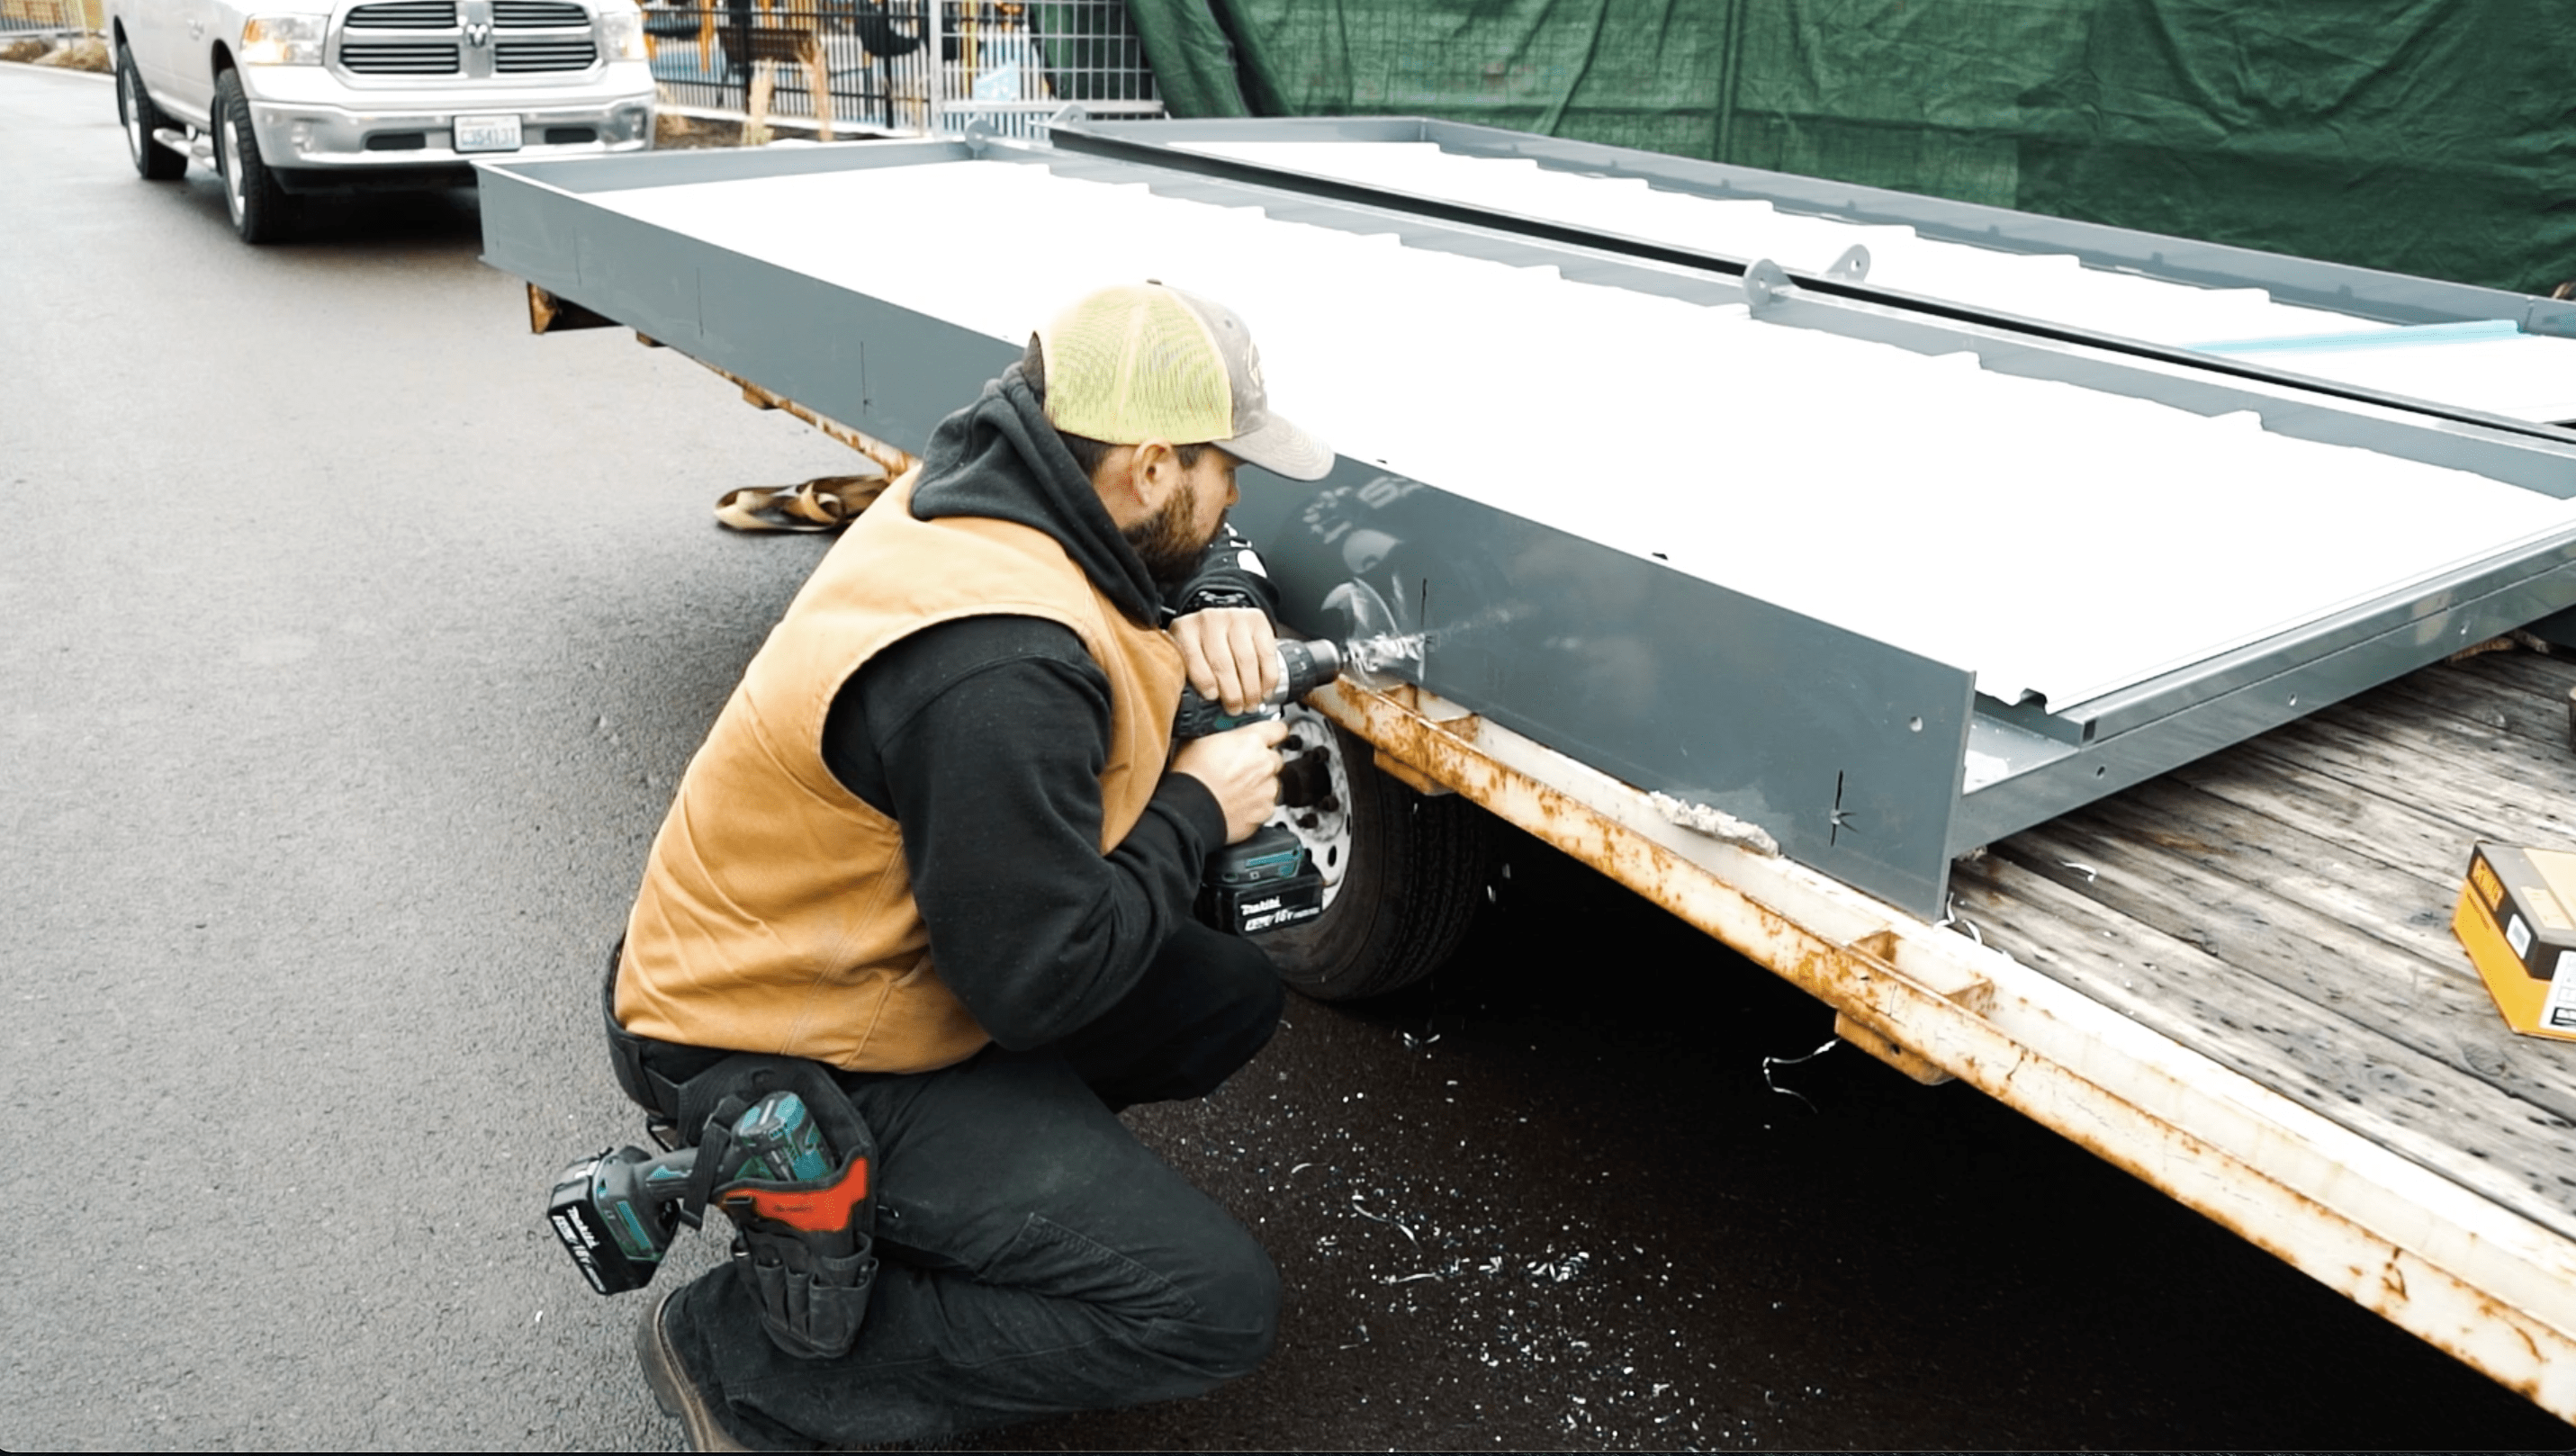
- You will now pre-drill the backplate layout you previously measured and marked.*If you are– installing more than one canopy, repeat this step on every canopy.
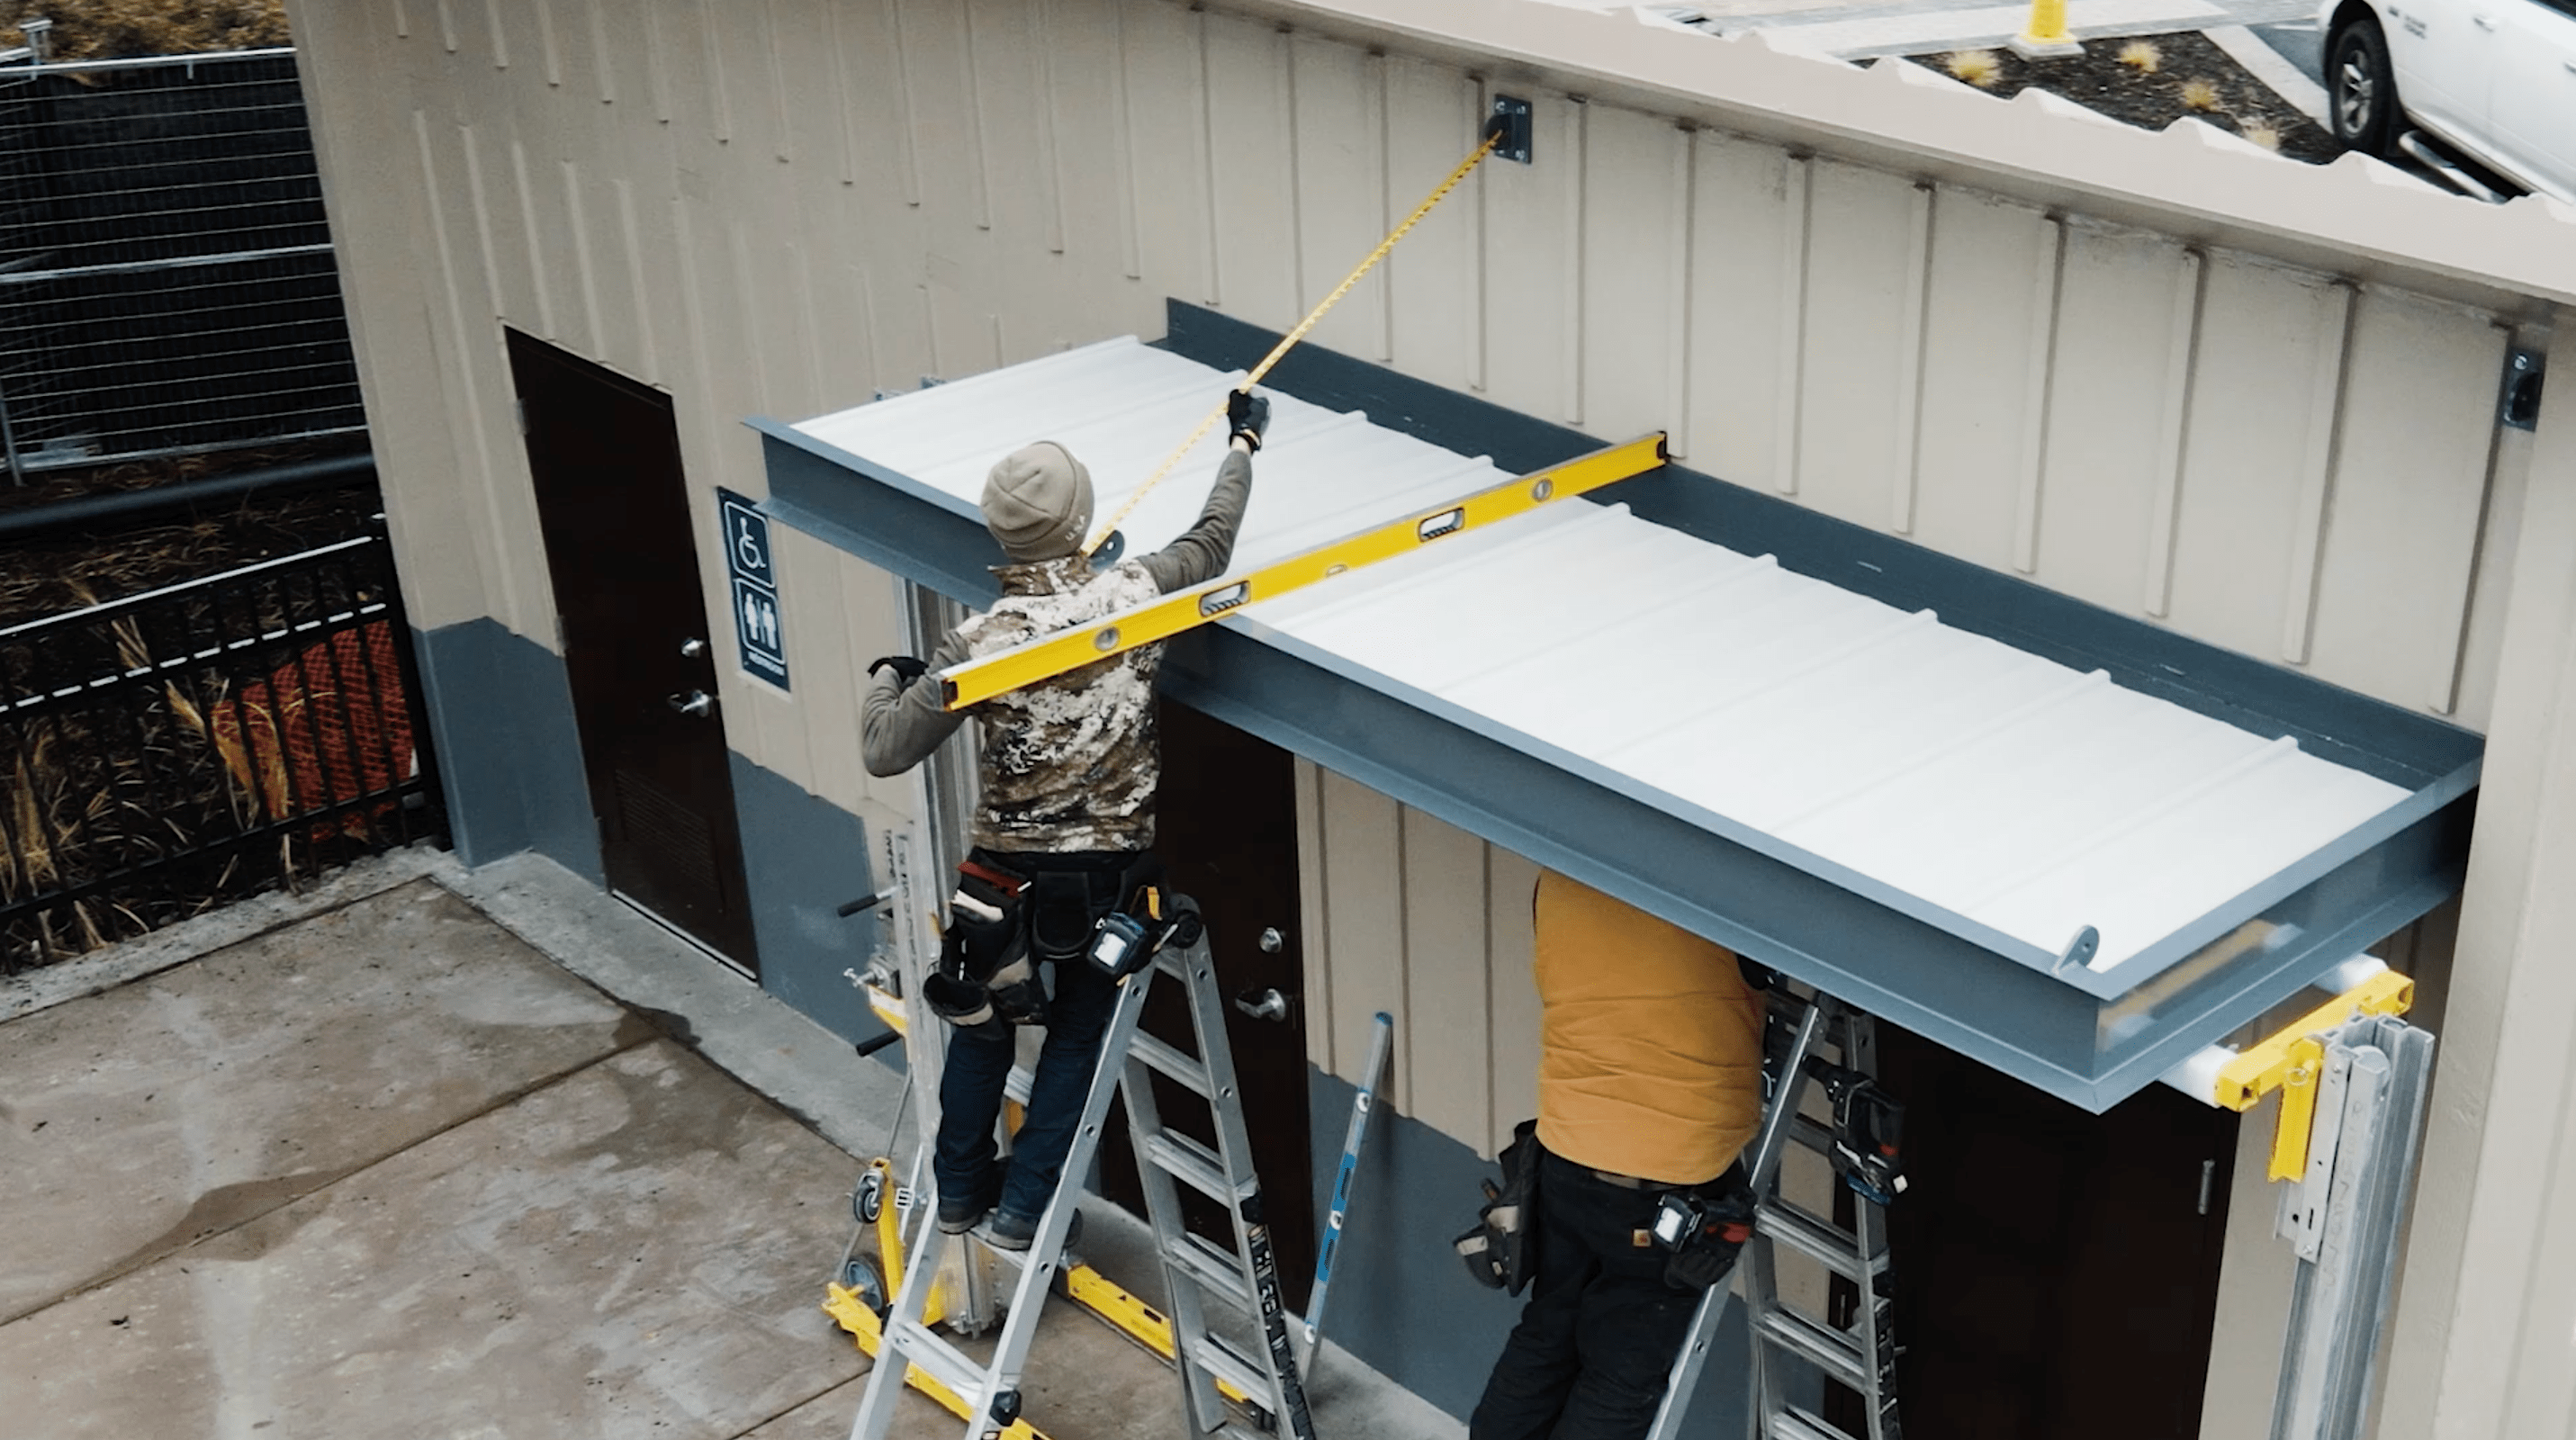
- Now, you will measure the Knife Plate horizontal spacing. This is very important because these measurements will be directly transferred to the wall for the canopy installation.
Step 2: Knife-Plate Installation
- Now we will start the Canopy installation process. First, we will use the horizontal Knife Plate measurements that we took in the pre-drill process as a general starting point. You will still measure the distance between the knife plates on your wall to ensure the measurements align with your canopies horizontal knife plates.
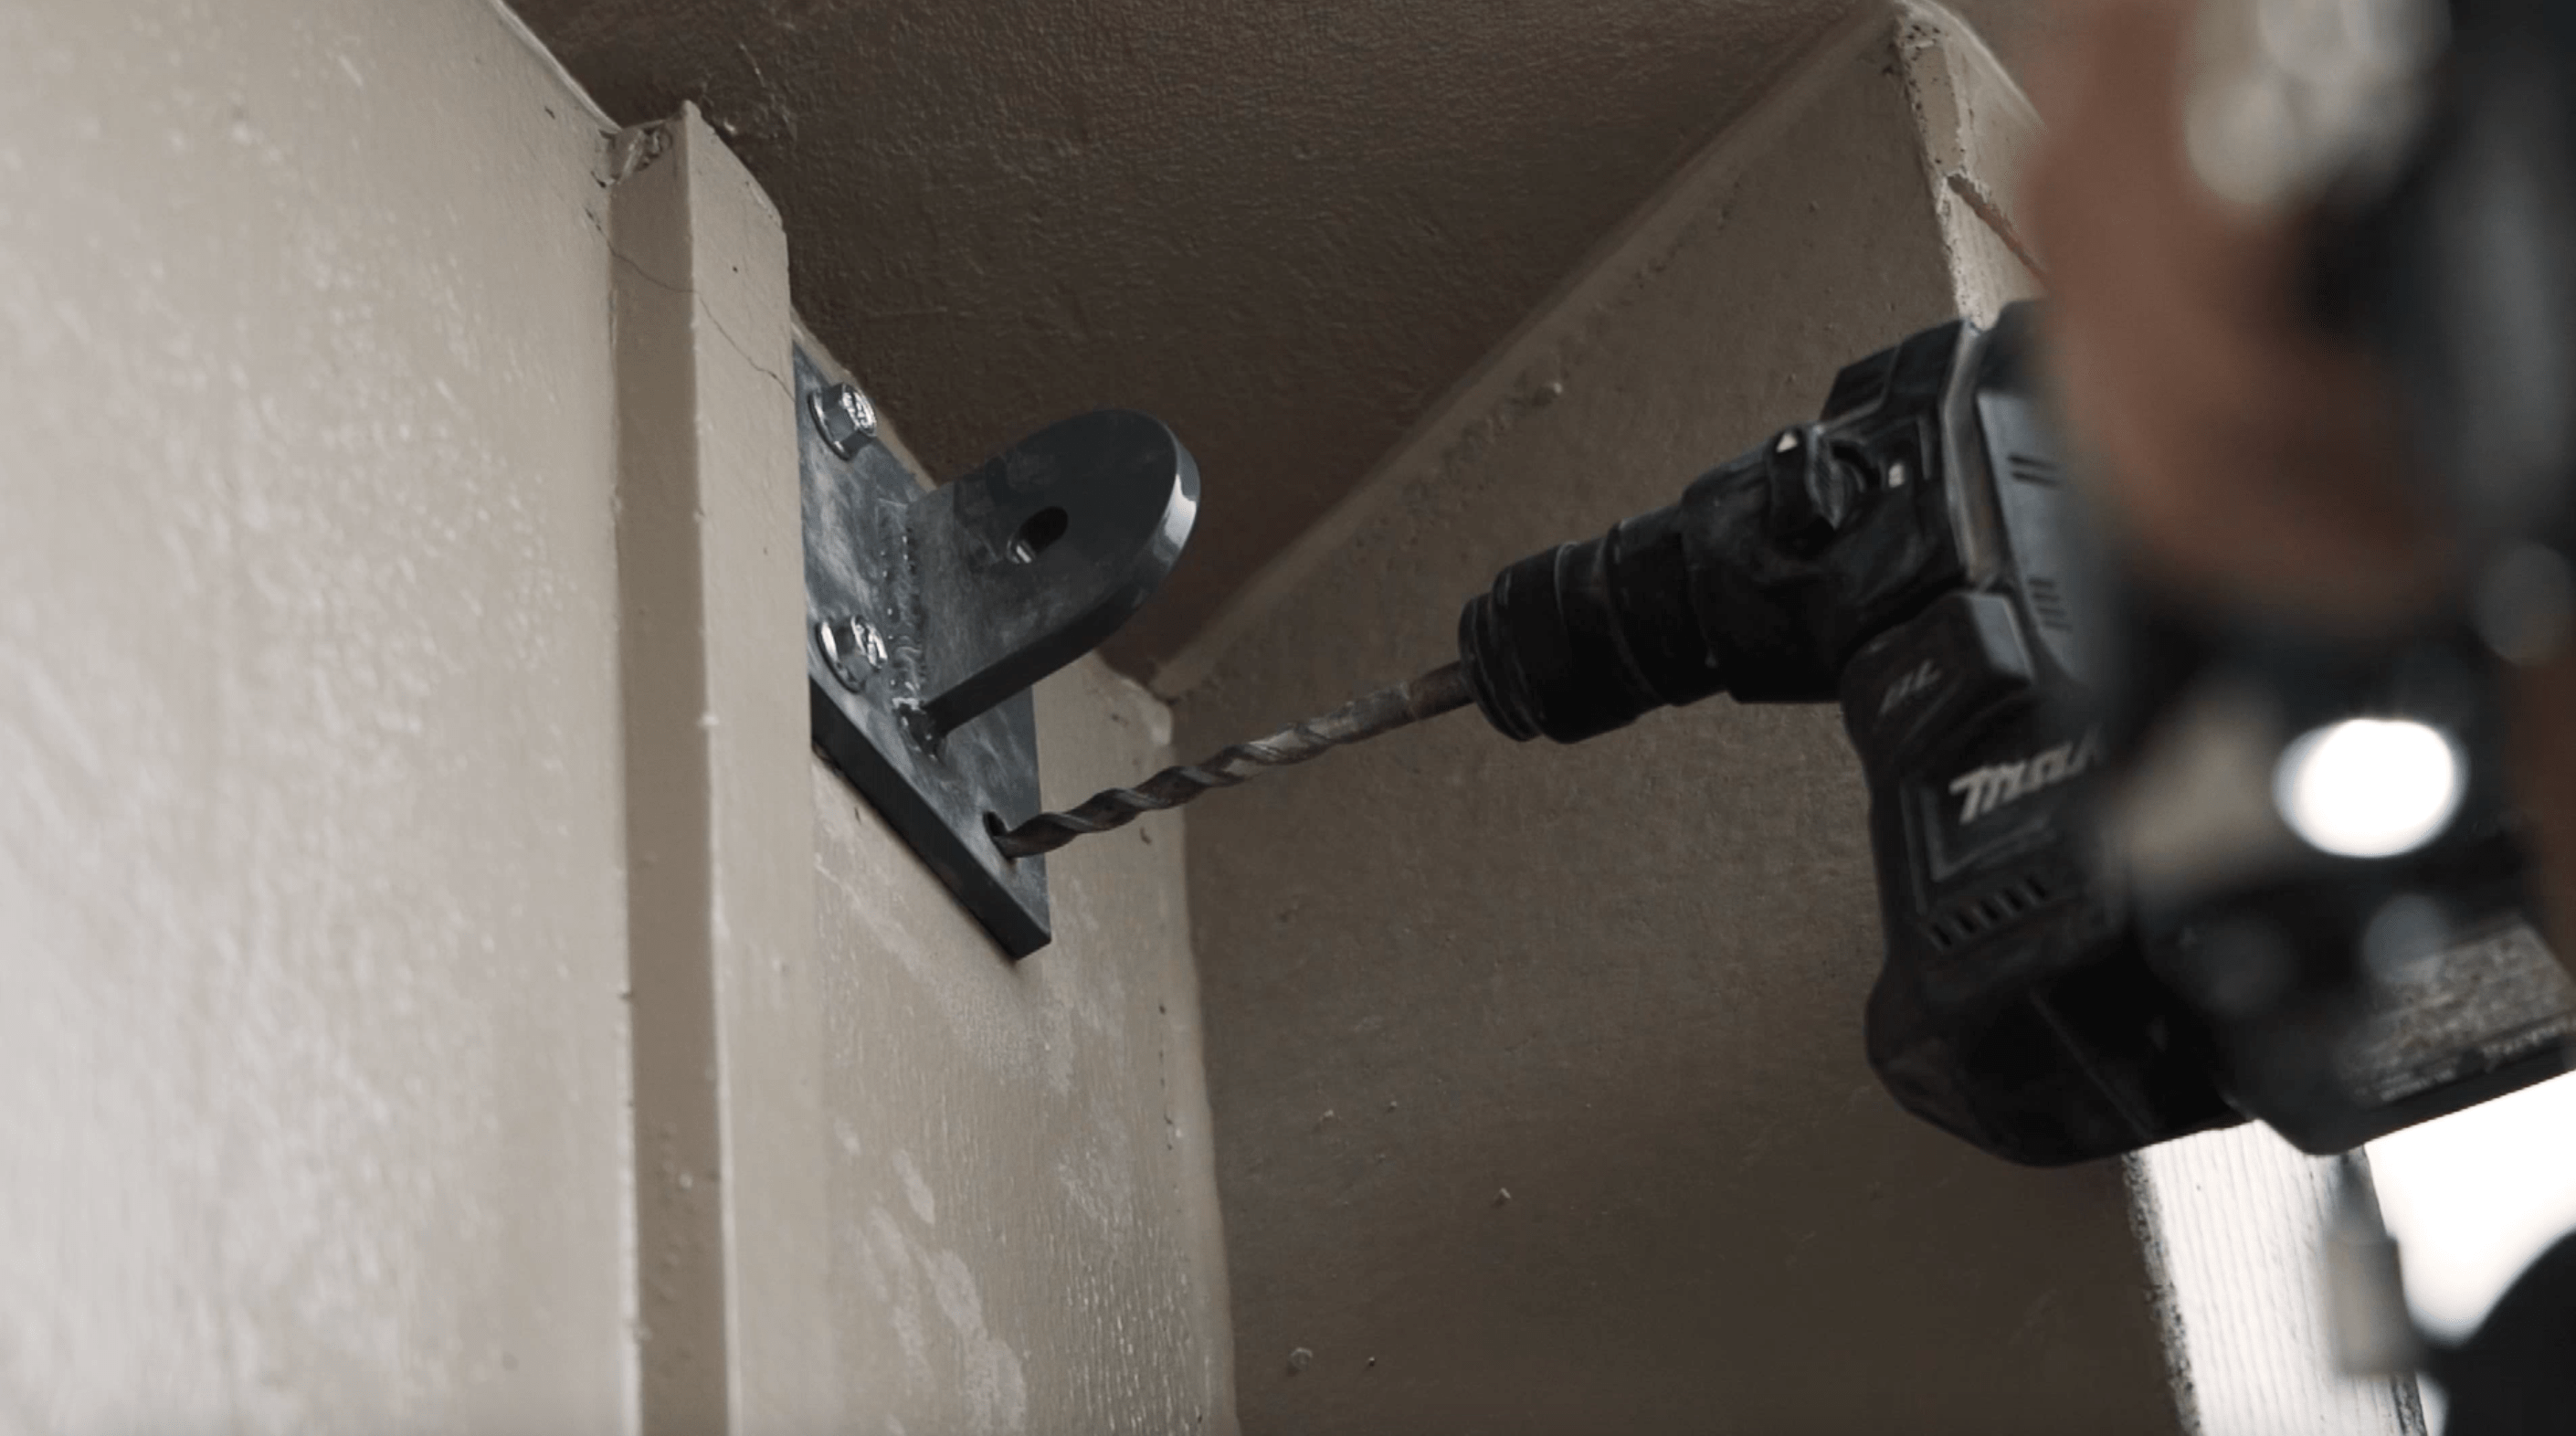
- You will now drill your knife plate holes in the wall. The elevation of the Knife Plates should match the projection of the canopy.
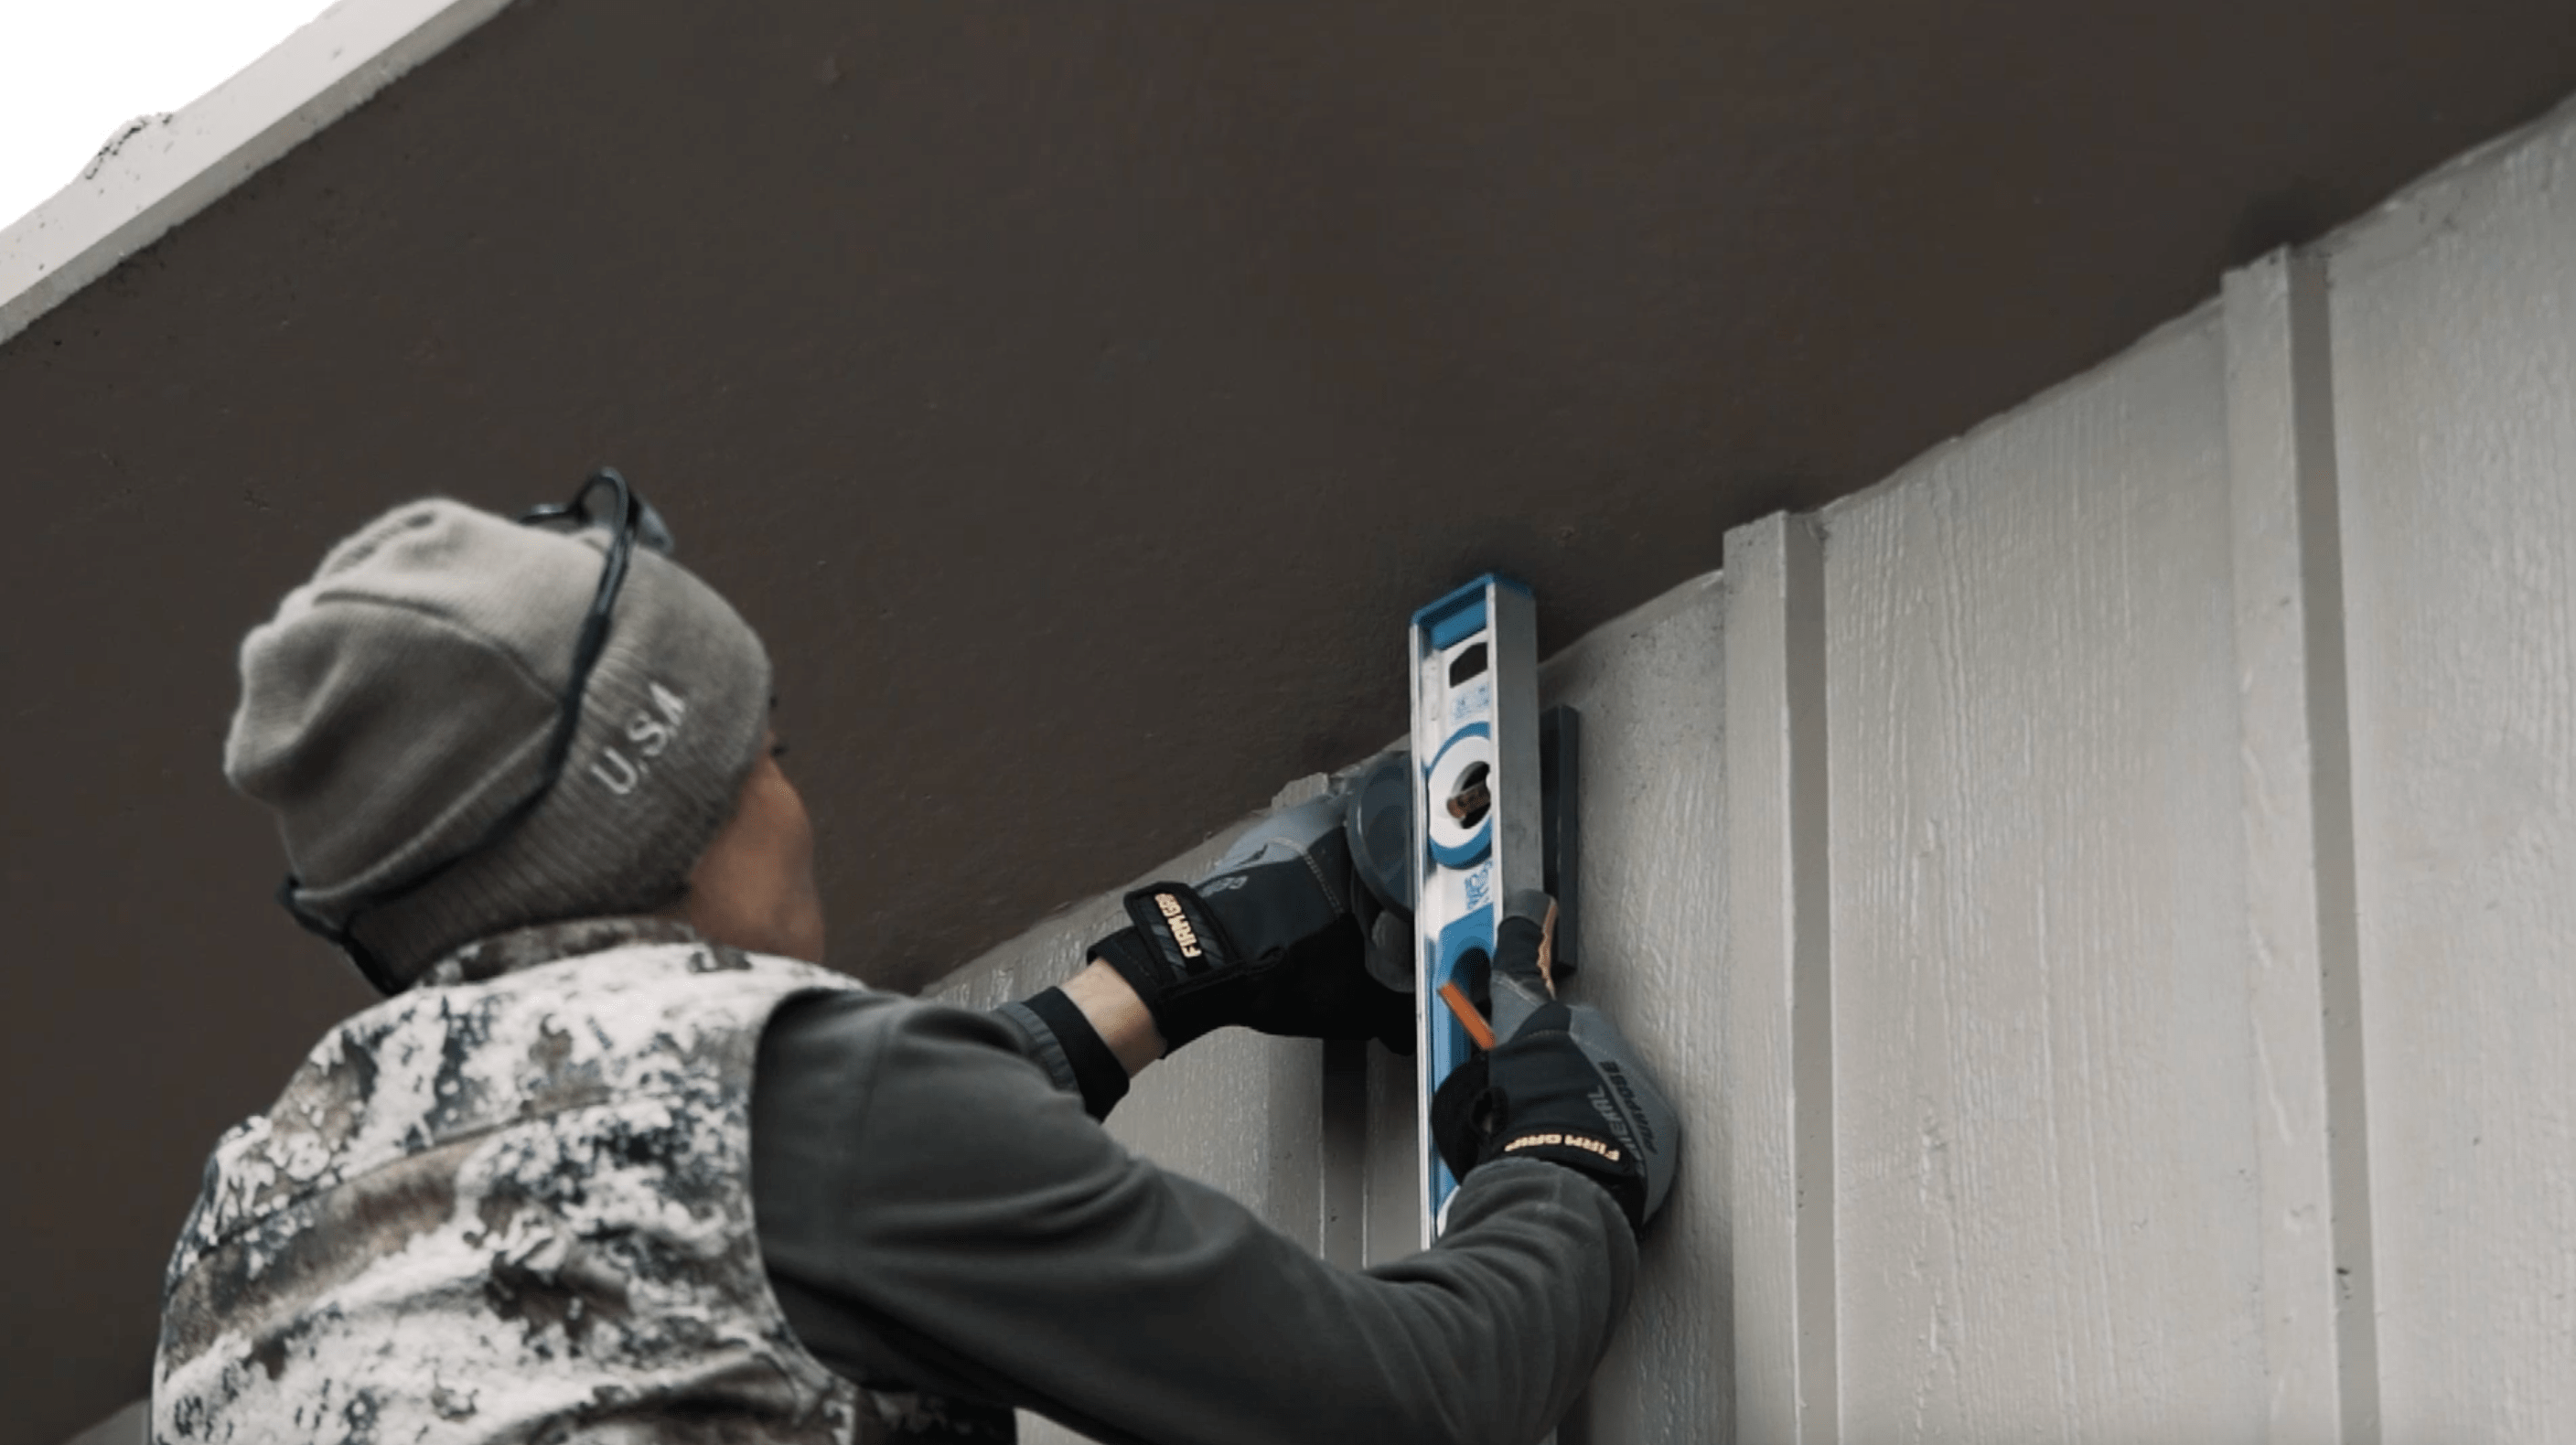
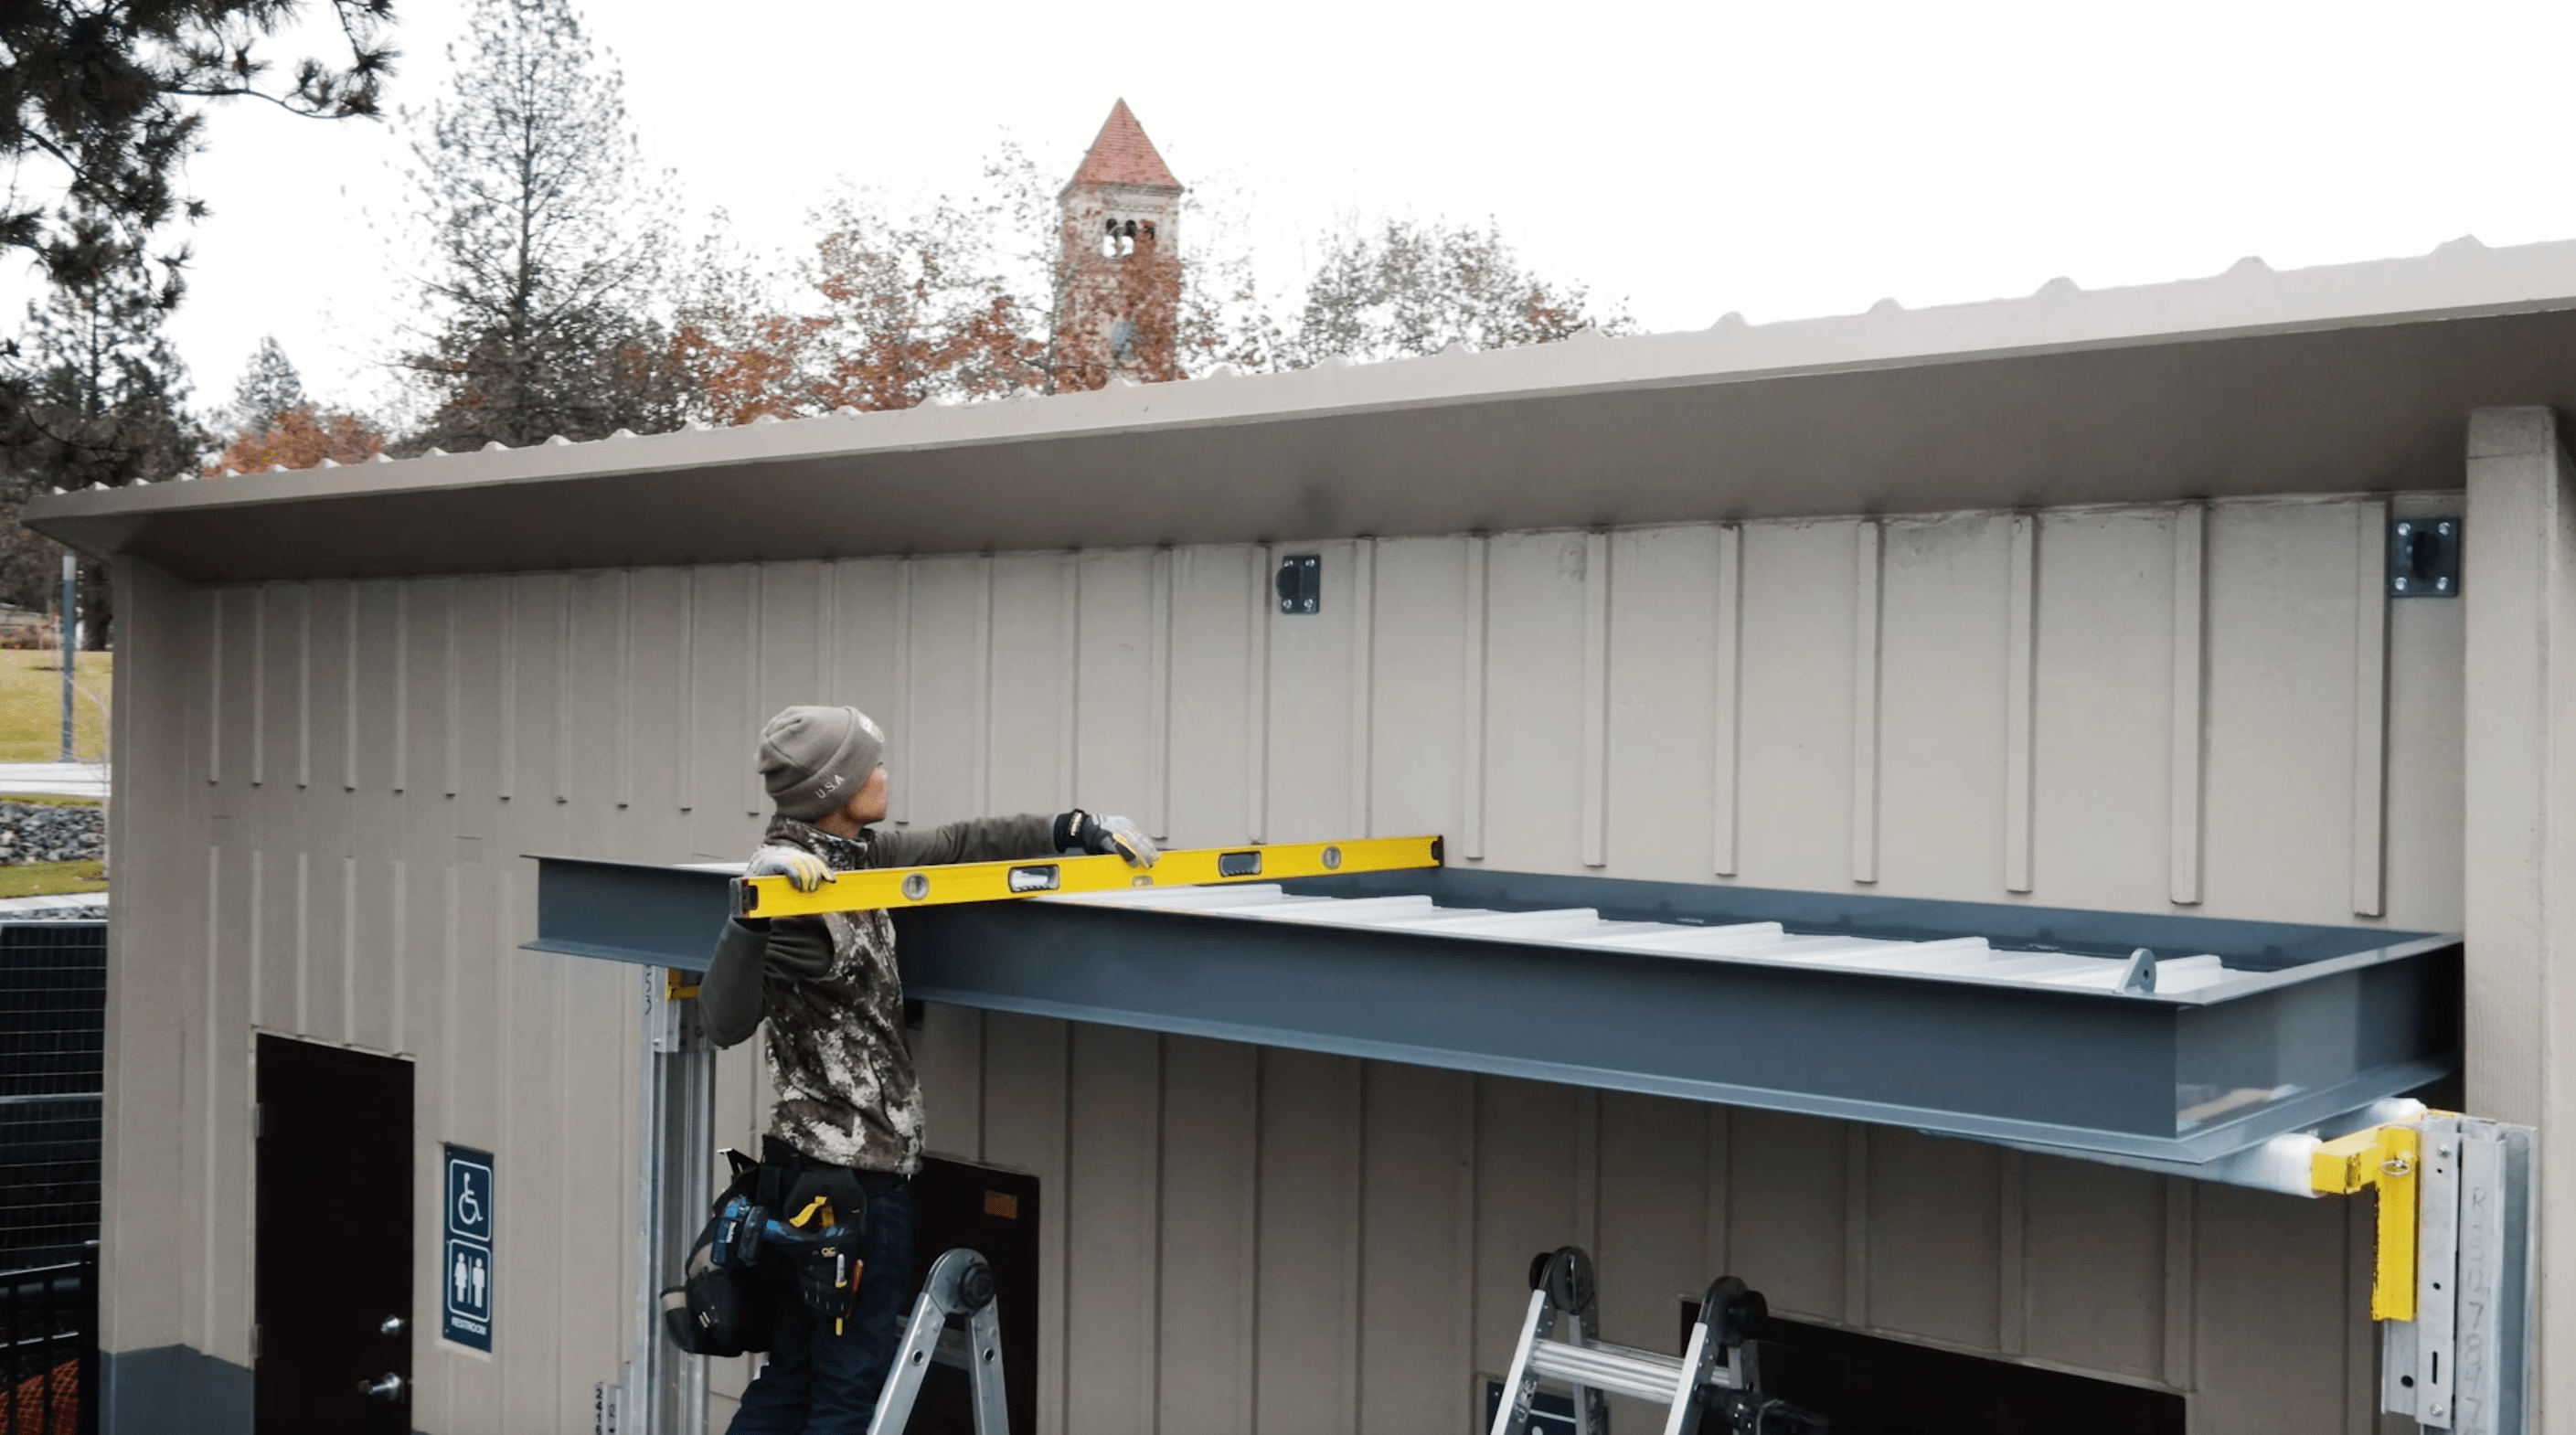
- Ensure that the Knife Plates are level. Now, you can place the Knife Plates on the wall and drill them out.
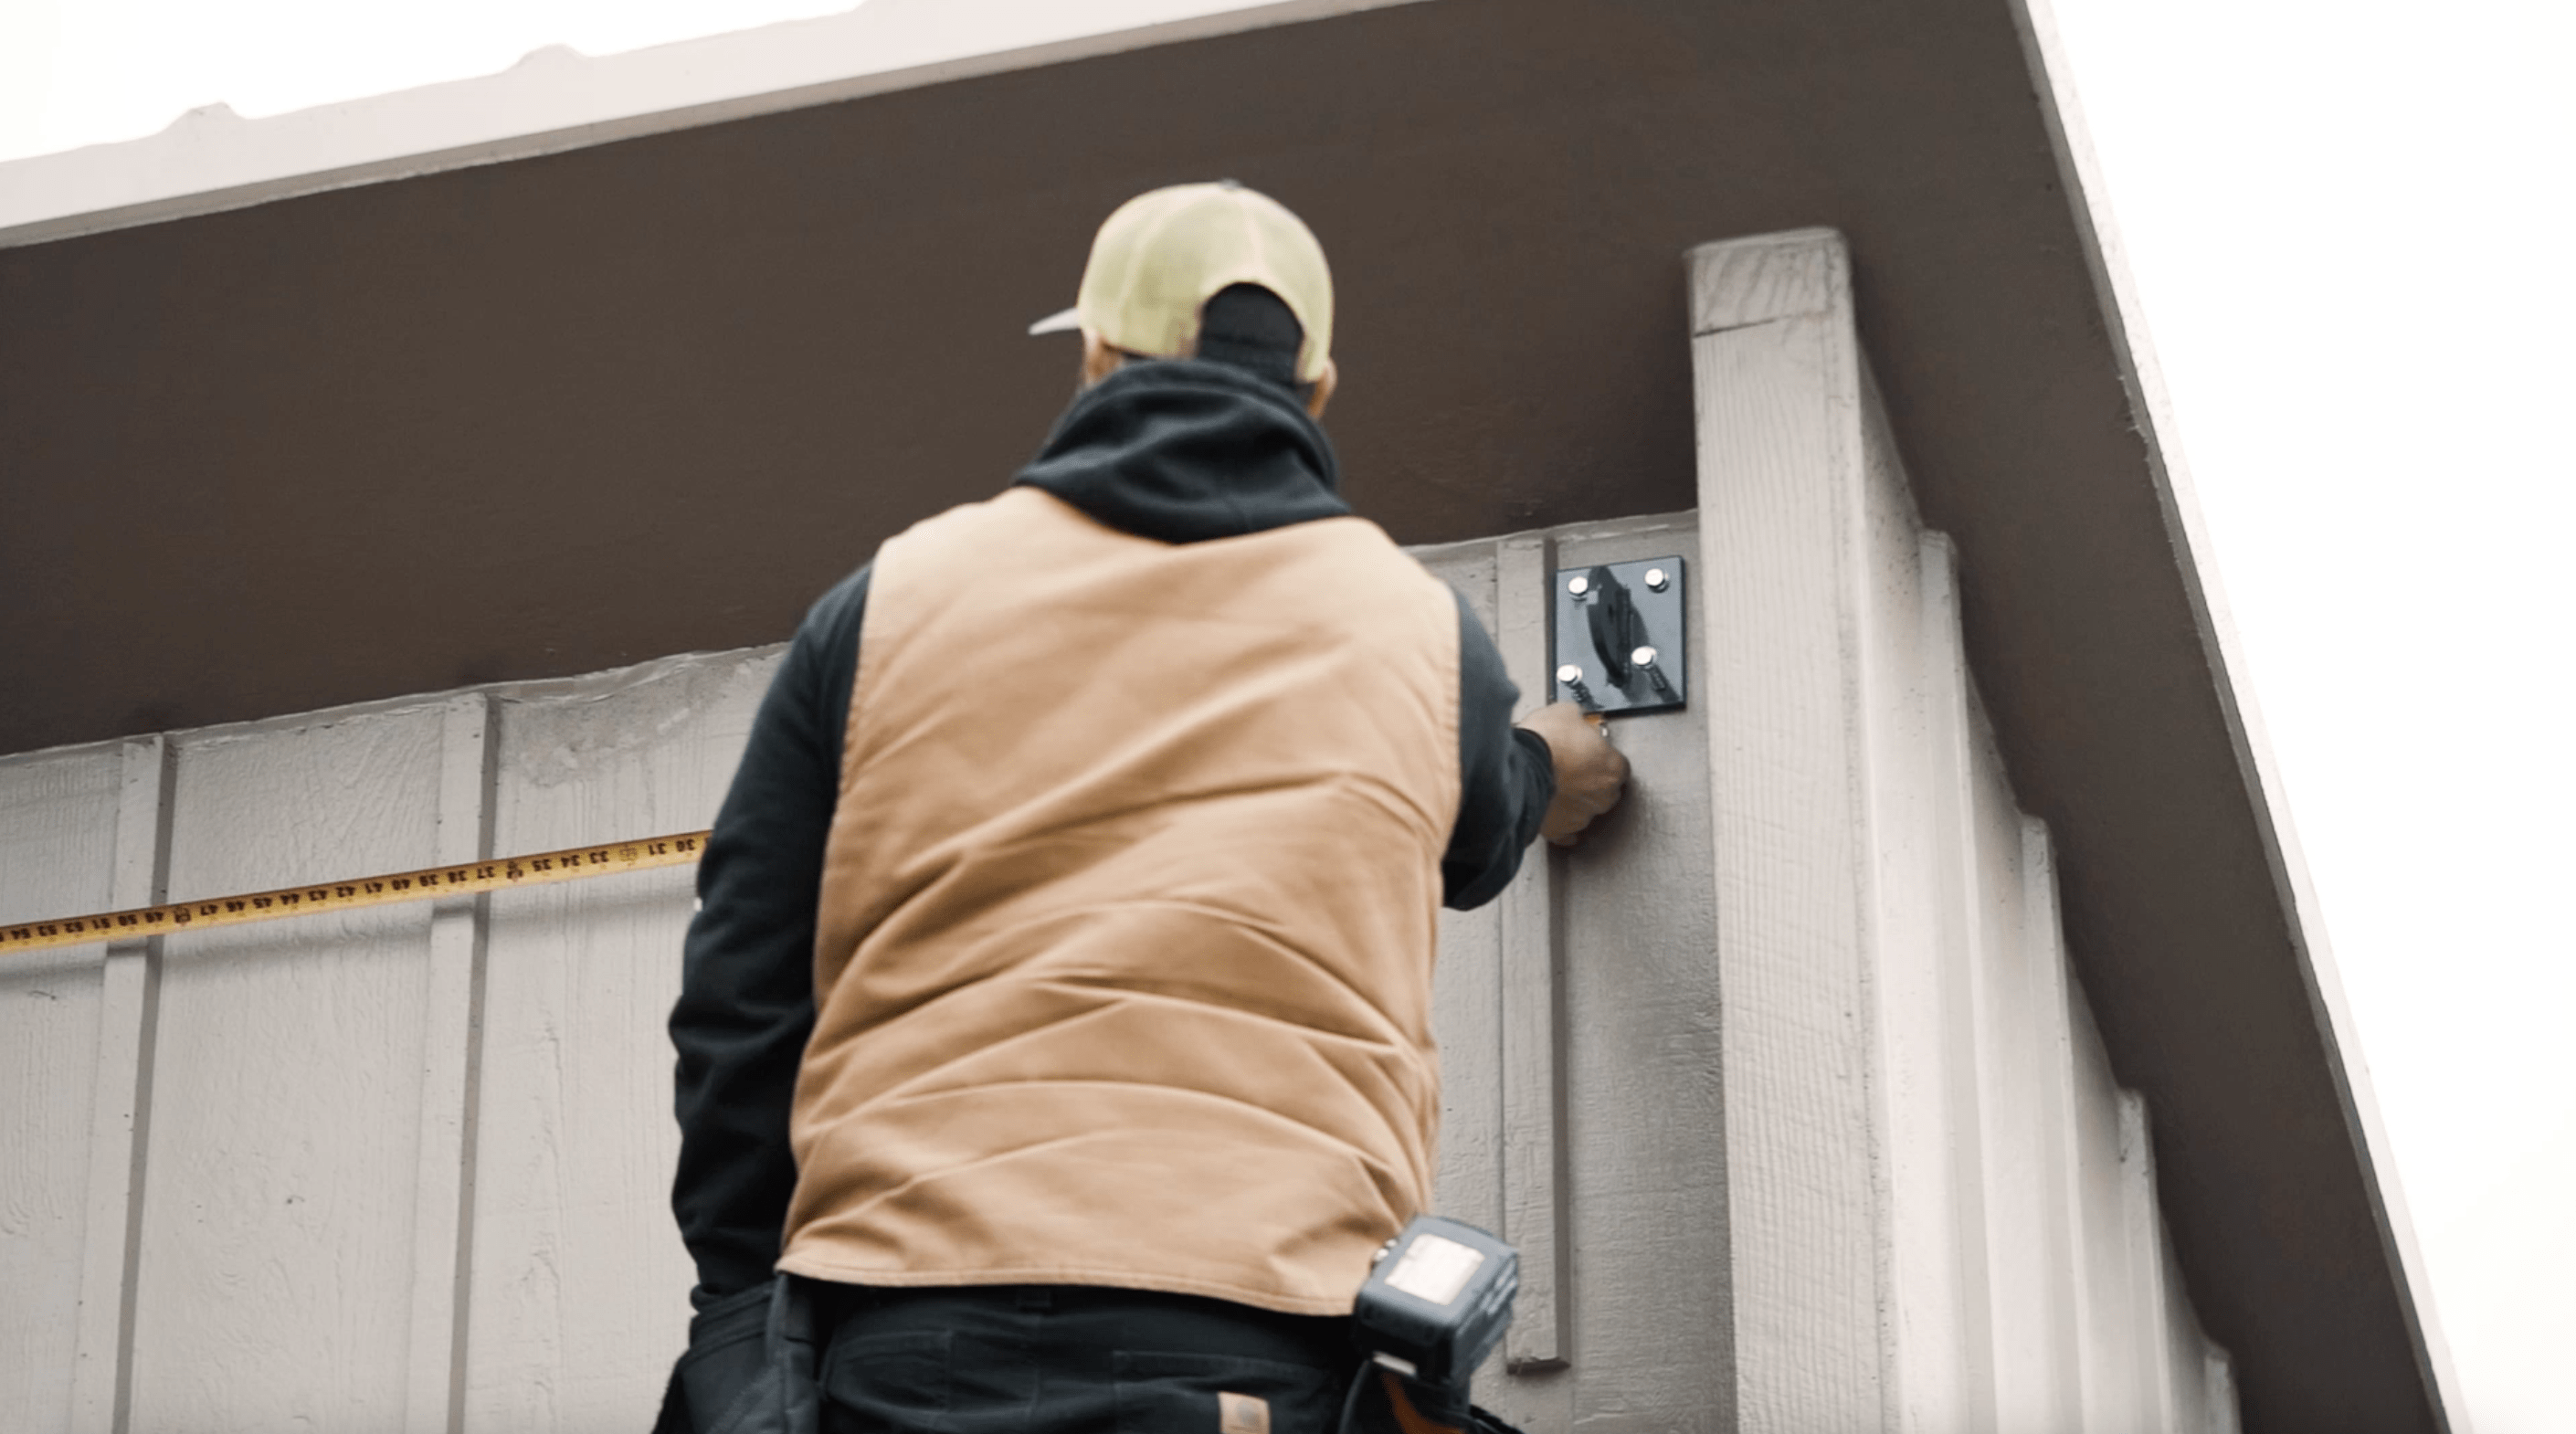
- Once Knife Plates are drilled out, you can attach them to the wall.
Step 3: Canopy Wall Installation
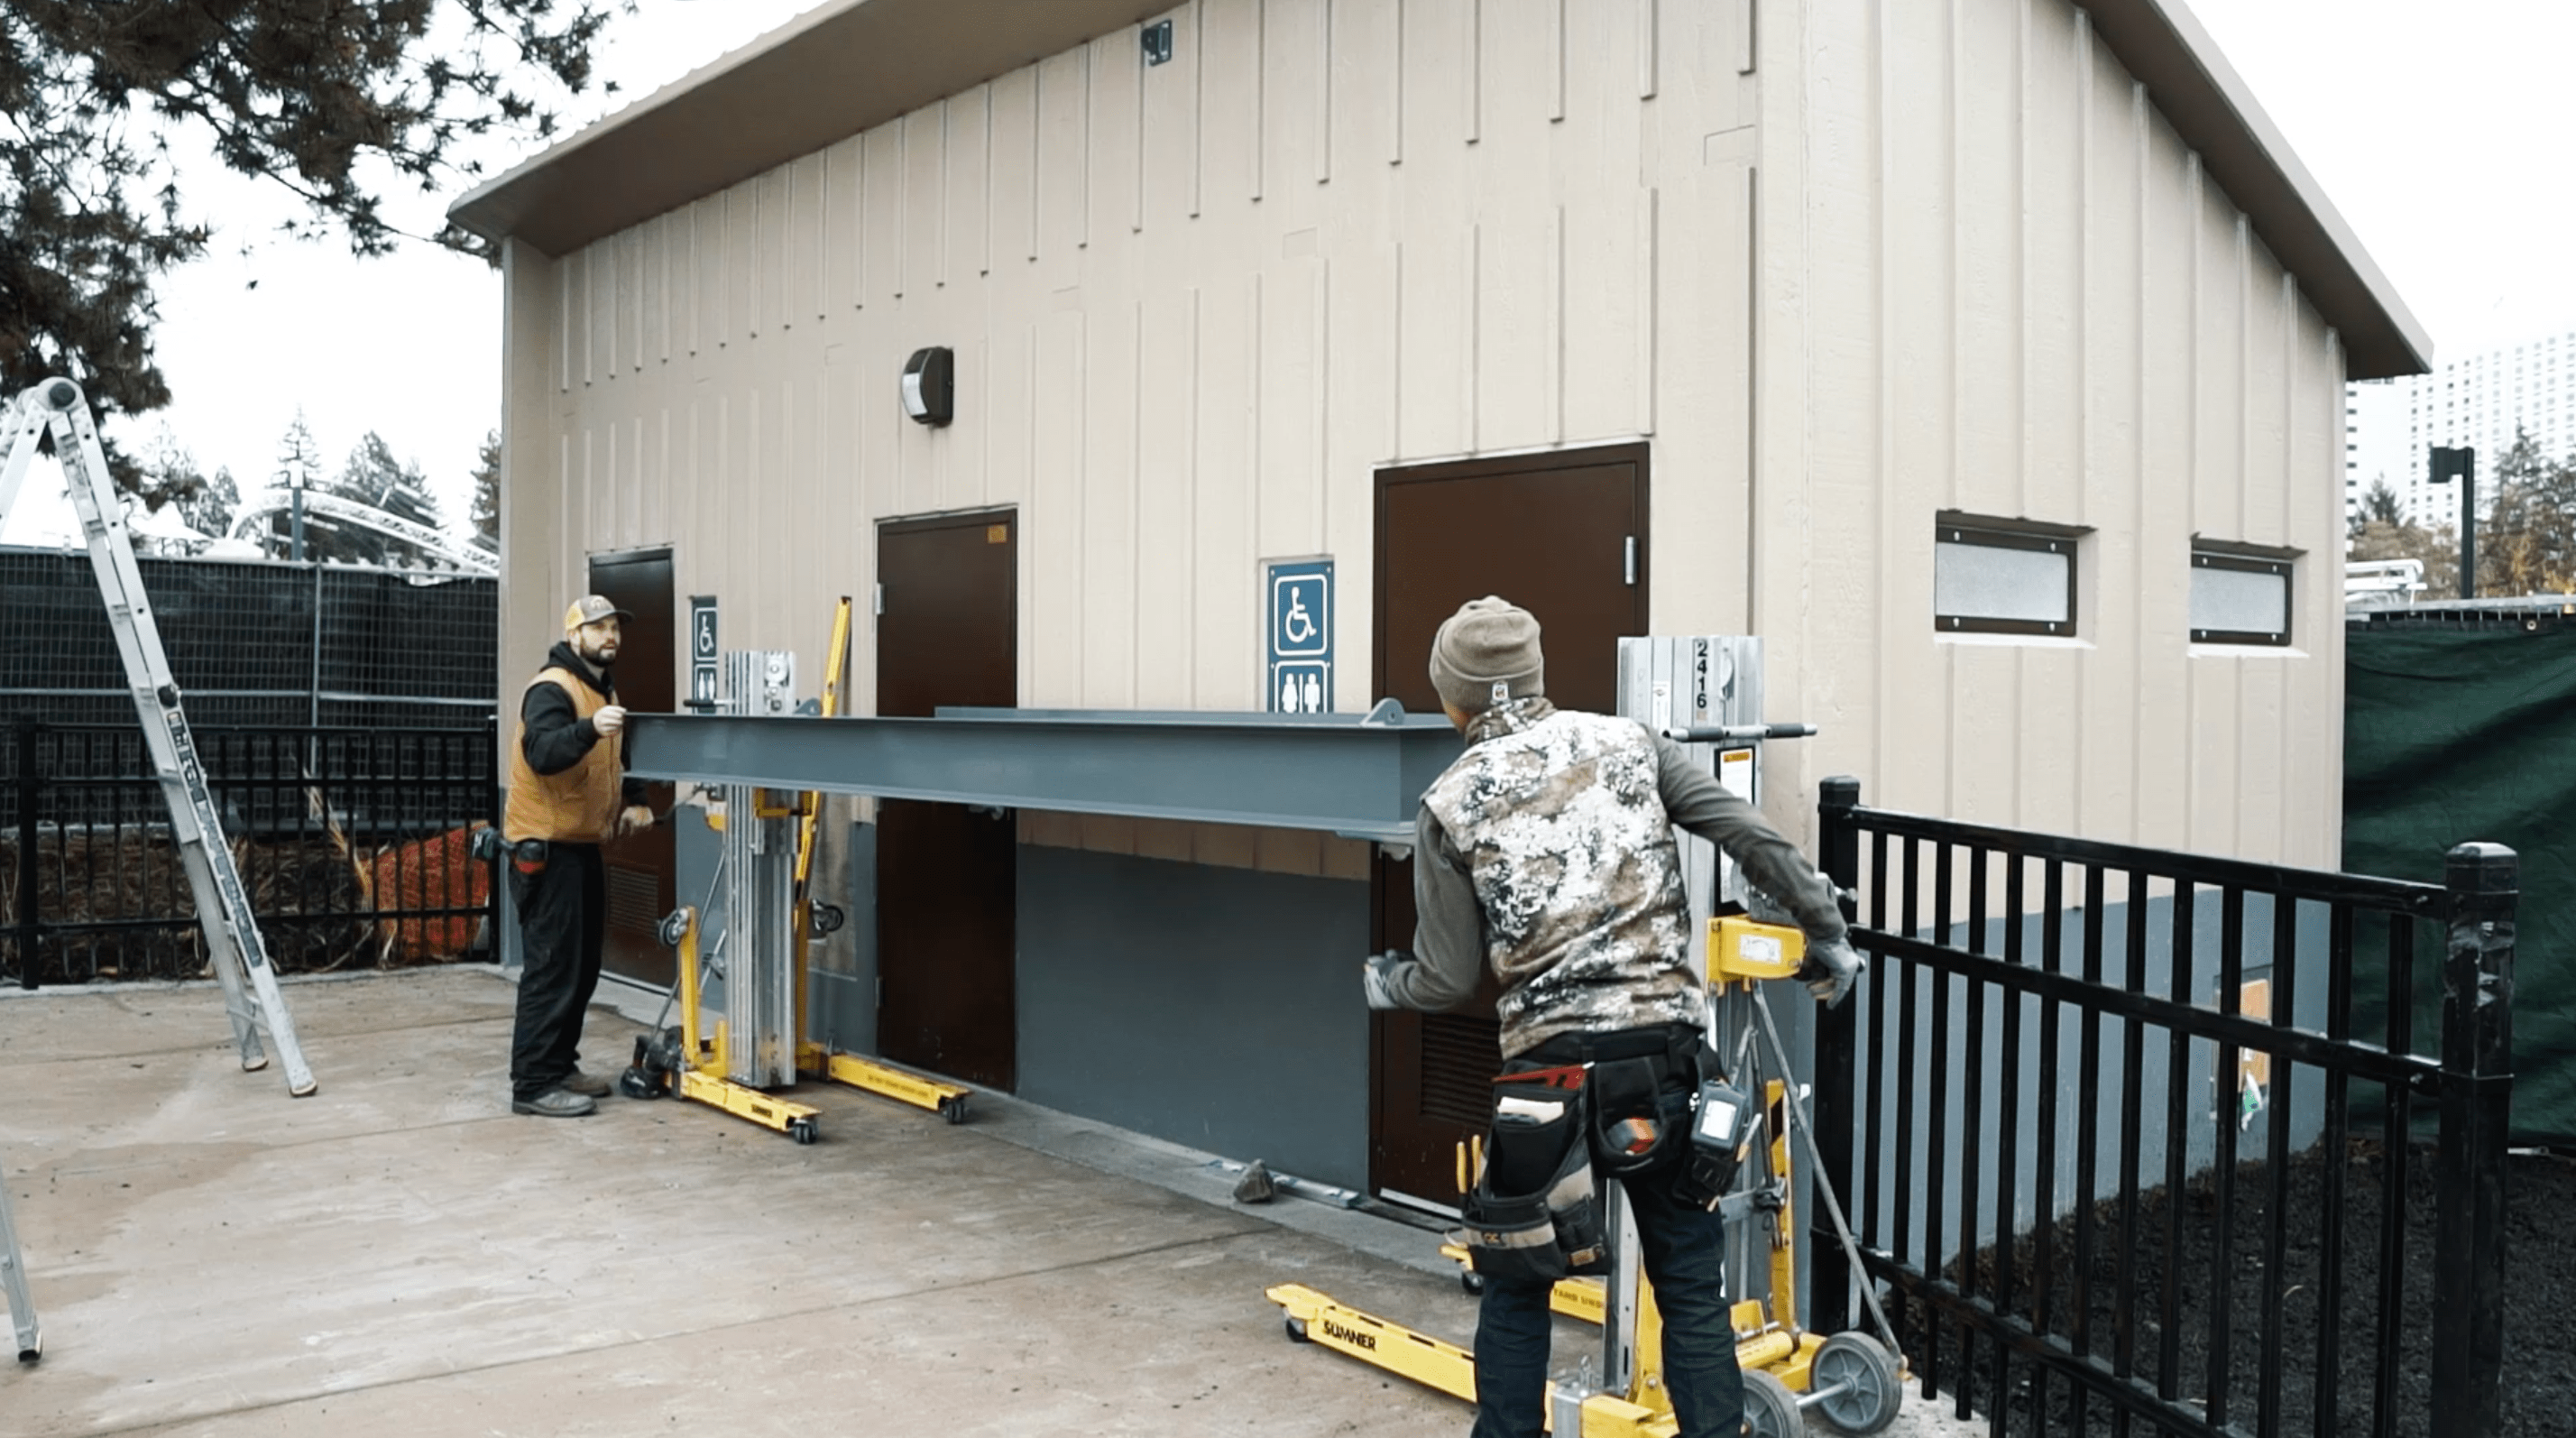
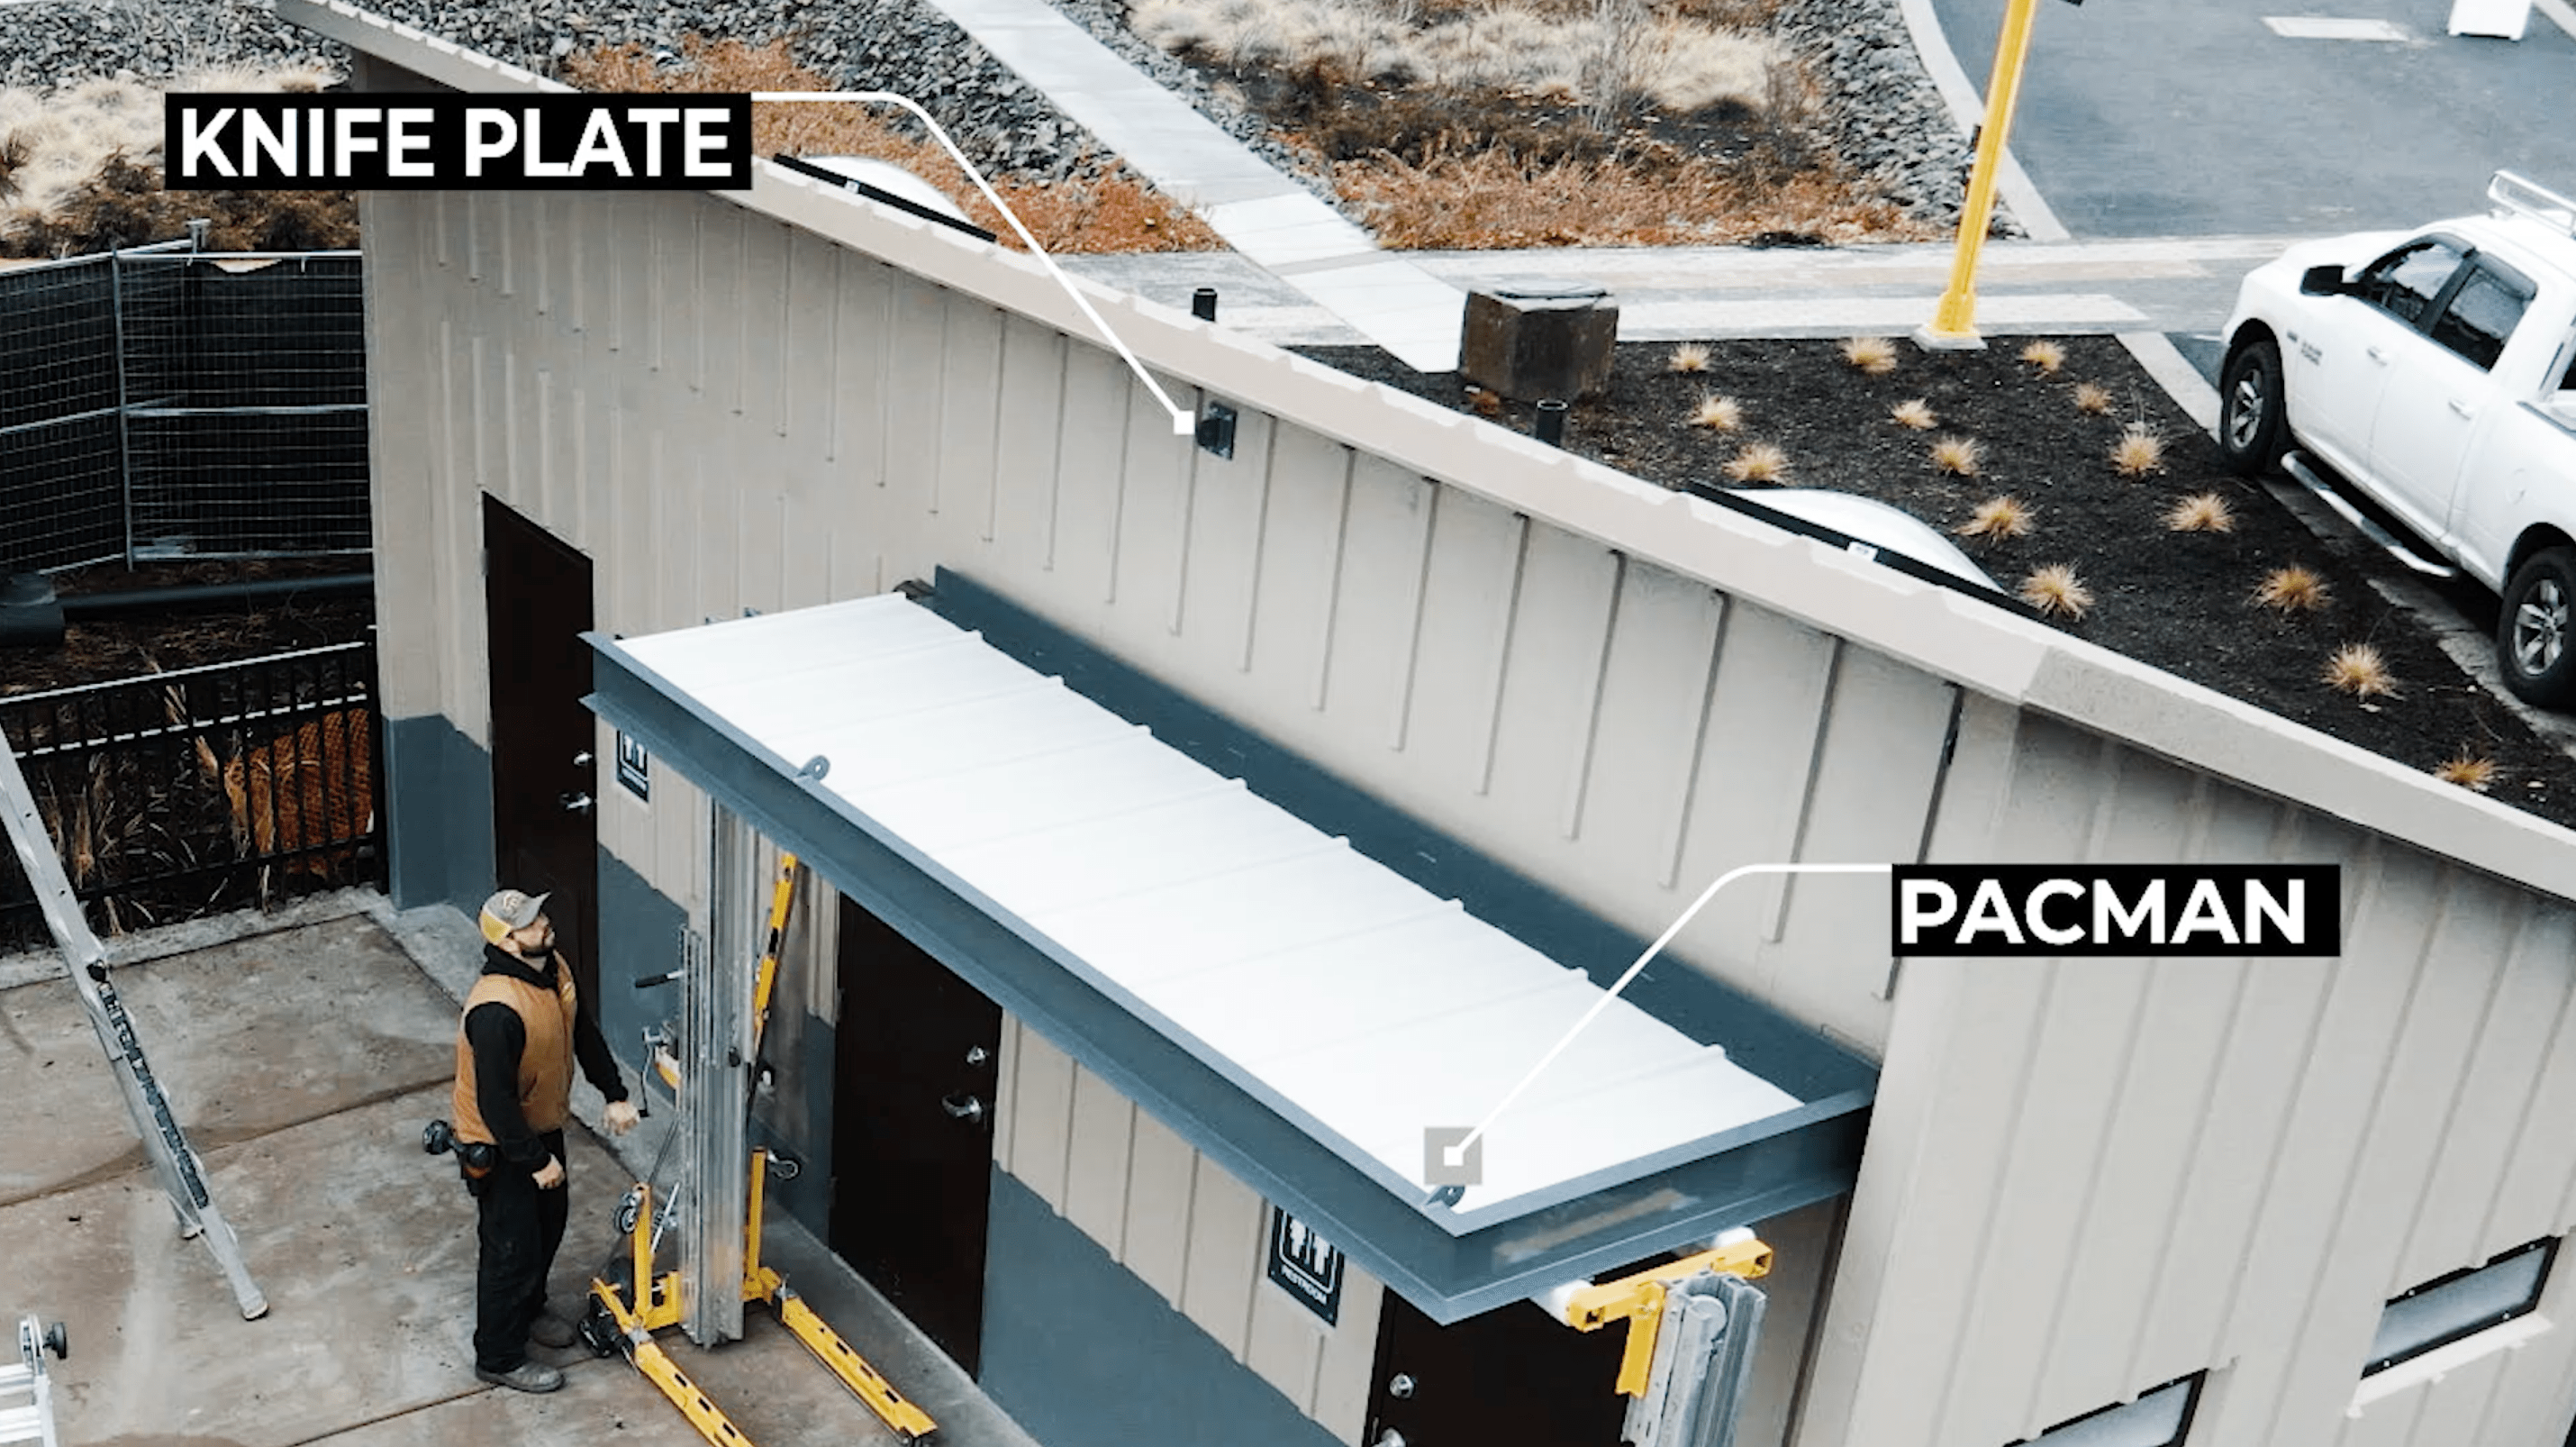
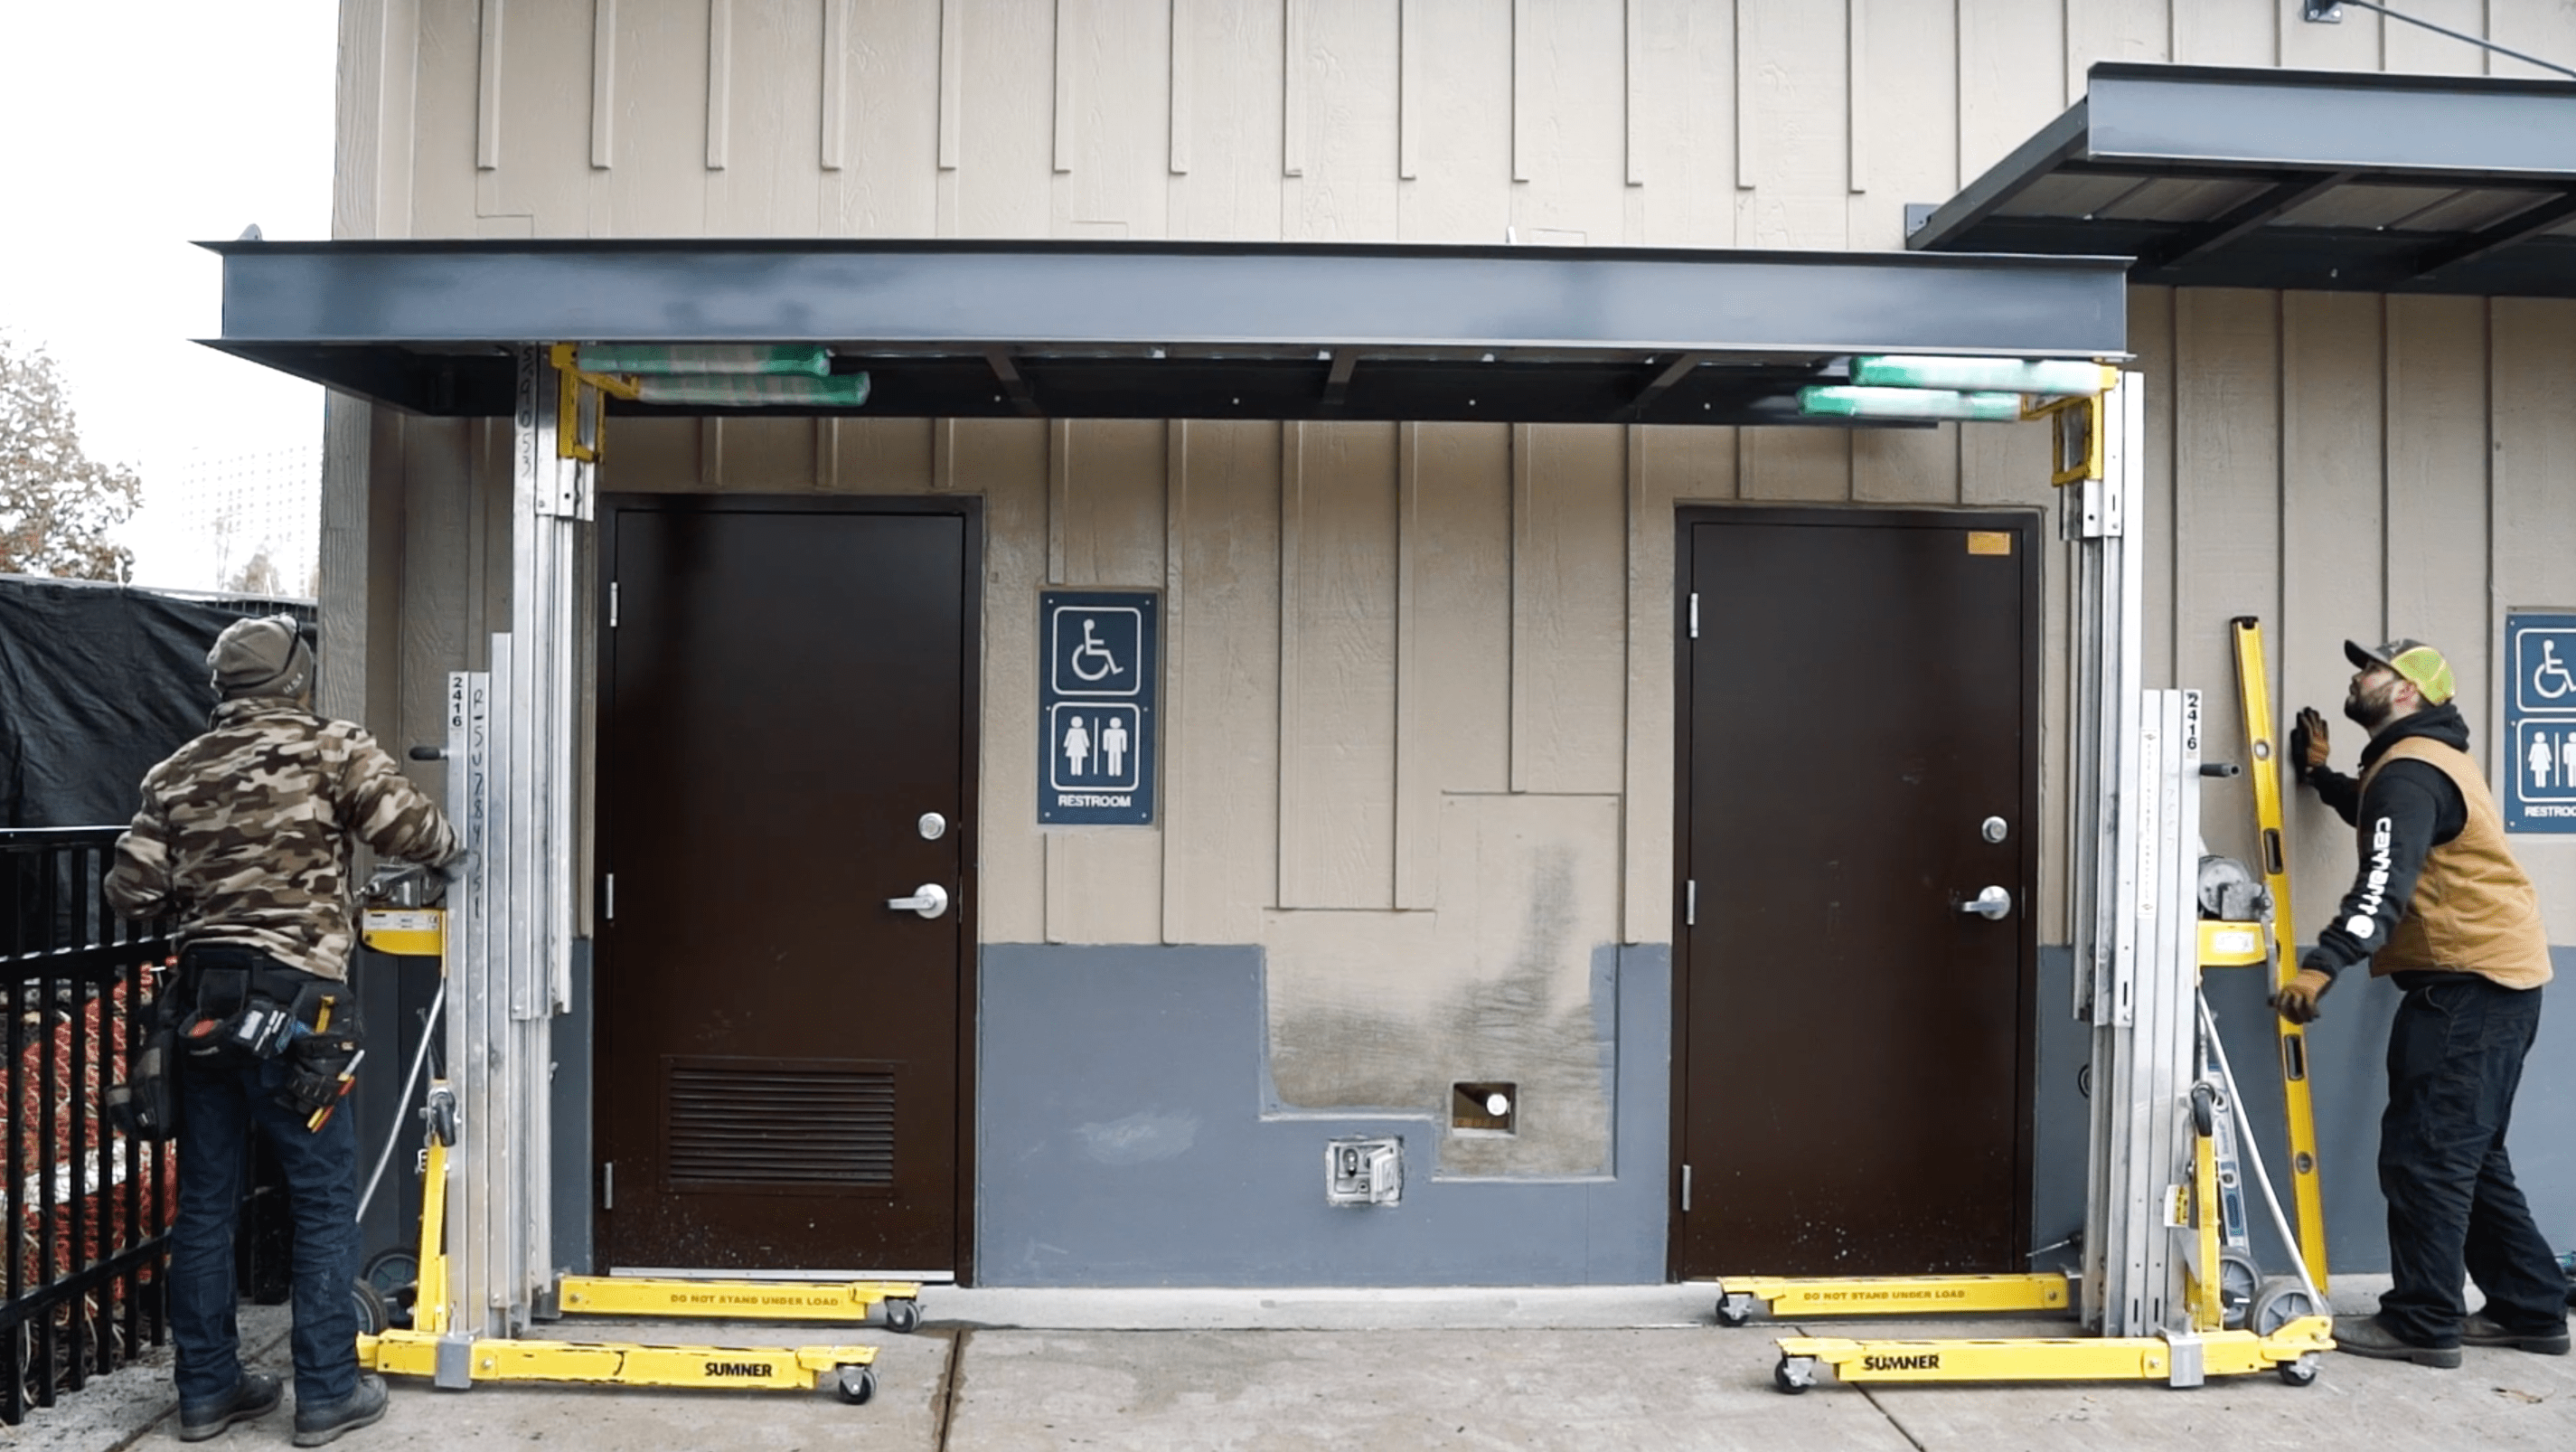
- Place Canopy on the lift and position it to align Pacman with the Knife Plates. *You must make sure the Pacman and Knife Plates are aligned.
- Again, the elevation of the Knife Plates should match the projection of the canopy.
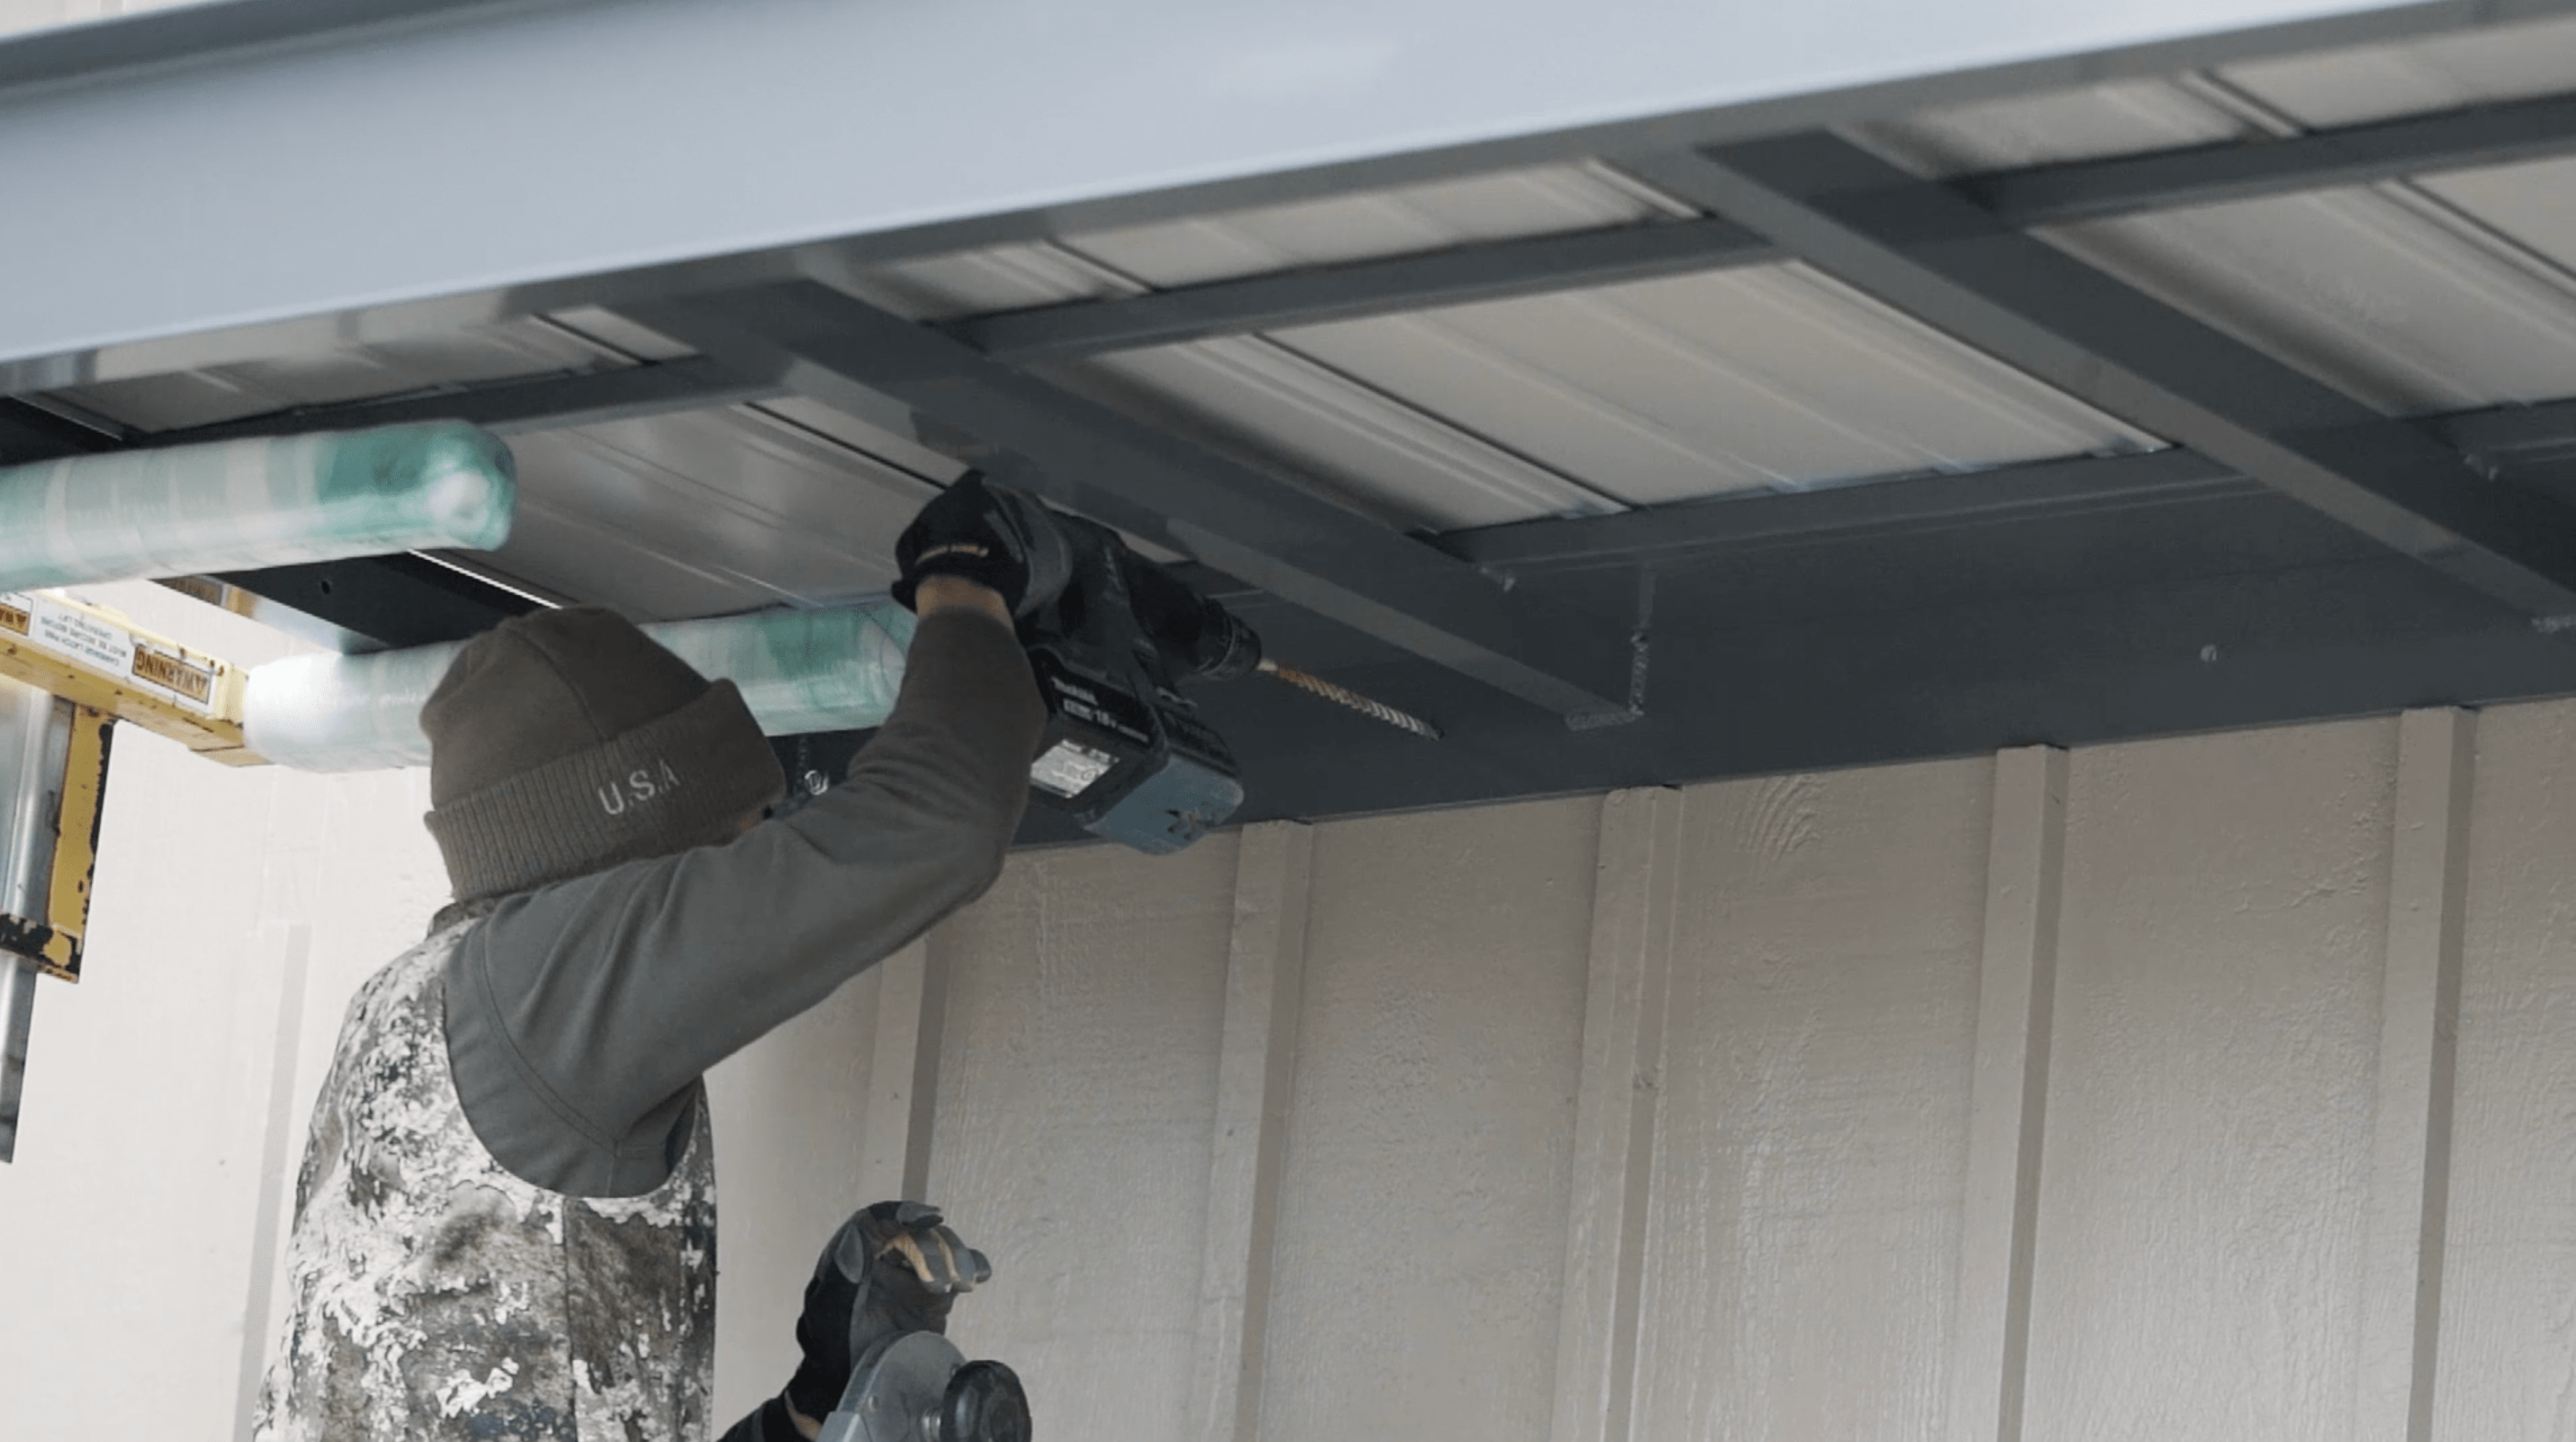
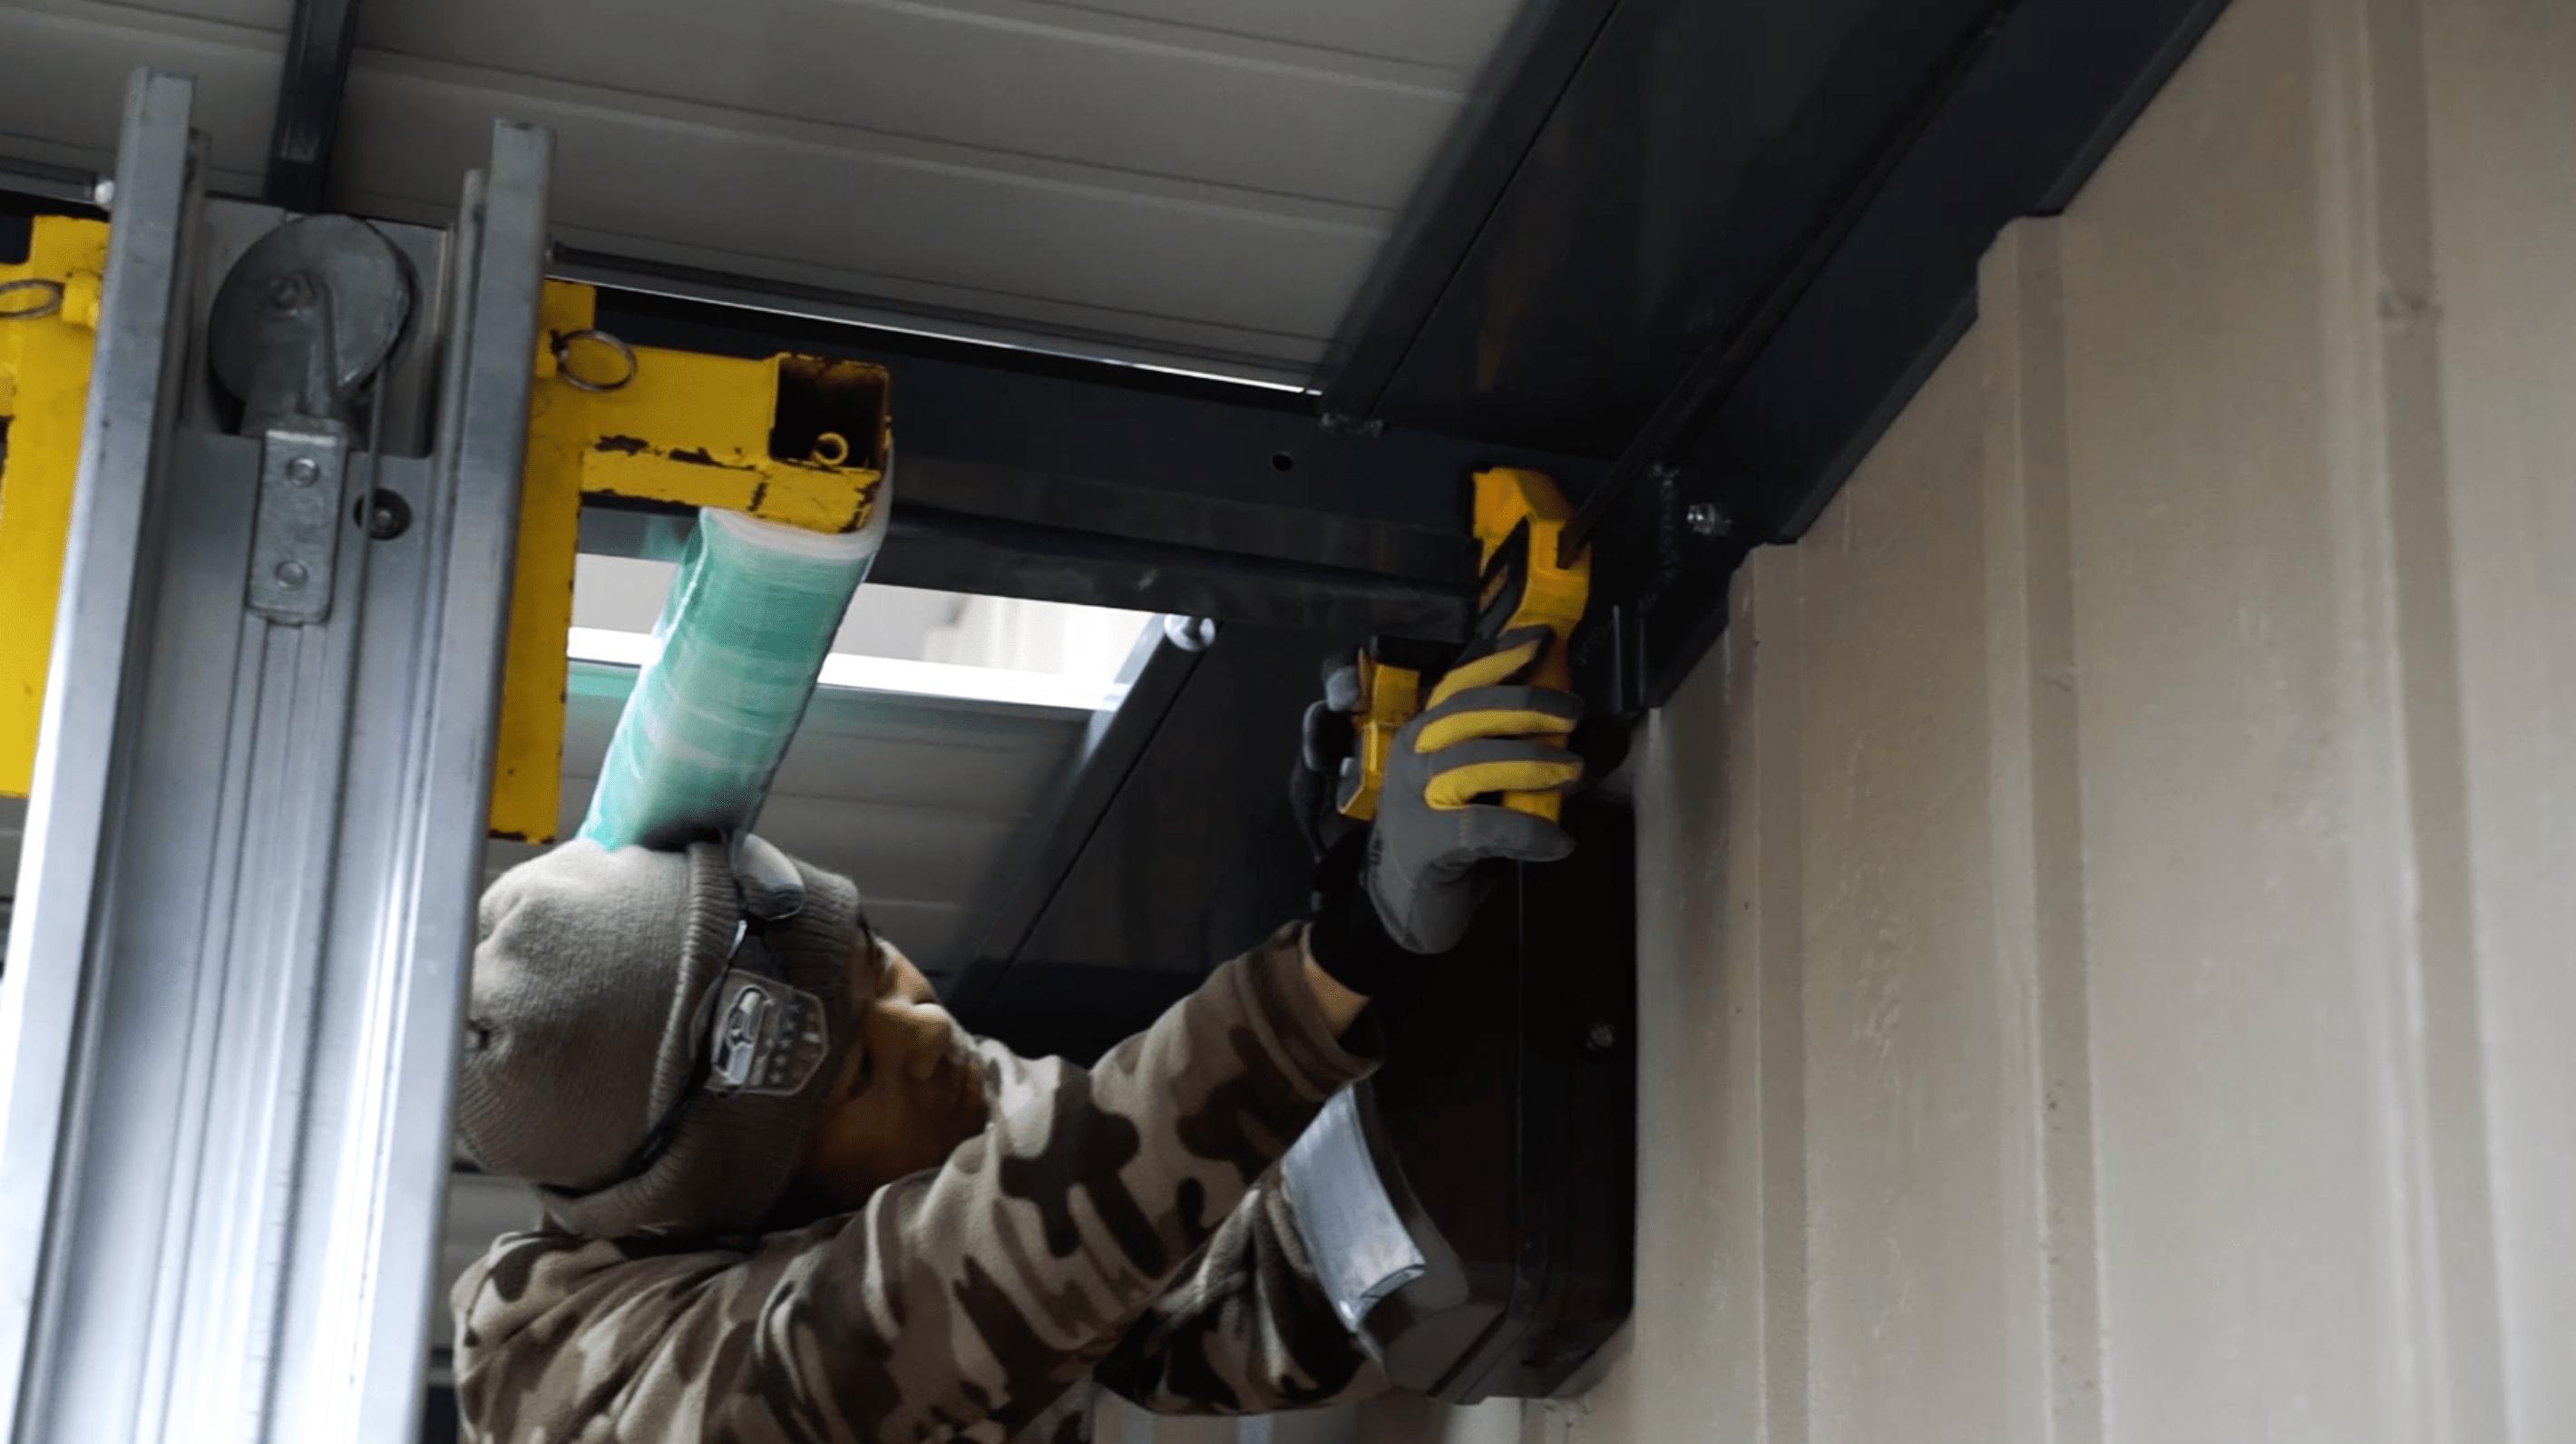
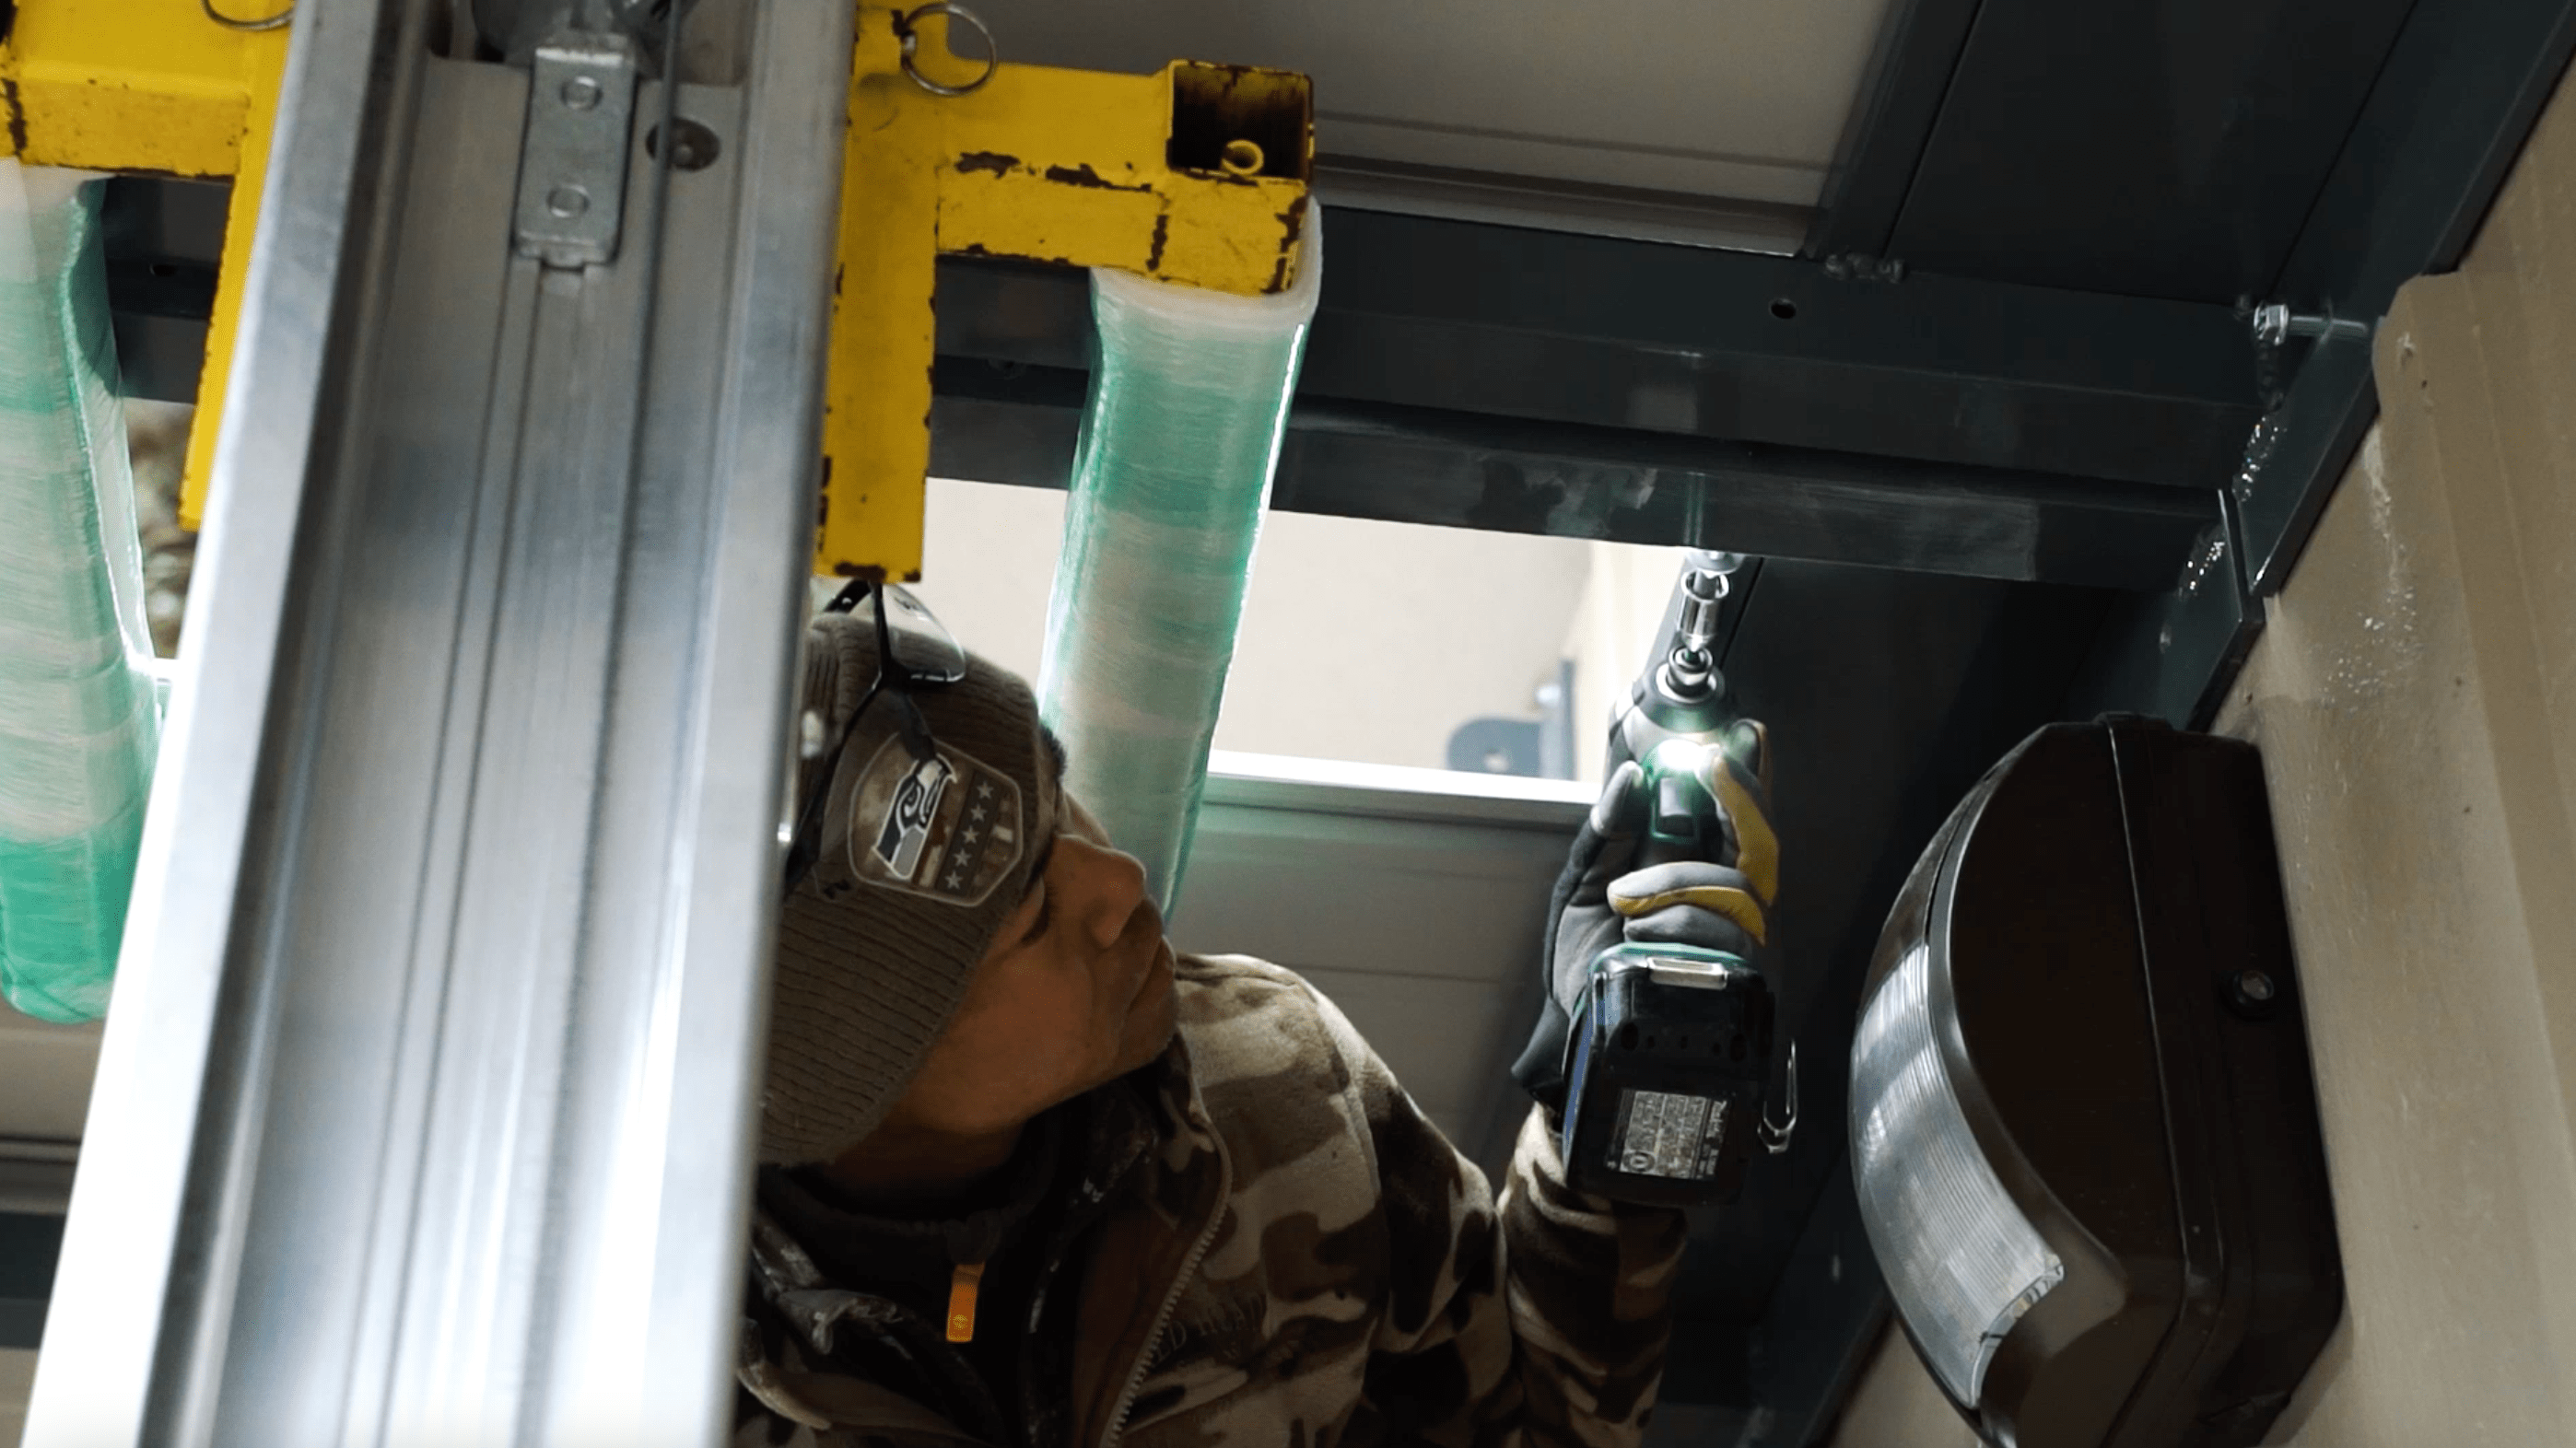
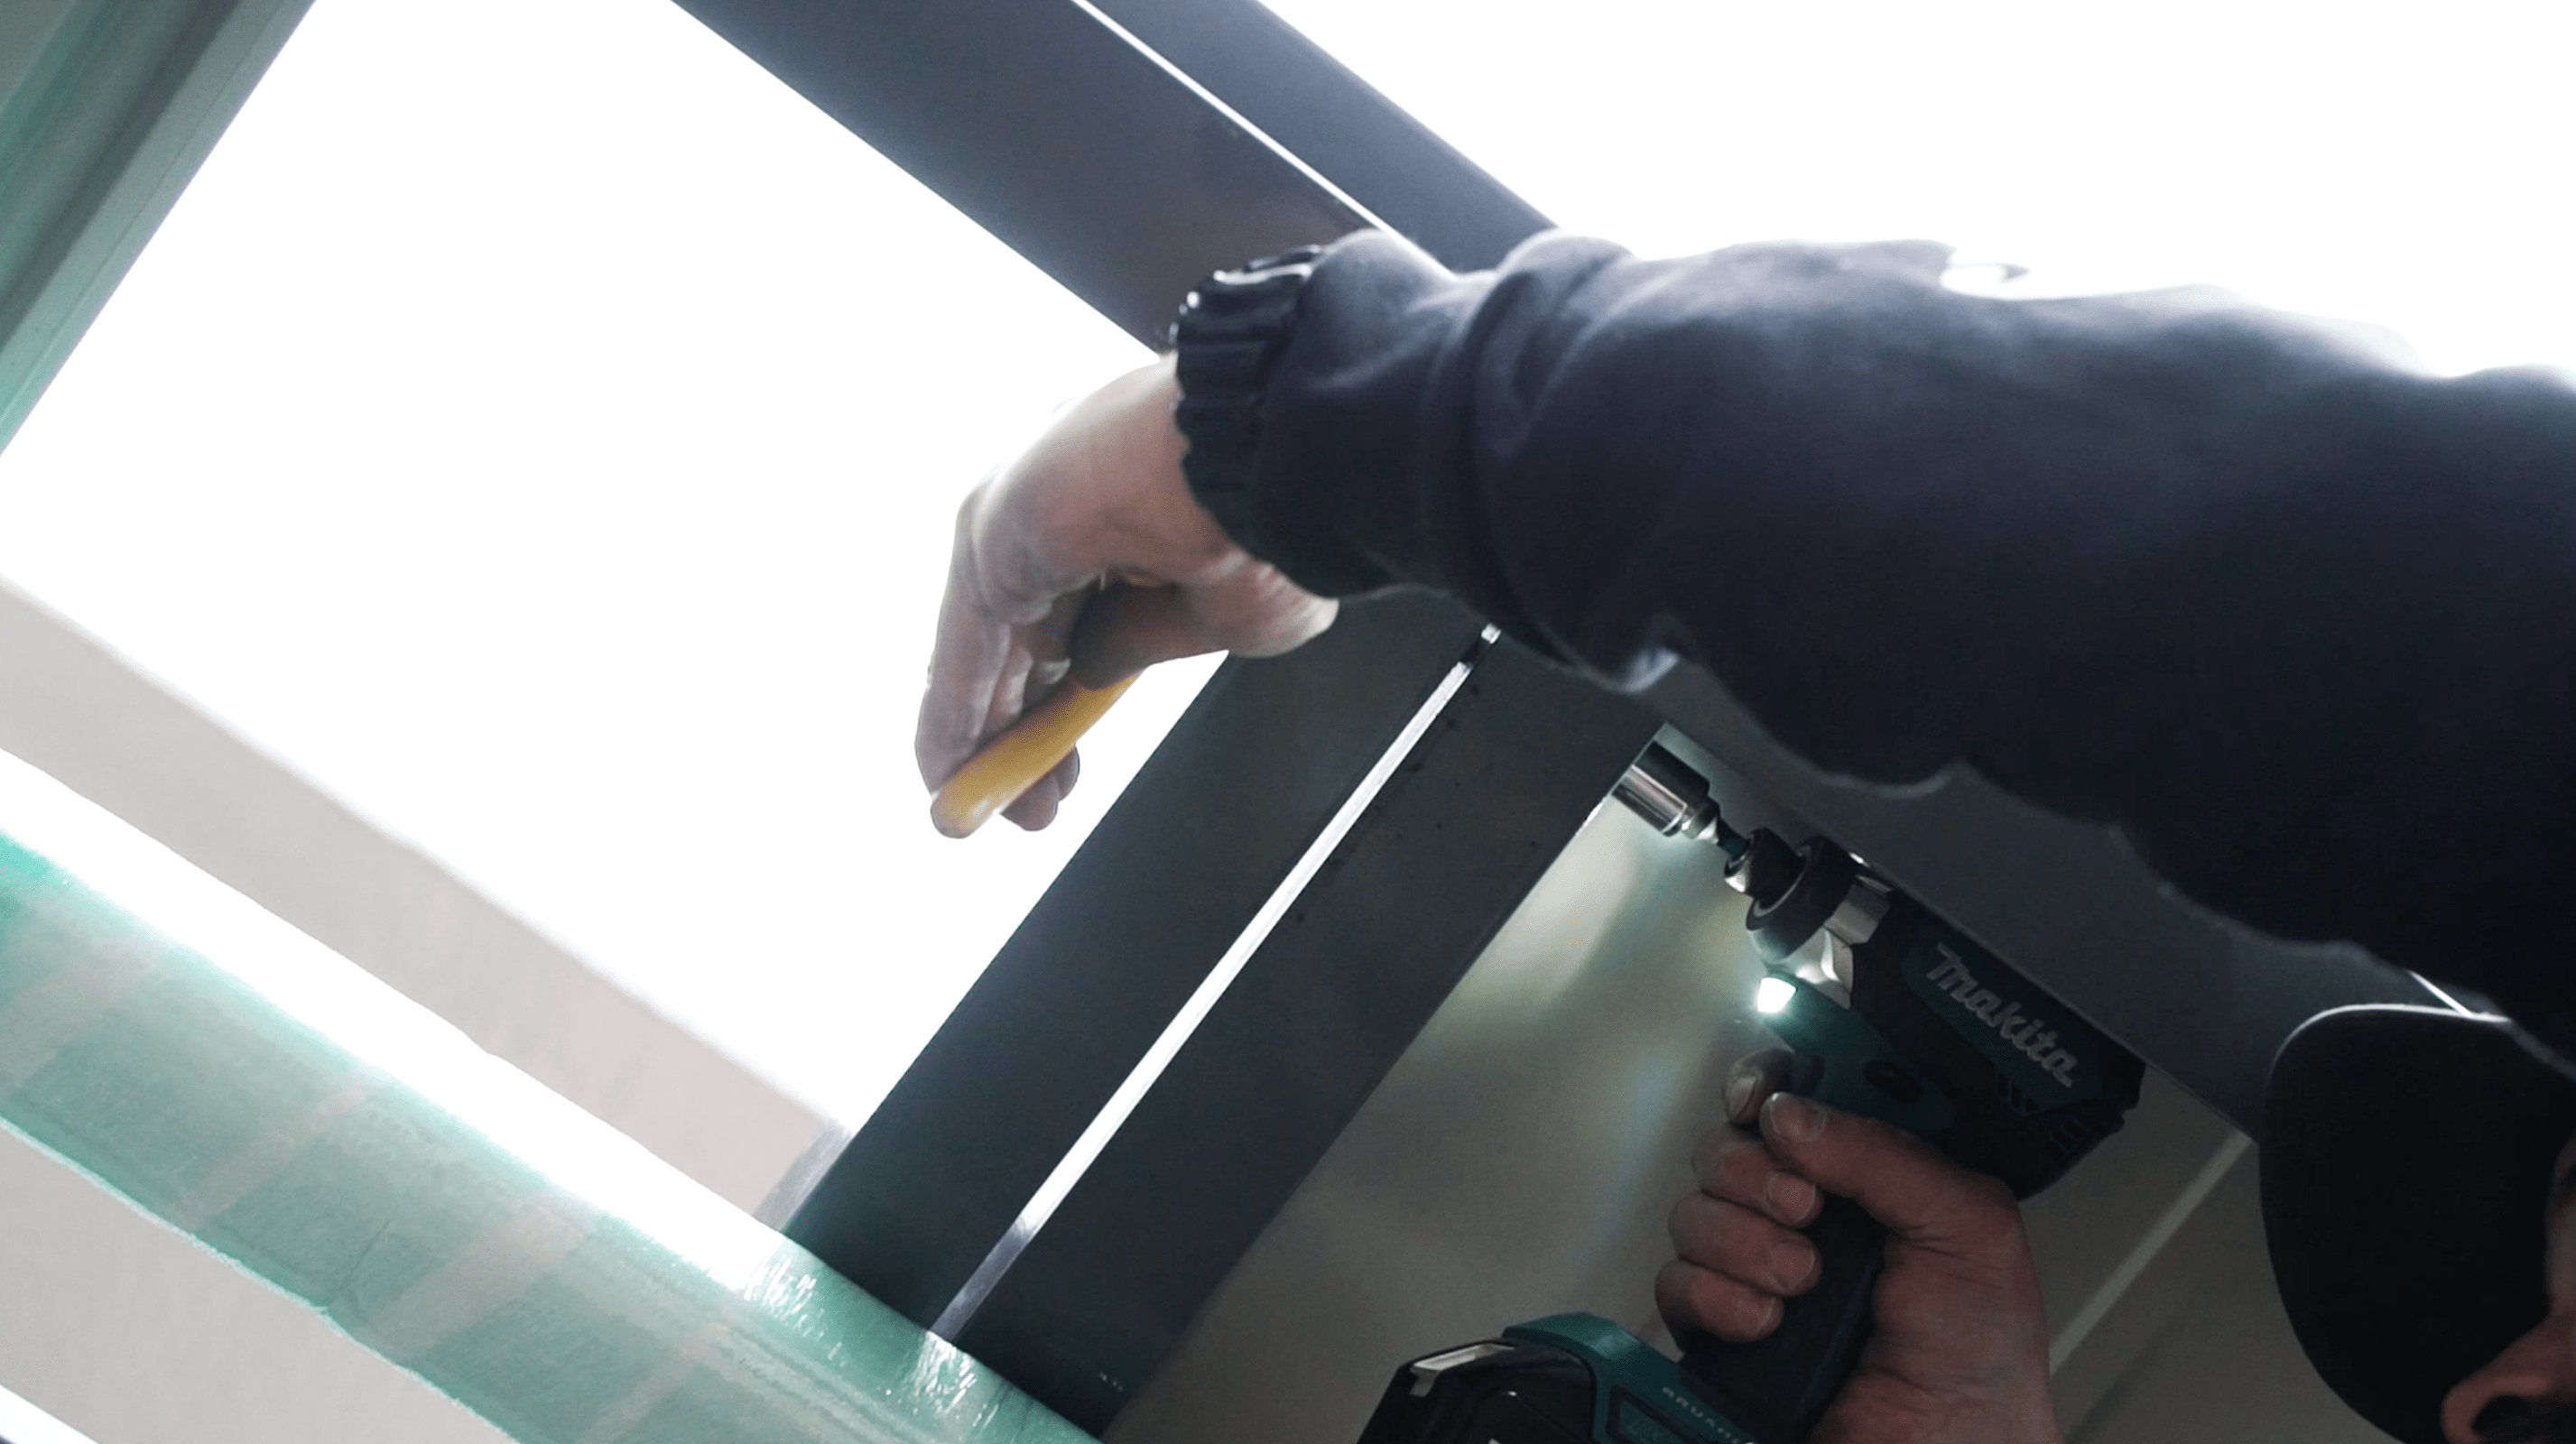
- Now, you will drill through the pre-drilled holes on the backplate of the canopy.
- Once you have drilled through every hole, you are now ready to attach the canopy to the wall. Fasten the canopy to the wall by using the pre-drilled holes on the backplate. Ensure canopy is level
Step 4: Connect Tie-Rods & Knife Plates
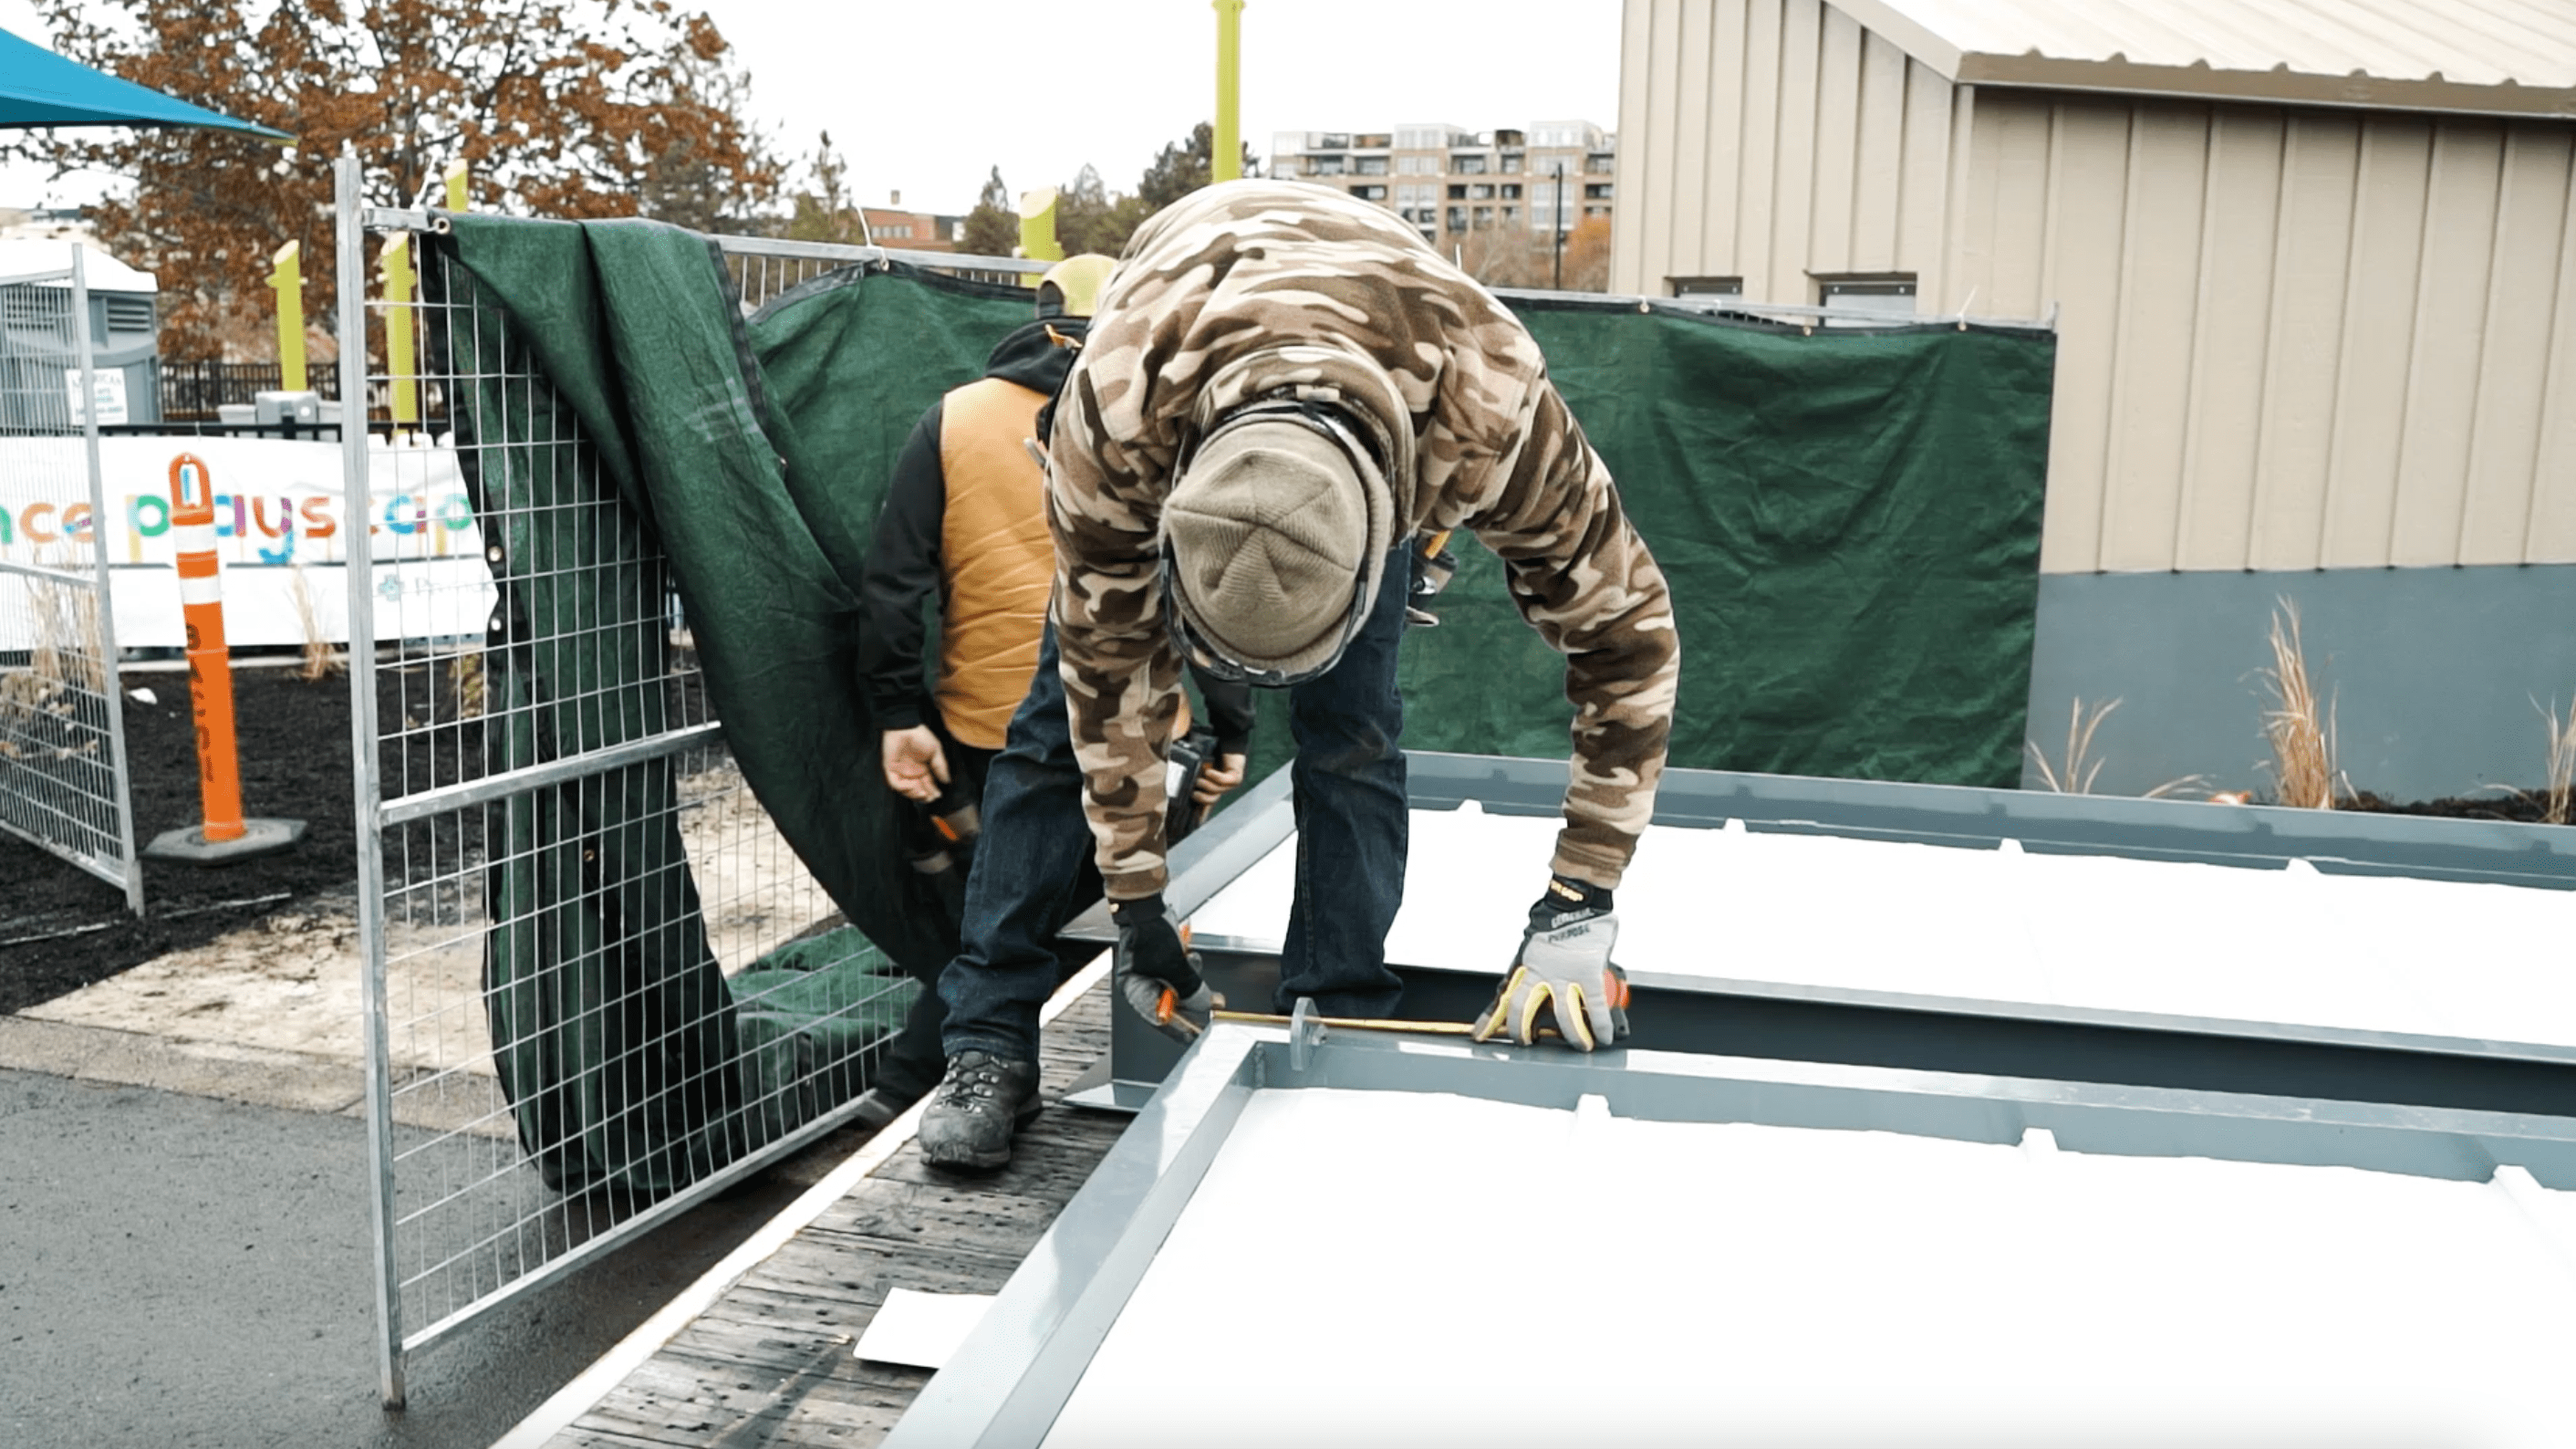
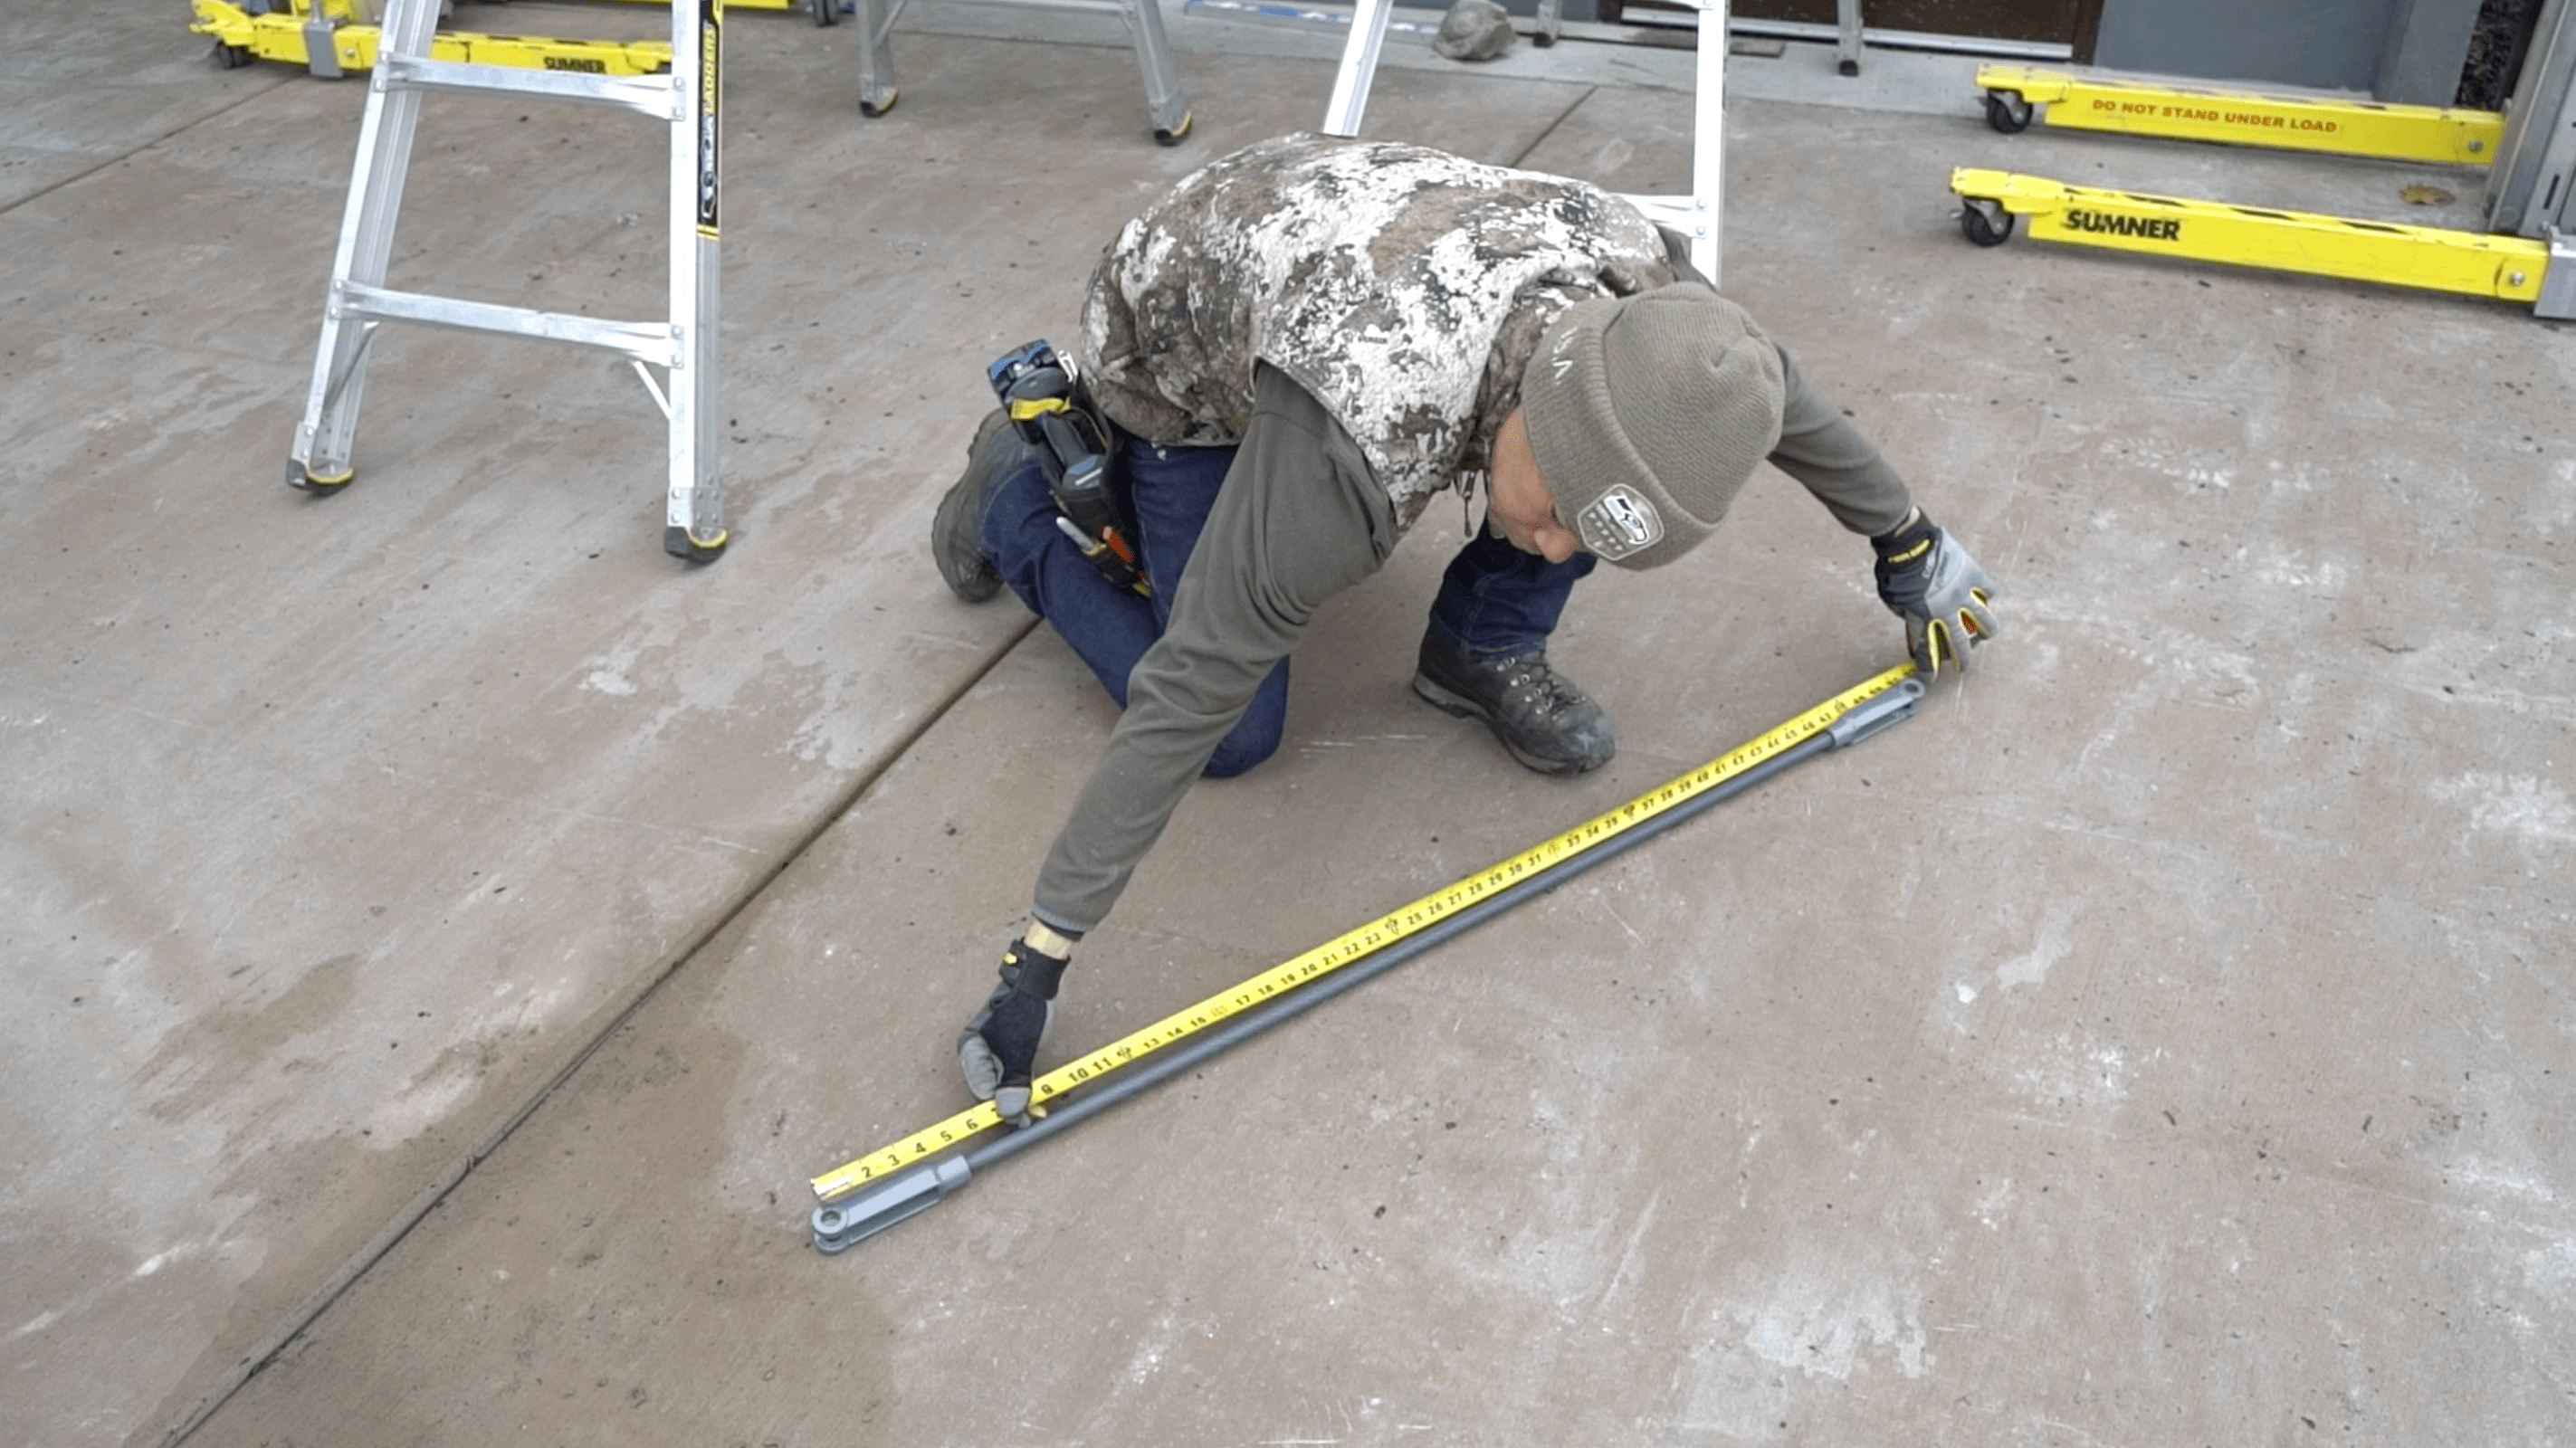
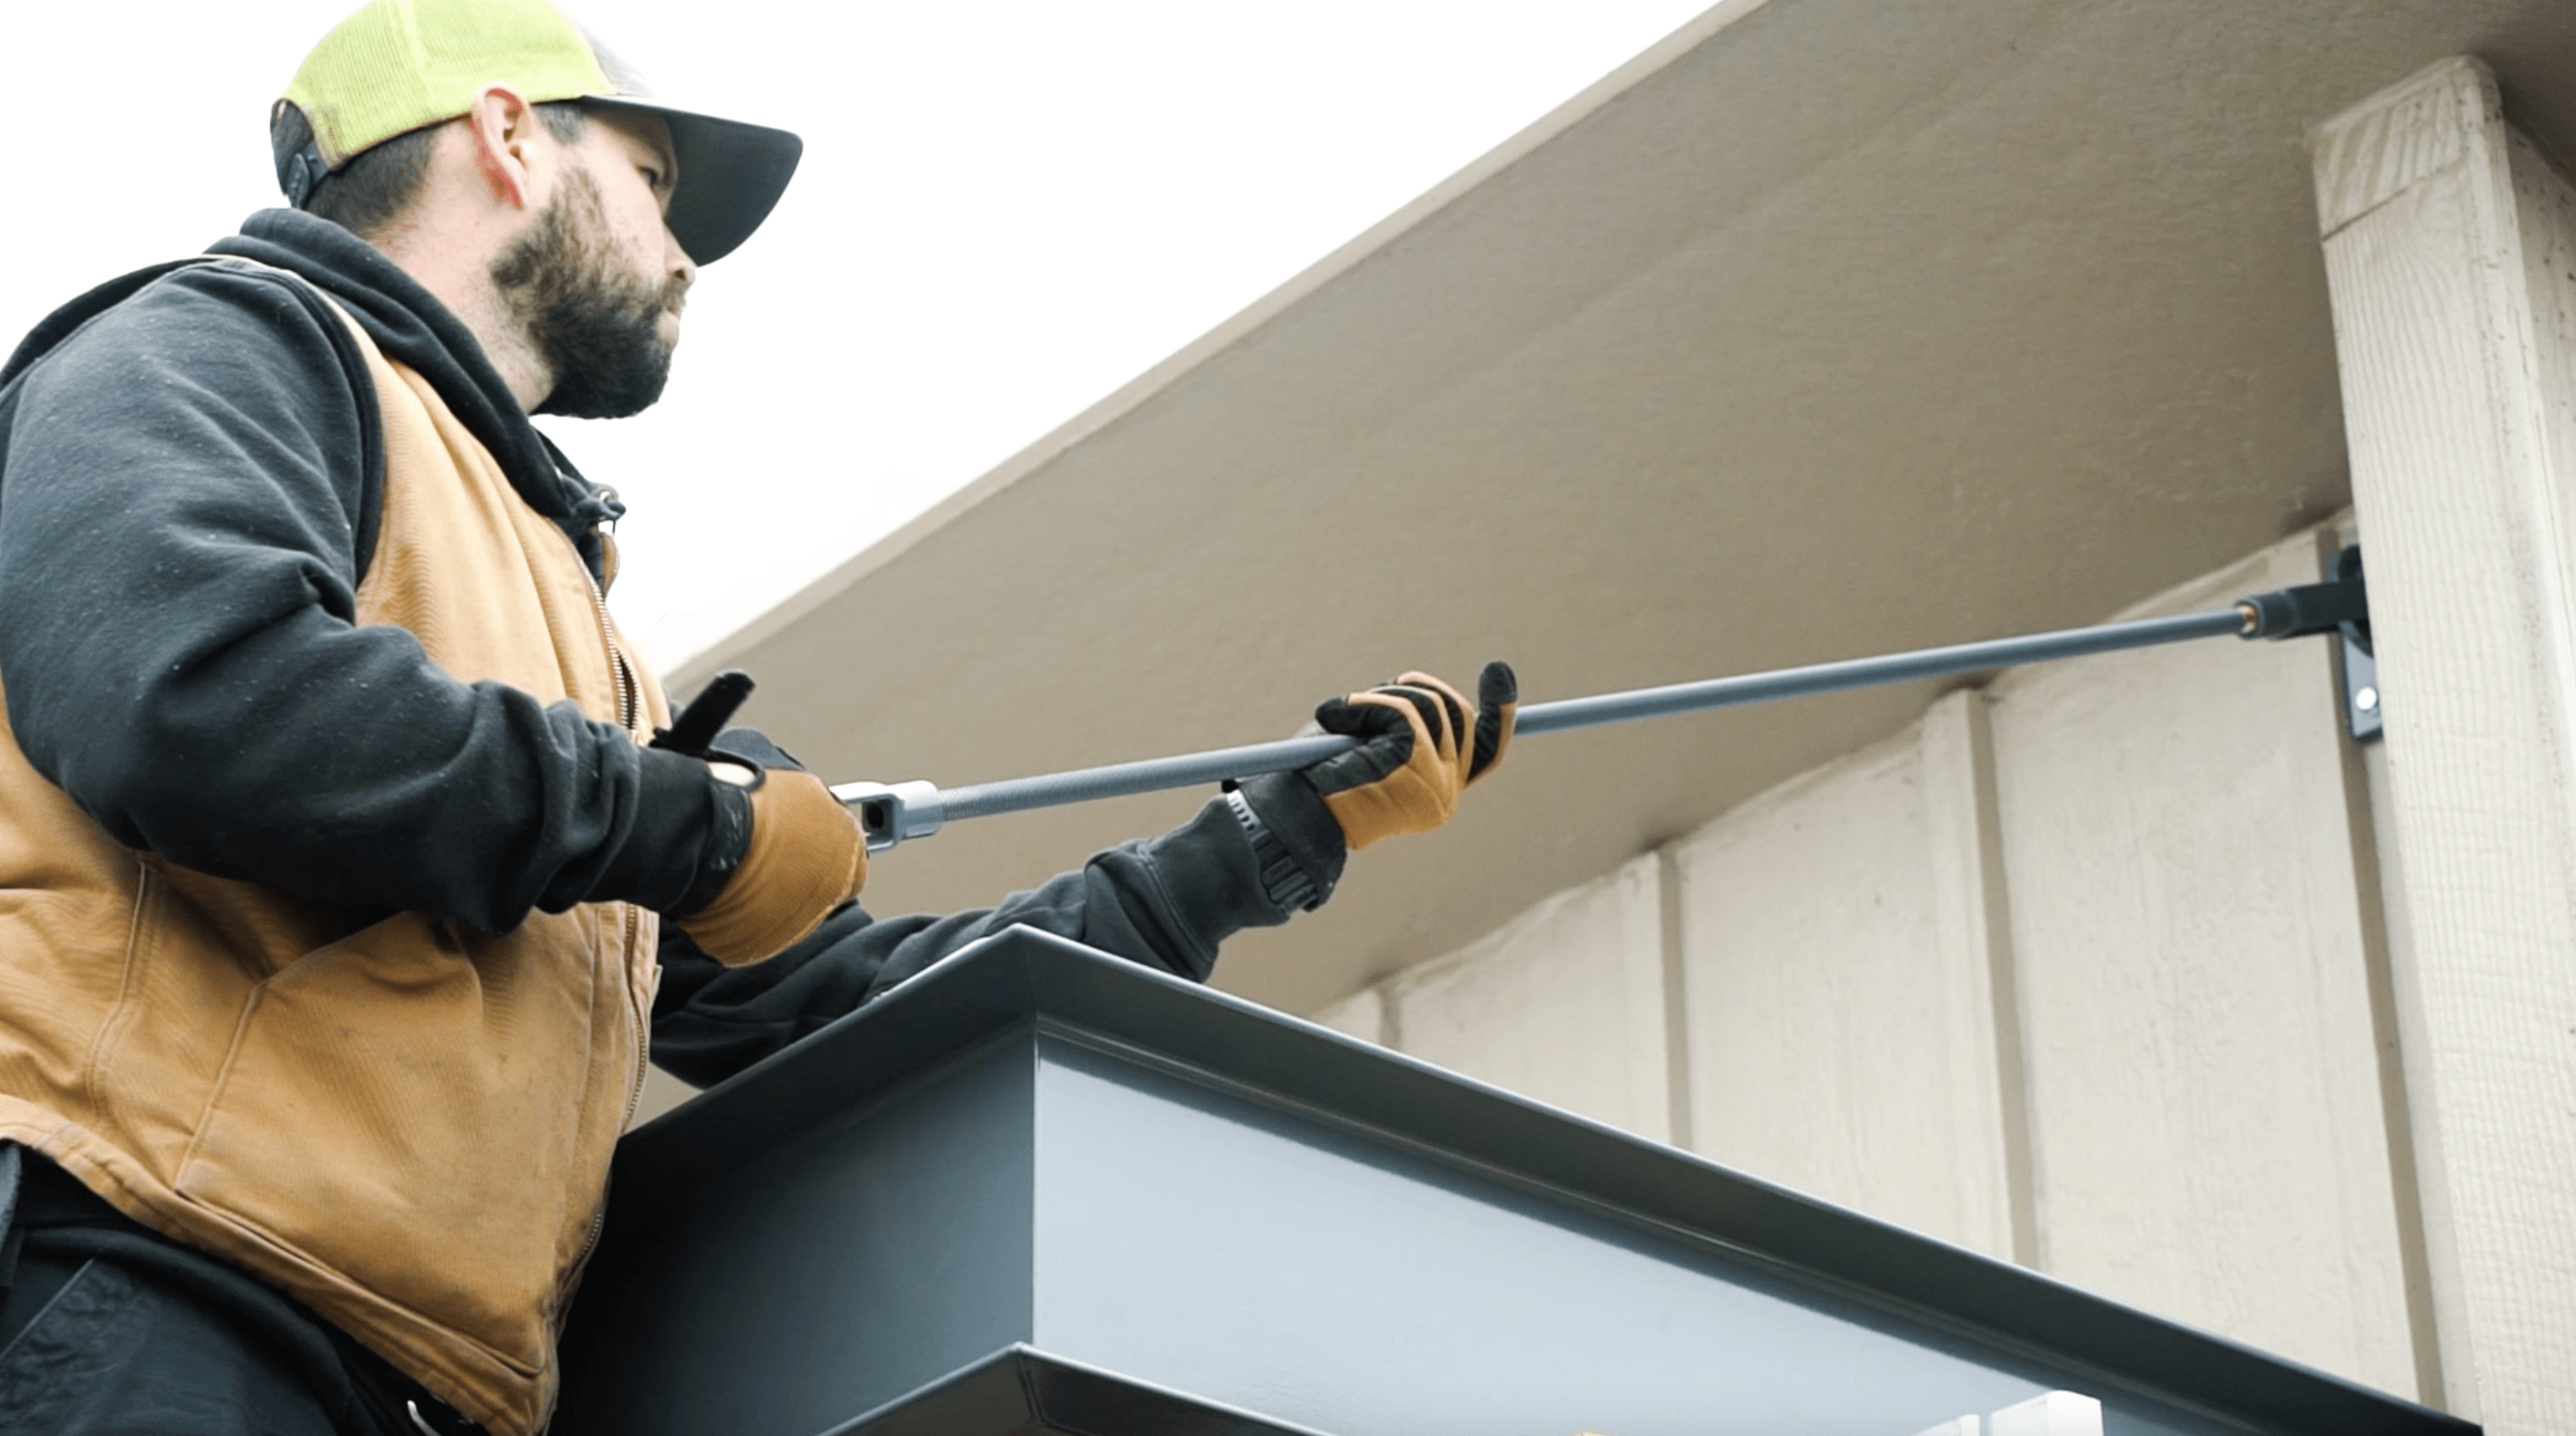
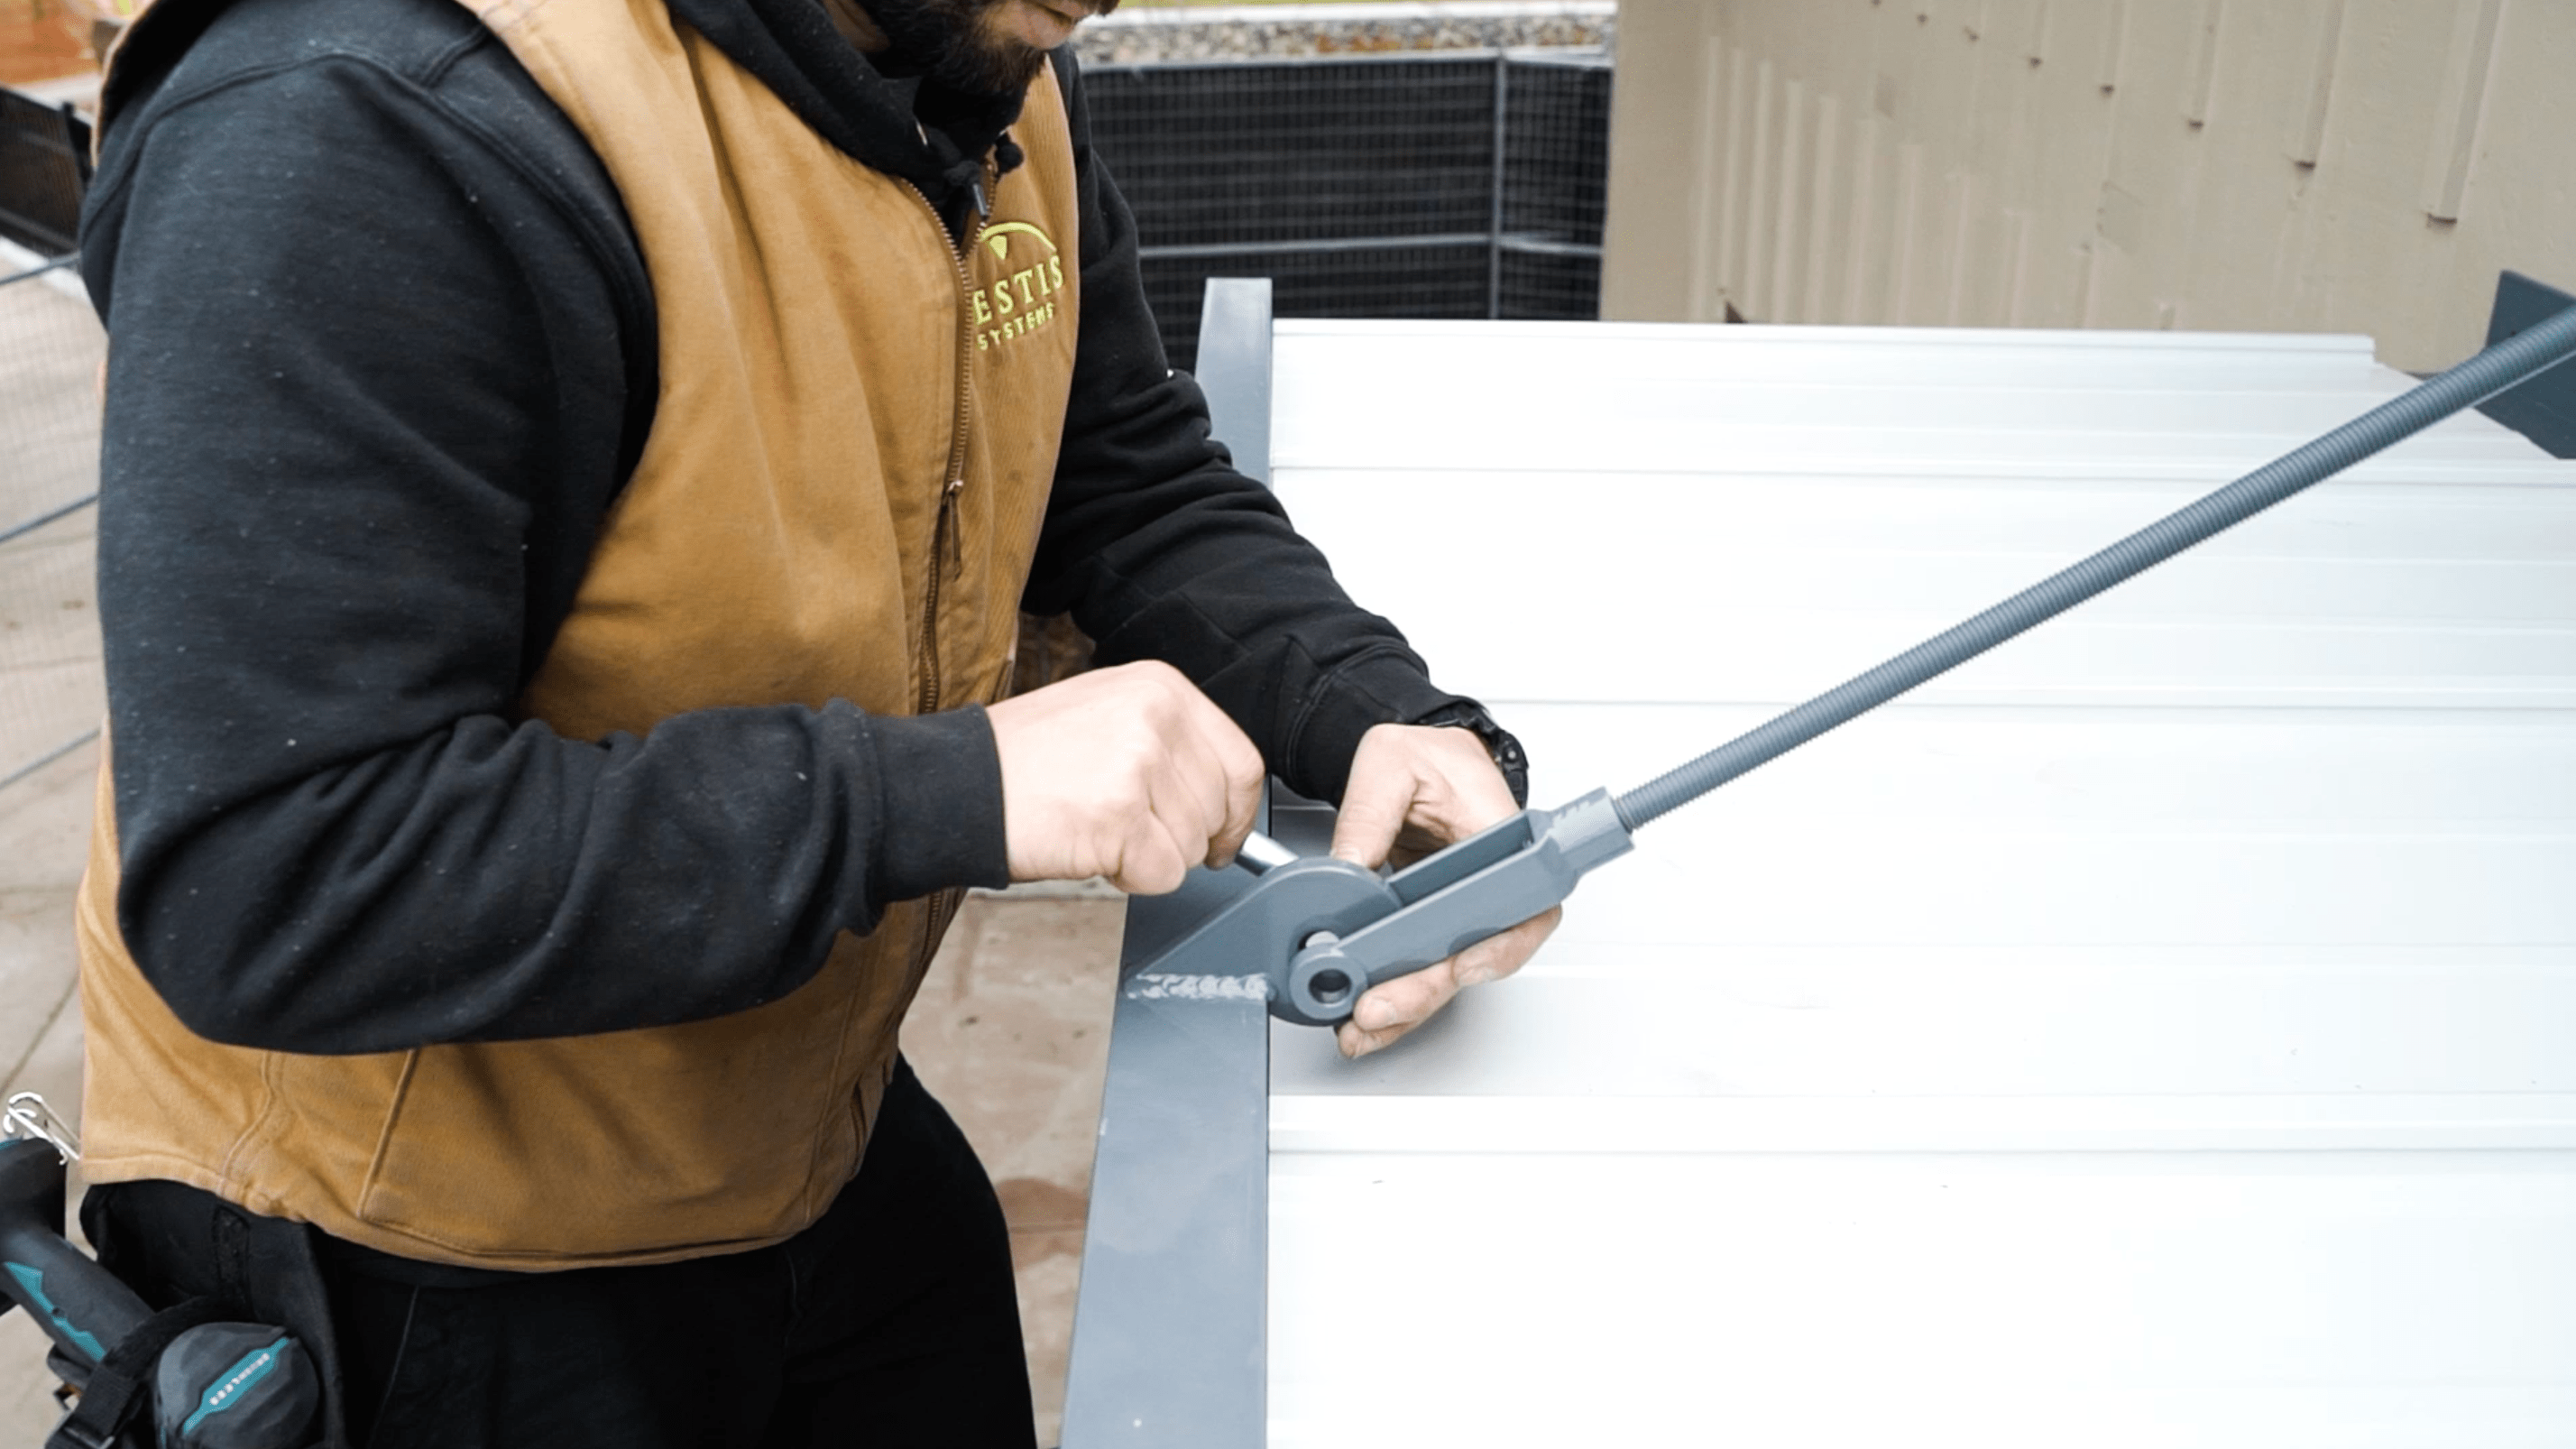
- Now, measure Tie Rod and adjust it appropriately to fit your measurements. Remember, Tie Rod length will be the length between Pacman and Center of the hole on the Knife Plate.
- After you adjust the Tie Rod to the appropriate length, measure one more time.
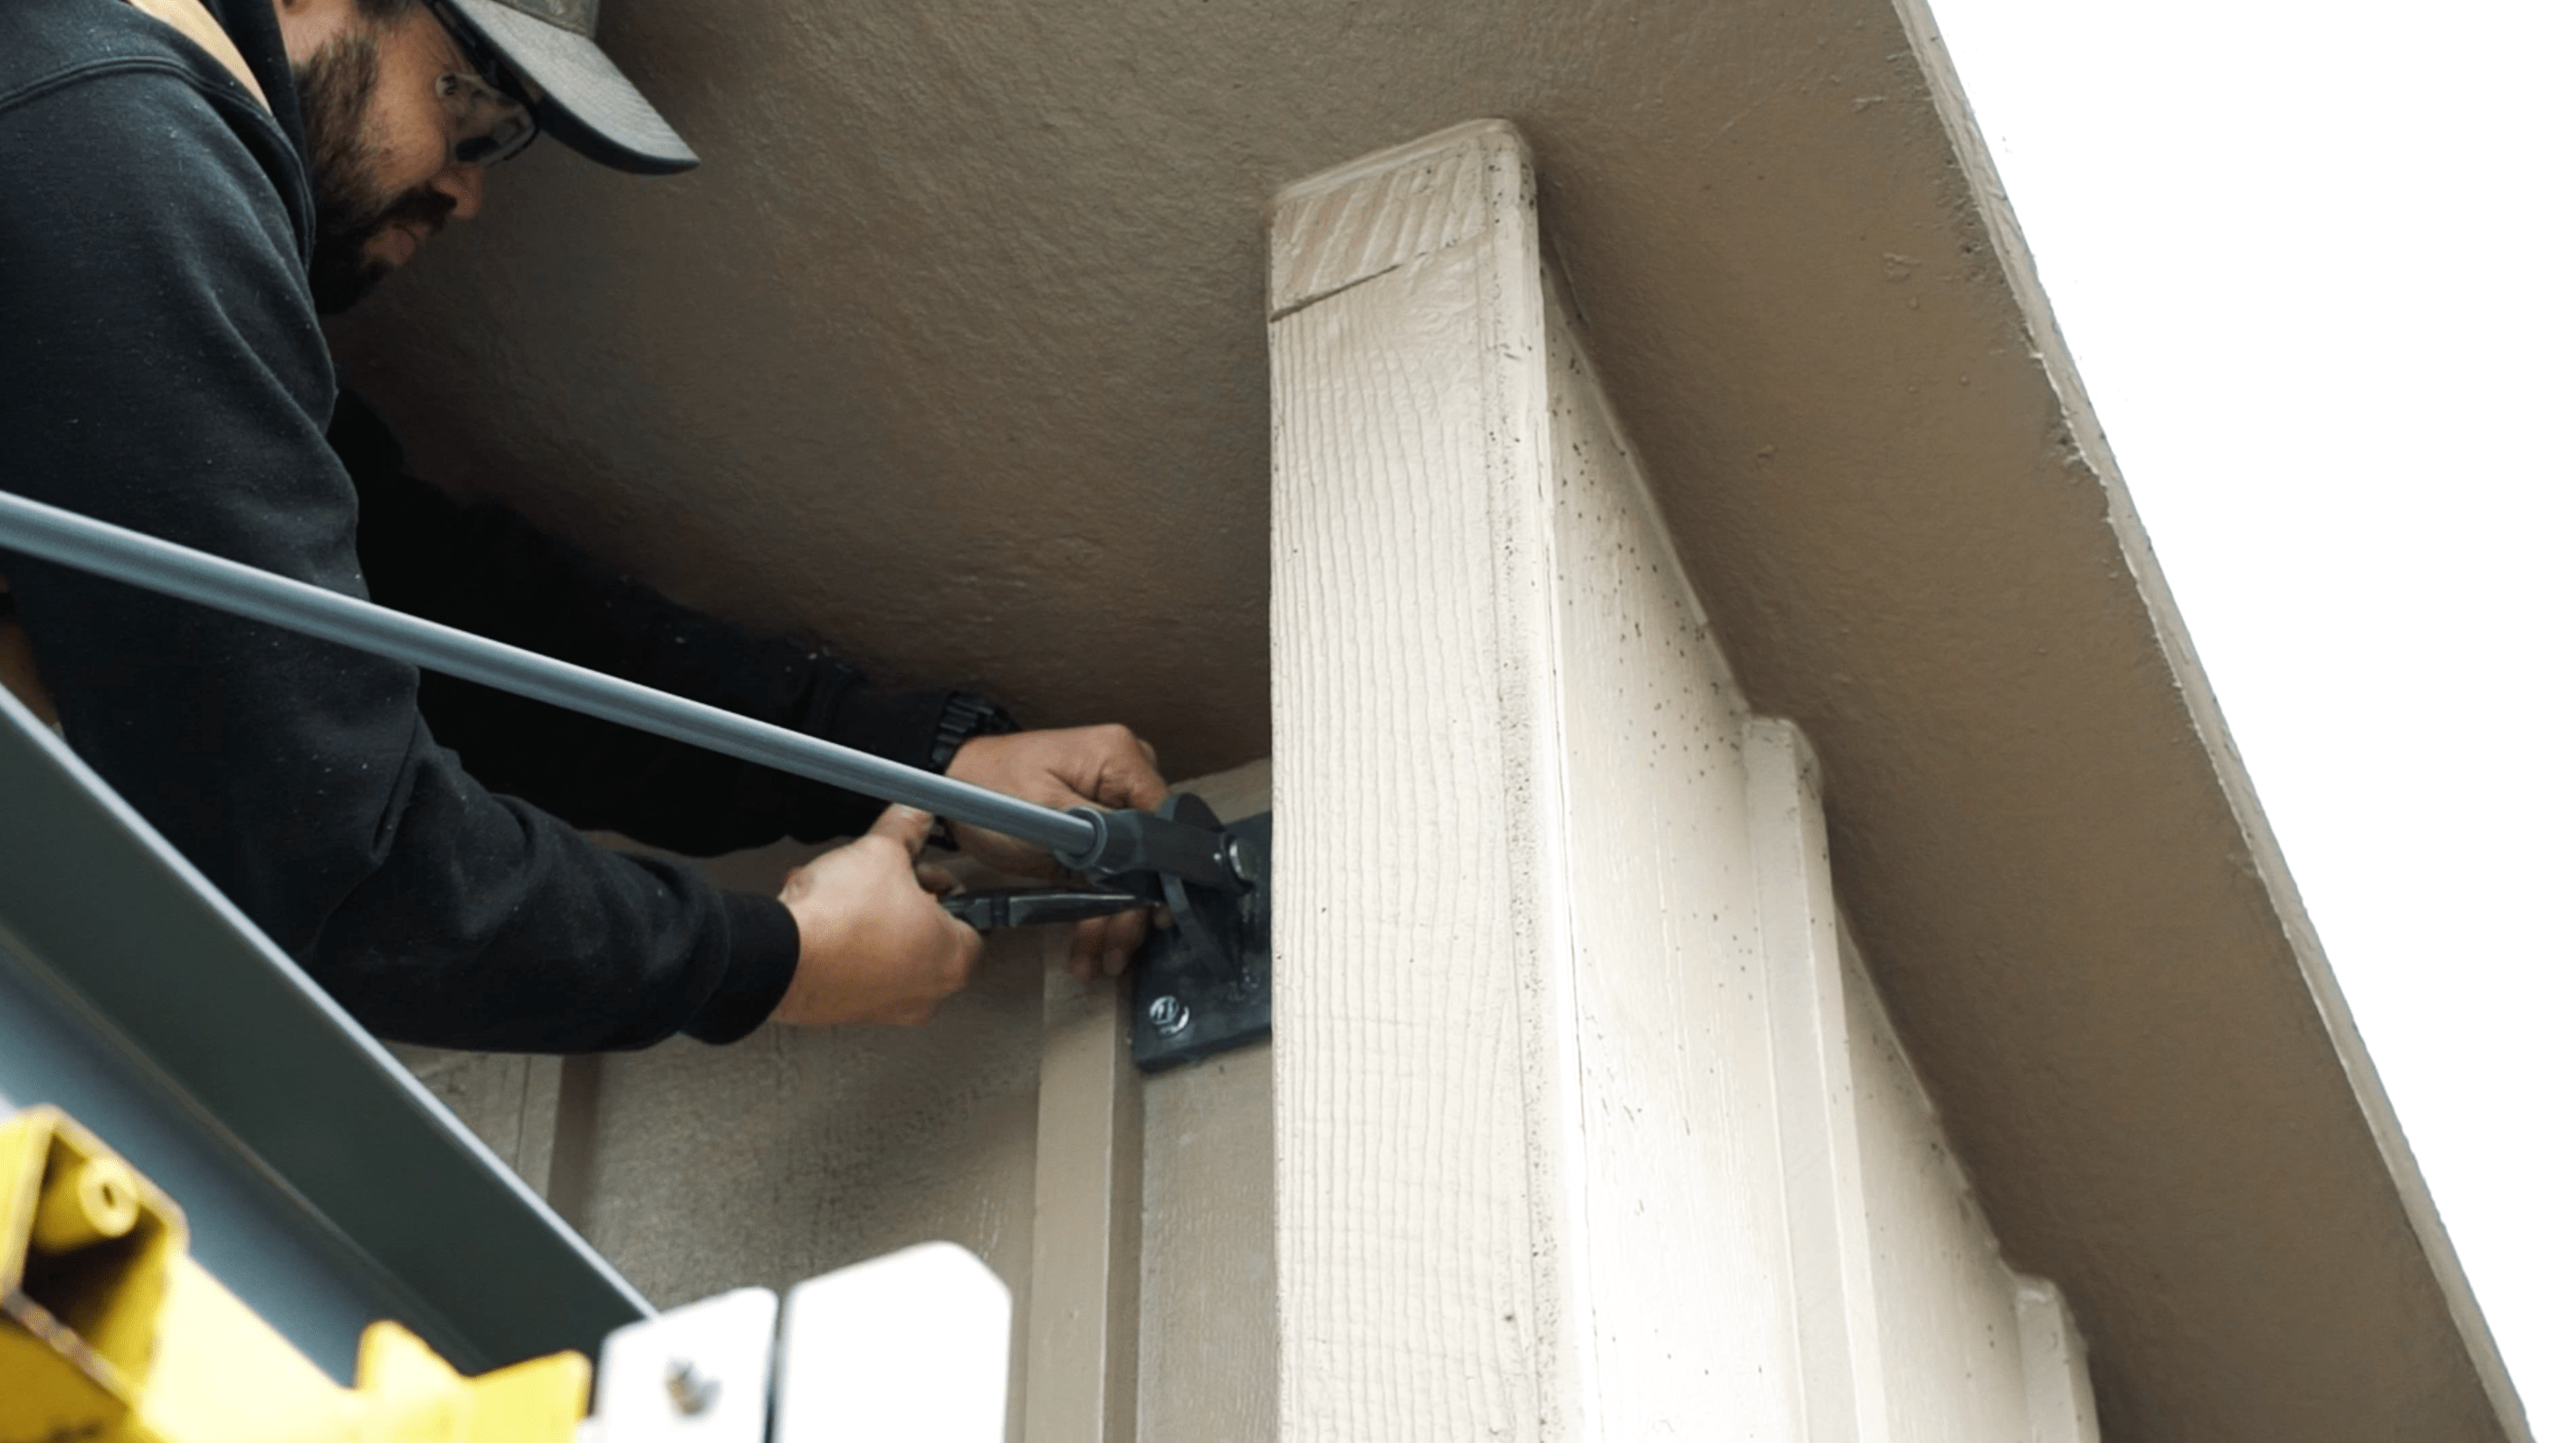
- You are now ready to attach the Tie Rod and Knife Plate. Attach the Clevis pin to the Knife Plate wall mount and make final Tie Rod length adjustments. Attach Tie Rod with Clevis pin to Pacman, secure with cotter pin.
Step 5: Mate Canopies (If You Have Two Canopies)
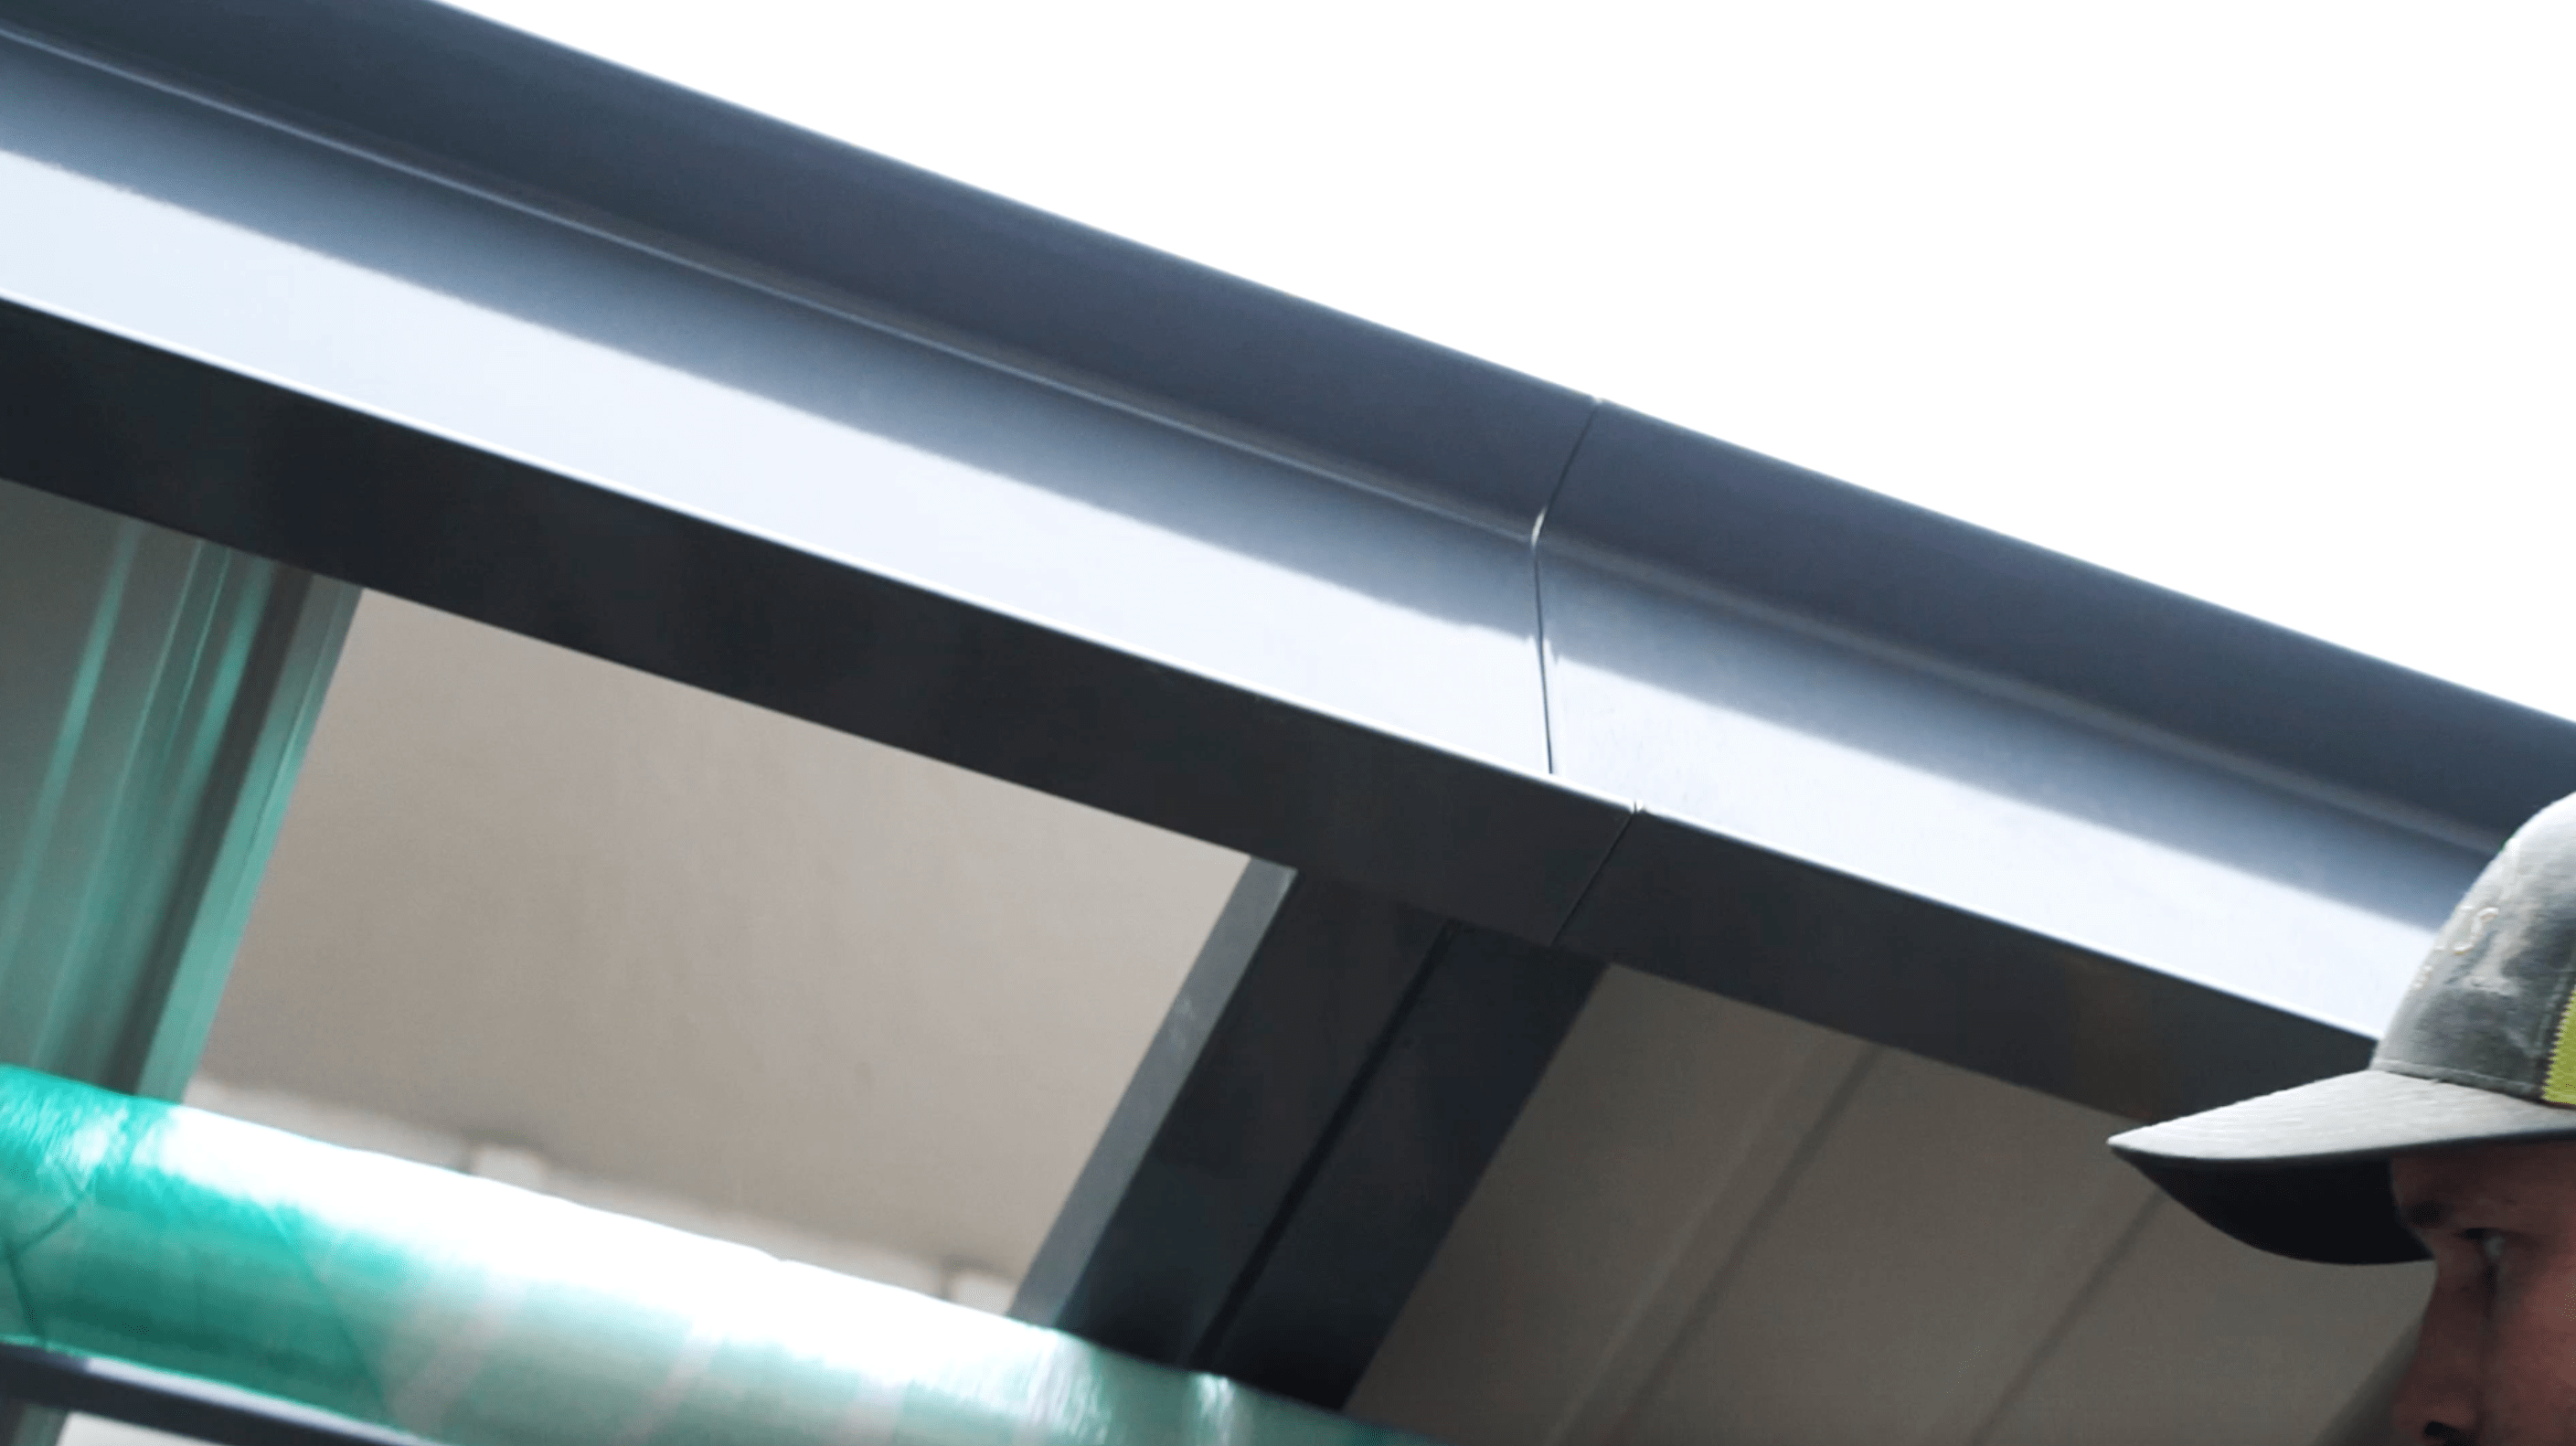
- Now let’s Mate (connect) your Canopies. First, raise and place your second canopy next to your (already installed) first canopy.
- You will Mate canopies together by clamping canopies to align the Mating Holes.
- Once the Mating Holes are aligned using the Mating Bolts to bring the canopies together.

